A jack-o’-lantern gets most of its personality from the face, and a silly expression can be more memorable than a scary one.
These funny pumpkin stencils give you four playful designs that turn an ordinary pumpkin into a goofy Halloween character.
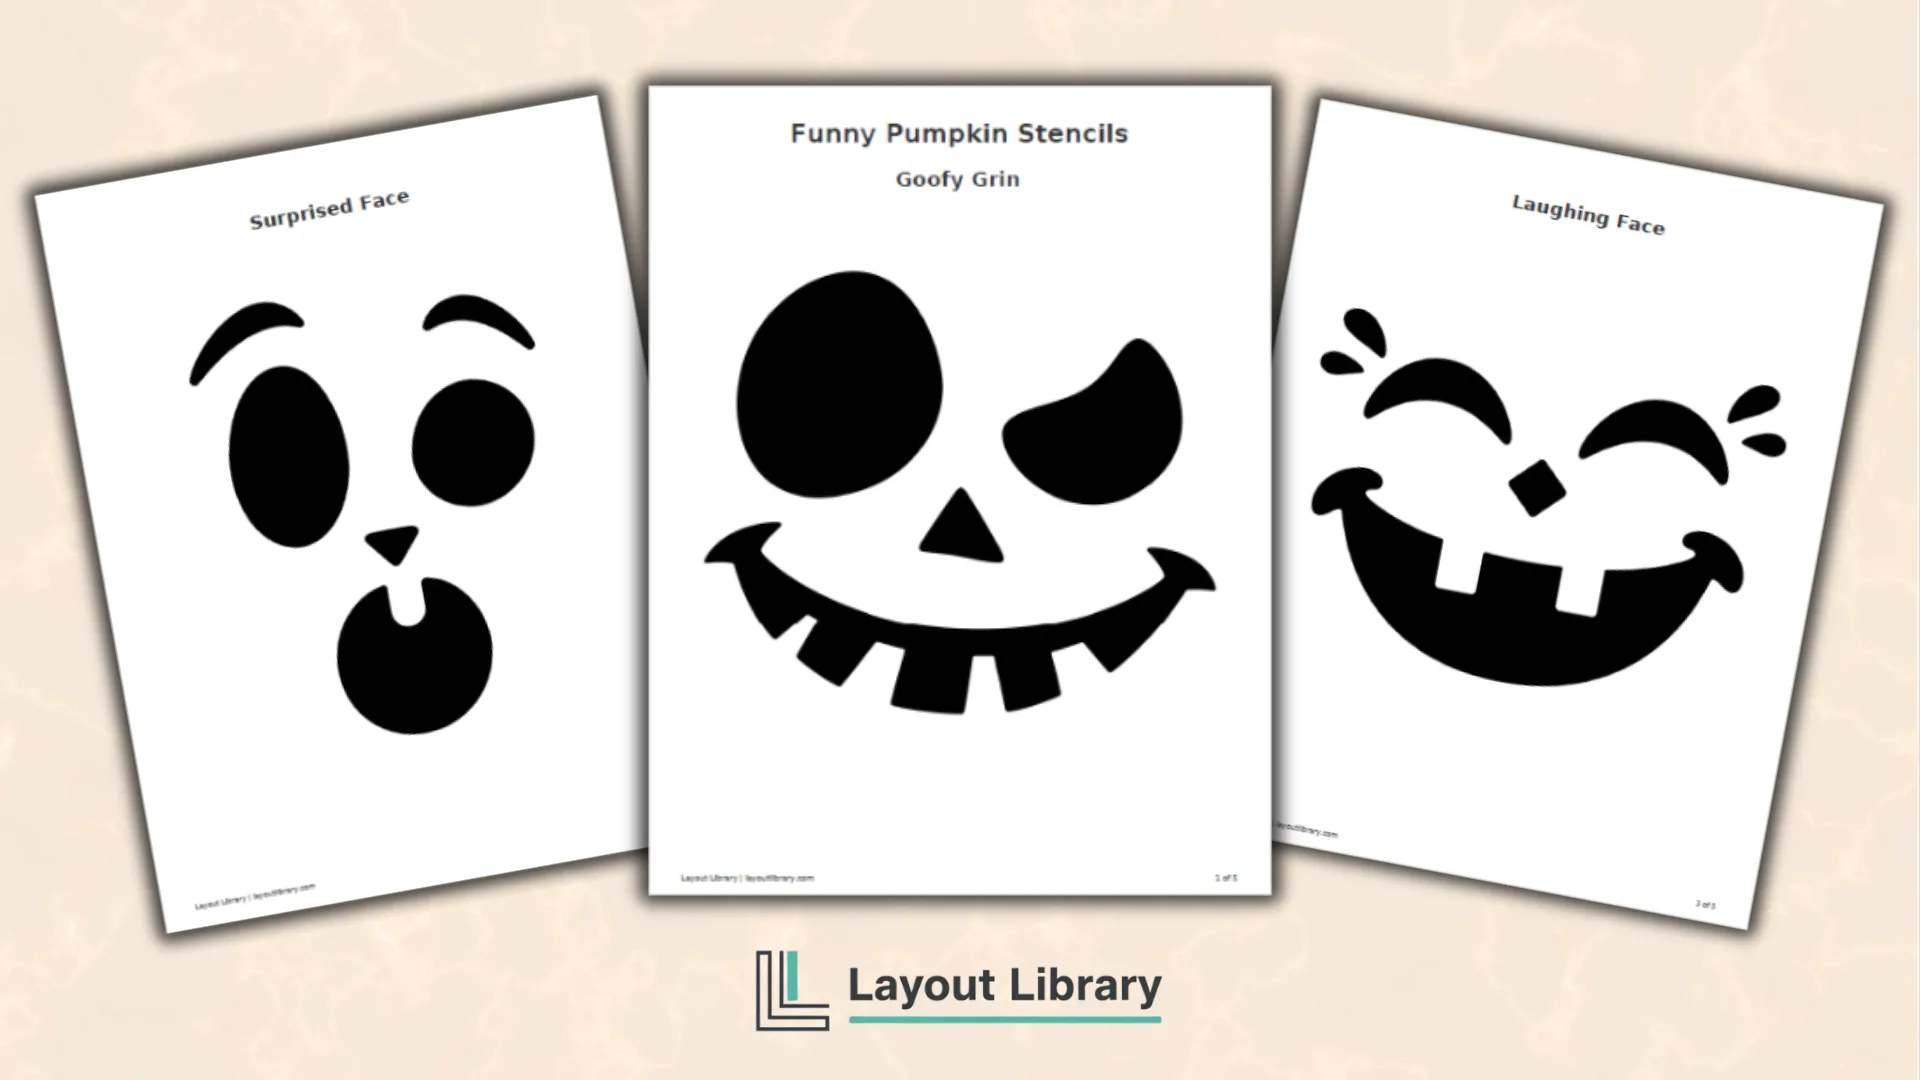
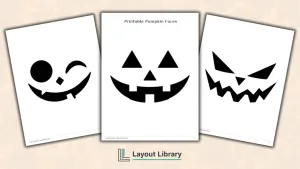
The set includes a cross-eyed grin, a wide-eyed surprised face, a laughing face, and a mischievous wink.
Each design uses large black shapes and clean edges, so the features are simple to transfer while still looking expressive once the pumpkin is lit.
Printable Details
Title: Funny Pumpkin Stencils. Used For: Pumpkin carving, Halloween decorating, family craft nights, carving contests. Page Length: 5. Paper Size: 8.5 x 11 in (portrait). File Size: 579 KB. File Type: PDF. Color: Black & White. License: Personal Use.
Four oversized funny faces give you distinct moods for a coordinated porch display or carving night.
Each stencil uses bold, beginner-friendly shapes that are simple to trace onto real pumpkins.
Portrait pages provide plenty of room to resize designs for small, medium, or large pumpkin surfaces.
Black-and-white artwork keeps printing clear, affordable, and readable when transferred with pinpricks.
Goofy, surprised, laughing, and winking expressions add personality without relying on scary imagery.
A personal-use page includes straightforward carving steps and practical safety reminders for families.
Overview
This five-page PDF is built around one large stencil per page.
The generous scale keeps the features visible on rounded pumpkin surfaces and gives you room to adjust the print size without losing the expression. The final page collects the license, basic transfer steps, and carving-safety guidance in one place.
All four faces are original and avoid characters, logos, or recognizable branded designs.
That makes the set useful for home decorating, school or community carving events, fall parties, and friendly pumpkin contests where a lighthearted theme fits better than a frightening one.
What’s Included
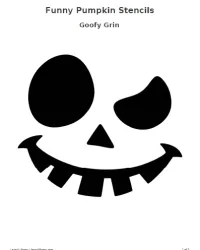
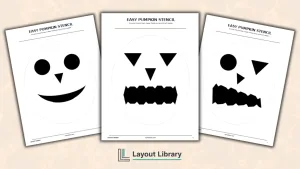
The Goofy Grin page combines mismatched eyes, a crooked nose, and a toothy smile. Its uneven shapes create a lively expression that works especially well on round or slightly lopsided pumpkins.
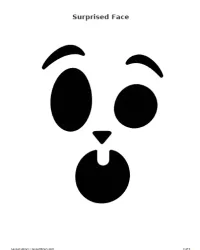
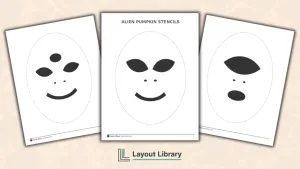
The surprised design uses two different eye shapes, raised eyebrows, and an open mouth. Choose this face when you want a pumpkin that looks startled, curious, or comically amazed.
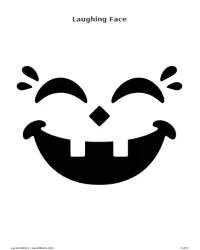
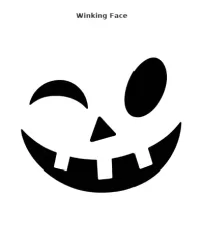
Laughing Face features squeezed crescent eyes, small cheek marks, and a broad two-tooth smile. The Winking Face page offers a simpler mischievous look with one curved eye, one tilted oval eye, and a wide grin.
Because every expression is made from thick, separated shapes, you can trace the complete design or mix individual eyes, noses, and mouths to create a custom face.
The clean black silhouettes also work for painting, paper crafts, and window decorations when carving is not the plan.
How to Use These Pumpkin Stencils
Start by choosing the face that matches your pumpkin’s shape and the mood you want. Print at 100% for a large design, or reduce the scale for a smaller carving area.
Hold the page against the flattest section before taping it down, since a quick fit check helps prevent stretched features.
Trim excess paper around the artwork and secure the stencil firmly. Make small pinpricks along each edge, remove the paper, and connect the marks before cutting.
Begin with the largest shapes, then move to corners and tooth notches so the pumpkin surface stays supported while you work.
Tips for Better Results
A smooth pumpkin gives the paper better contact, but small folds around the page edges are normal.
Add short relief cuts to the paper outside the artwork if it needs to curve more naturally. If your pumpkin is unusually tall or wide, change the print scale rather than stretching the design by hand.
For a group activity, print several copies and let each person select or combine features before carving begins. Numbering the pages or writing names on the back can help keep chosen designs organized during a busy classroom, party, or family carving night.
Pumpkin Carving Safety
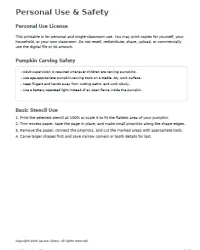
Pumpkin carving involves sharp tools, so children need direct adult supervision.
Work on a stable, dry surface, use age-appropriate carving tools, and keep hands outside the cutting path.
A battery-operated light is a safer choice than an open flame inside the finished pumpkin.
FAQ
Yes. Use your printer’s scale setting to shrink the page for a small pumpkin or enlarge it across multiple sheets if your printer supports poster printing. Measure the usable carving area first and keep the original proportions so the expression does not look stretched.
No. The black areas show the intended face components, but you can omit a feature or combine parts from different pages. Painting the black areas is another option for foam pumpkins, younger children, classroom displays, or no-carve decorating.
The Winking Face and Surprised Face use the fewest detailed cuts, making them good starting points. The Goofy Grin and Laughing Face have more tooth notches, but their thick shapes remain approachable when you carve the larger sections first.