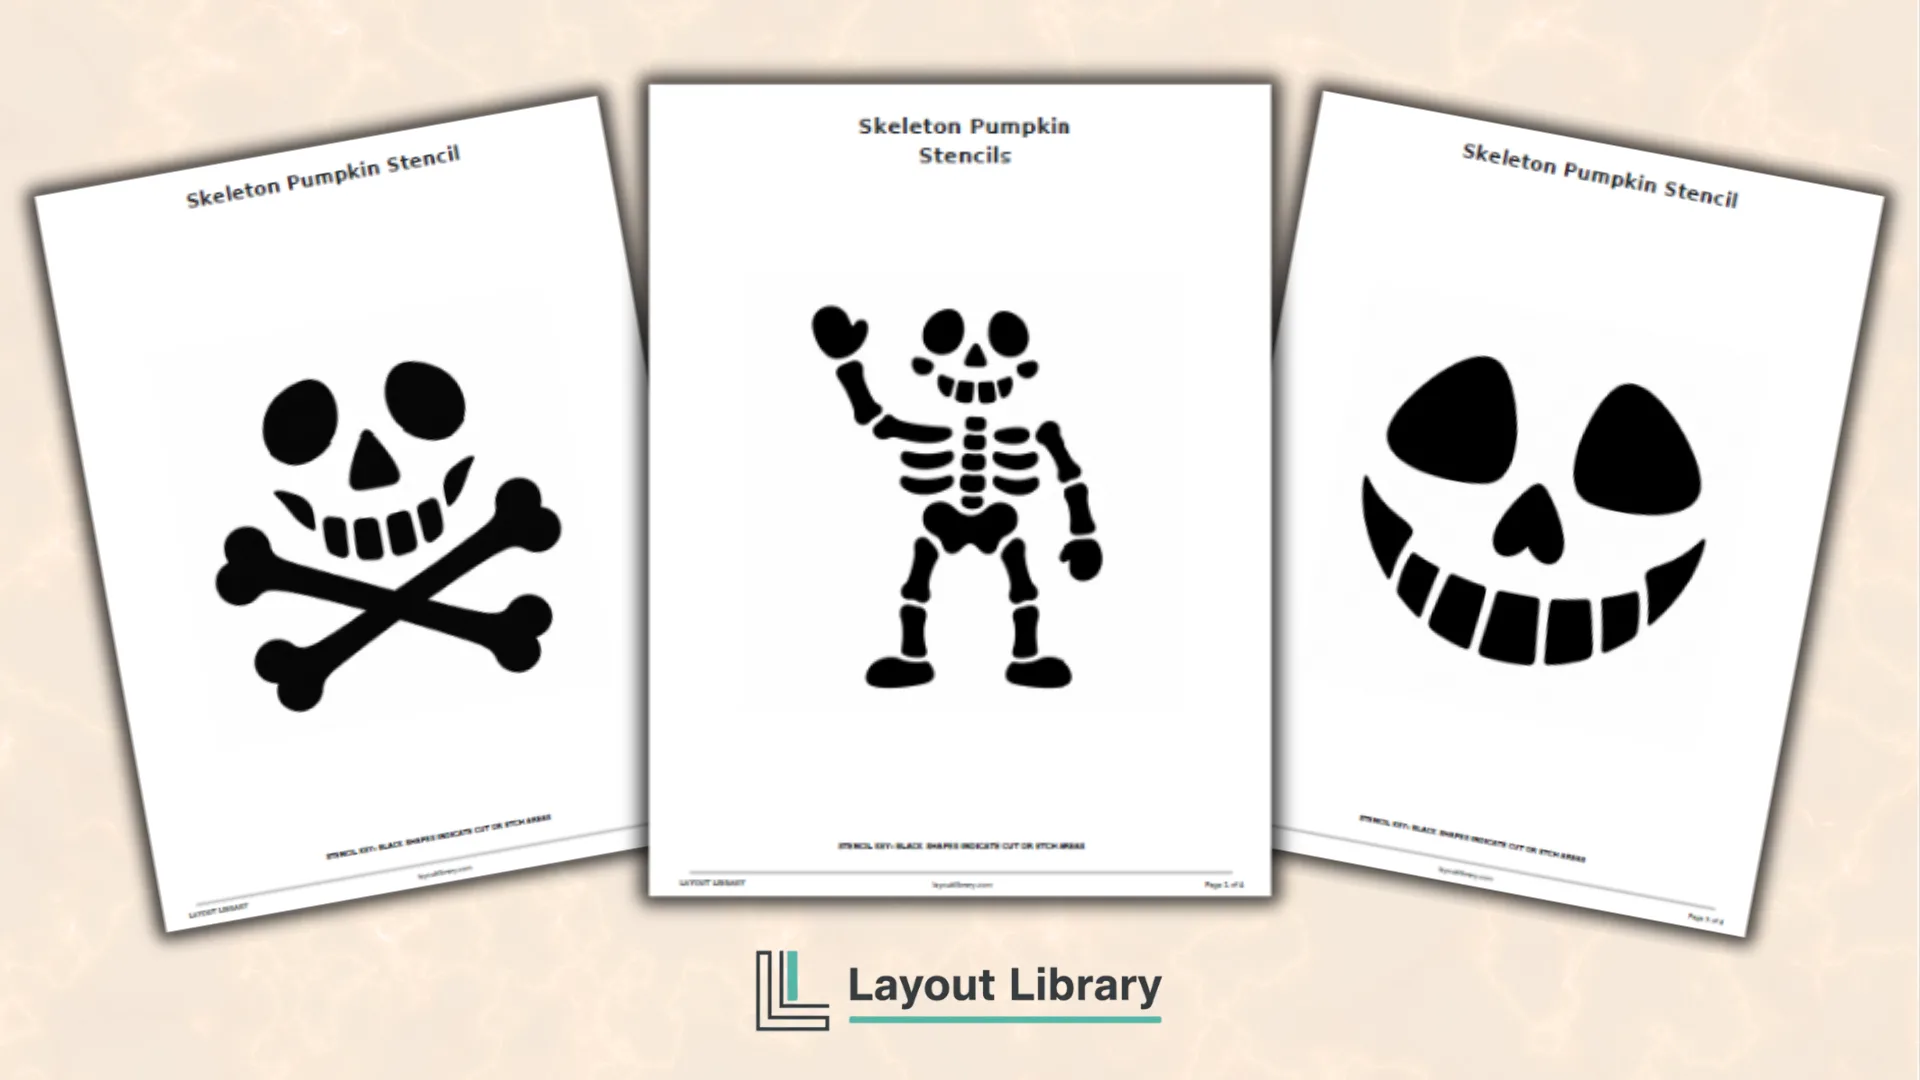
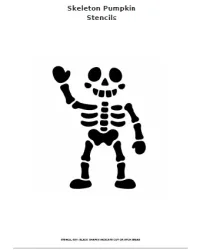
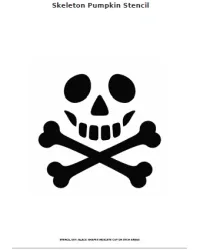
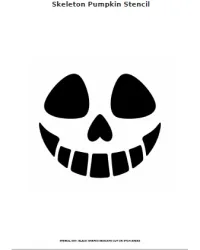
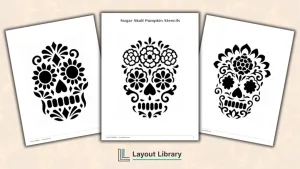
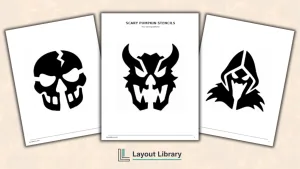
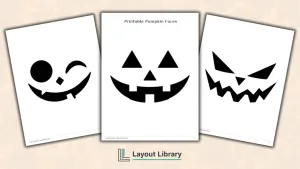
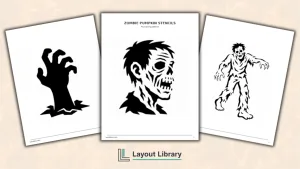
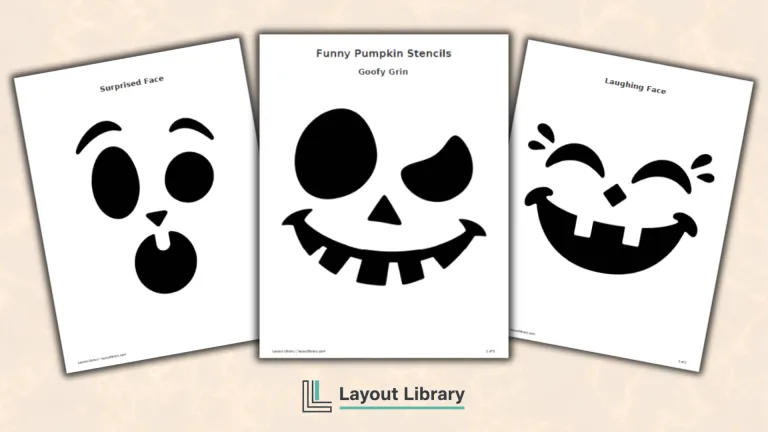
Three patterns include a friendly full skeleton, skull and crossbones, and classic skull.
Bold black shapes create clear cutting or etching areas without complicated shading or tiny details.
Wide white bridges help the pumpkin remain sturdy around eyes, teeth, ribs, and joints.
Large portrait layouts provide plenty of room for tracing each design onto medium or large pumpkins.
Beginner labels make it simple to choose a comfortable design before preparing the pumpkin.
Overview
Skeleton designs are a natural fit for Halloween, but detailed bones and narrow teeth can turn a fun carving project into a fragile one.
This set simplifies the familiar shapes while keeping each stencil recognizable. The designs feel spooky enough for the season without relying on gore or complicated anatomy.
Every black area represents a section that can be cut through or etched into the surface. White space separates nearby shapes and creates the bridges that hold the finished pumpkin together.
This clear visual system makes the pages useful for both traditional glowing carvings and softer surface-etched designs.
What’s Included
The Friendly Full Skeleton includes a waving arm, simple ribs, a broad pelvis, and thick segmented limbs. The separate bone shapes create a playful figure without thin fingers, tiny joints, or complex skeletal details.
The Skull and Crossbones page combines the same readable face with two thick crossed bones. Rounded bone ends and generous gaps reduce delicate corners, while the symmetrical arrangement makes the design easy to center on the front of a pumpkin.
The Classic Skull Face uses two oversized eye sockets, a simple nose, and a broad toothy grin. The facial shapes are separate rather than enclosed inside a solid head, so the surrounding pumpkin surface stays connected after carving.
The final page contains the personal-use terms, carving safety guidance, and the principal sources used to confirm the safety language. Each stencil page also includes a reminder that black shapes indicate the intended cut or etch areas.
How to Use the Skeleton Pumpkin Stencils
Print the selected stencil at 100% or actual size. Place it against a clean, dry pumpkin and tape the edges securely.
If the paper wrinkles around the curve, make several short cuts in the empty outer margin so the sheet can overlap slightly and lie flatter.
Transfer the pattern by making closely spaced guide holes around each black shape. Remove the paper and connect the marks with a washable marker if the outline needs more visibility. Review the full pattern before cutting so every bridge remains intact.
Begin with the smallest facial or rib shapes, then work toward the larger areas. Use short, controlled motions and turn the pumpkin as needed instead of twisting your wrist.
Starting near the center helps protect completed sections from pressure while the rest of the design is carved.
Printing and Carving Tips
Plain letter-size printer paper bends around a pumpkin more easily than heavy cardstock. Use black ink or grayscale mode for a crisp pattern.
If the stencil is too large, reduce the print scale while keeping the original proportions so the design does not become stretched.
Choose a pumpkin with a wide, relatively smooth face. Scrape the inside wall behind the stencil a little thinner to make carving easier, but leave enough thickness to support the white bridges between the skull features, bones, and joints.
Pumpkin Carving Safety
Sharp carving tools should be handled by an adult.
Children can help scoop seeds, tape the pattern, or mark the stencil with close supervision and age-appropriate tools. Keep hands away from the cutting path and work on a stable, dry surface.
Battery-operated lights or glow sticks are the safest choices for illuminating a finished pumpkin. If a candle is used, keep it away from curtains, decorations, walkways, and other combustible materials.
Never leave a burning candle unattended.
FAQ
The Classic Skull Face is the simplest choice because it uses a small number of large, separated shapes. The Skull and Crossbones is also approachable, but its two long bone shapes require a little more space and careful tracing.
Yes. Lower the scale percentage in the printer settings and check the preview before printing. Keep the design proportional, and avoid shrinking it so much that the white bridges or gaps between nearby cuts become narrow.
The black shapes can be cut through for a bright glow or etched for a softer result. You can also combine the methods, such as carving the large eye sockets and etching smaller tooth or rib shapes. Keep every white bridge untouched so the design stays supported.