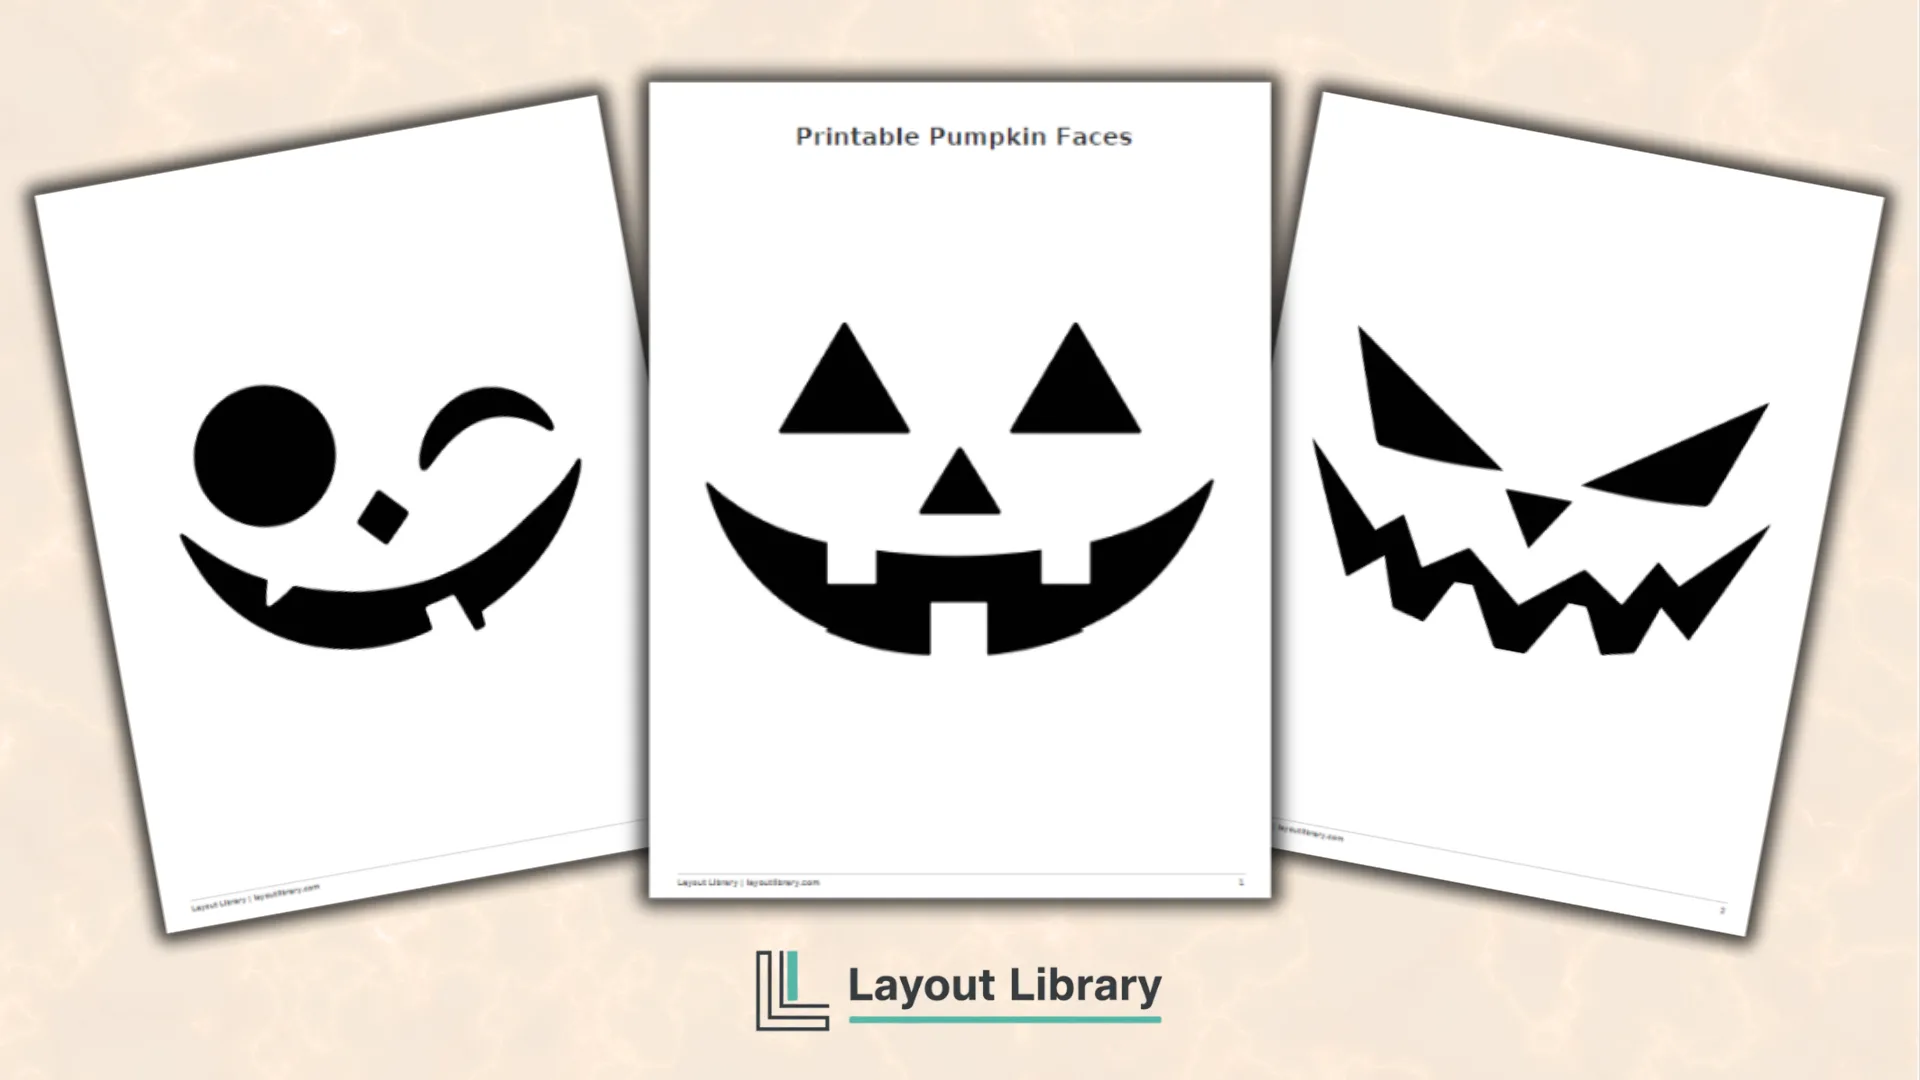
A good jack-o’-lantern starts with a face that suits the mood.
This printable includes four original pumpkin expressions, ranging from cheerful and silly to surprised and spooky, so families and crafters can choose a design that fits their Halloween plans.
Each face is presented at a large size on its own portrait page. The bold black shapes are simple to trace, cut, or transfer, while the generous white space makes each design easy to scale for pumpkins, paper crafts, signs, and seasonal decorations.
Printable Details
Title: Pumpkin Faces. Used For: Halloween pumpkin carving, paper crafts, coloring activities, window decorations, and fall party projects. Page Length: 5 pages. Paper Size: 8.5 x 11 in (portrait). File Size: 546 KB. File Type: PDF. Color: Black & White. License: Personal Use.
Choose from four clearly different expressions for cheerful, spooky, silly, or surprised Halloween decorating.
Print one large face per page for straightforward tracing, transferring, cutting, or resizing.
Use bold, high-contrast shapes that remain recognizable on pumpkins, paper, windows, and signs.
Adapt the designs for carved pumpkins or no-carve projects using paint, markers, or adhesive paper.
Save printer ink with clean black-and-white pages and generous open space around every face.
Follow the included adult-supervision and flameless-light guidance when preparing carved jack-o’-lanterns.
What’s Included in These Printable Pumpkin Faces
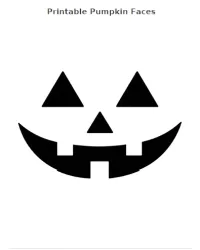
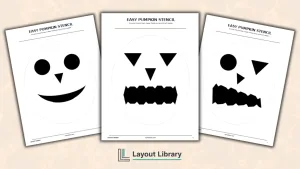
The first design is a classic happy jack-o’-lantern face. It combines triangular eyes and a small triangular nose with a wide curved smile. Chunky teeth give the expression a traditional Halloween look without adding difficult details.
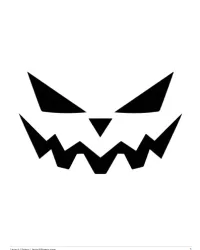
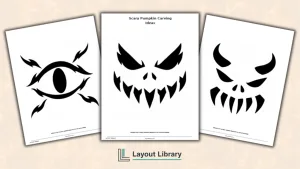
The spooky face uses narrow, slanted eyes and a sharp zigzag grin. Its angular shapes create a stronger expression, making it a useful choice for porch displays, Halloween parties, or a group of pumpkins with different personalities.
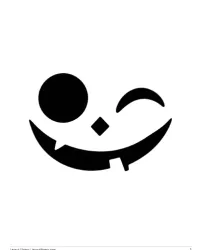
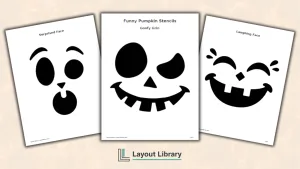
The silly option has mismatched eyes, a diamond-shaped nose, and a crooked smile with a single snaggletooth. This playful design works especially well for family decorating, classroom crafts, and no-carve pumpkins made with paper or removable vinyl.
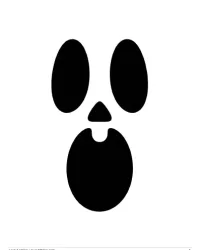
The surprised face features tall oval eyes, a small nose, and a large open mouth. Its simple shapes are easy to recognize from a distance, which makes the design practical for window displays, party signs, and larger pumpkin arrangements.
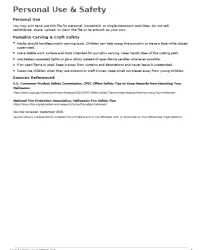
The final page contains the personal-use terms and safety information. It also lists the primary sources used to confirm the adult-carving and flameless-light recommendations included with the printable.
Ways to Use These Pumpkin Face Templates
For pumpkin carving, choose the expression that best fits the pumpkin’s size and shape. A wide face can fill a short, round pumpkin, while the surprised expression works naturally on a taller pumpkin. Printing at a reduced scale can help fit smaller gourds.
The faces also work for no-carve decorating. Trace the shapes onto removable adhesive paper, black construction paper, or felt, then attach the pieces to a clean pumpkin. This approach lets children participate in the decorating stage without handling carving tools.
For paper crafts, add a face to a pumpkin outline, treat bag, greeting card, banner, or classroom bulletin board. The individual shapes can also be mixed between designs to create new expressions. Try the spooky eyes with the silly mouth or the round eyes with the classic grin.
How to Use These Pumpkin Faces for Carving
Print the selected page at actual size for the largest version. To resize it, choose a custom percentage in the printer settings and print a test page on regular paper before transferring the design.
Trim away excess paper, position the face on the pumpkin, and secure it with removable tape. Transfer the design using your preferred tracing or poking method. Work on a stable surface, and keep the face centered before beginning any cuts.
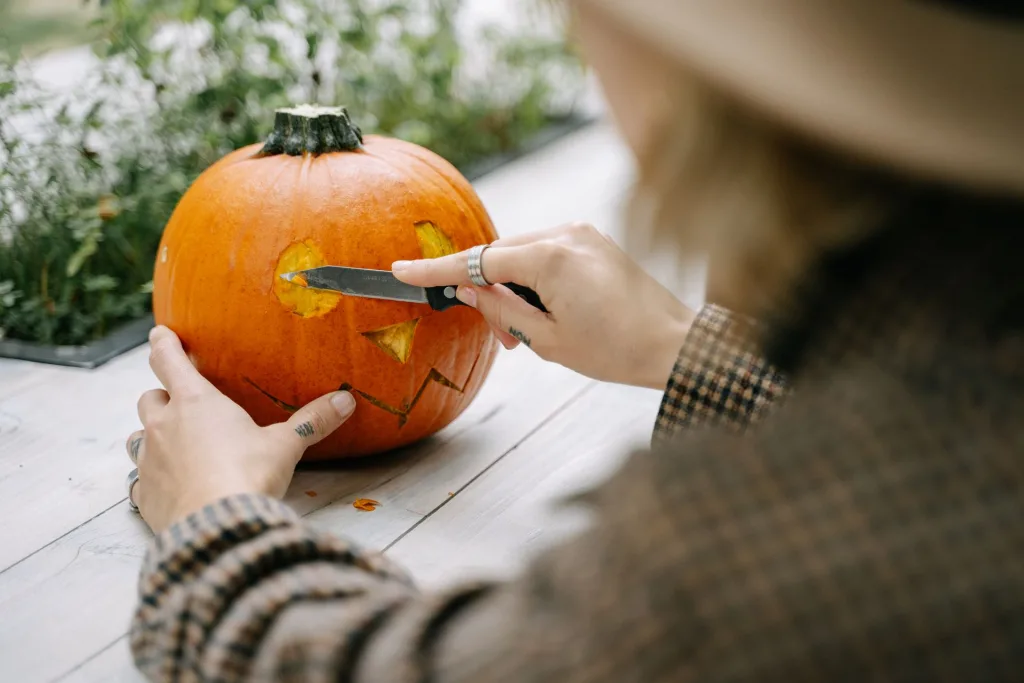
Adults should handle pumpkin carving tools. Children can scoop the pumpkin or trace the printed shapes while closely supervised. When the carving is finished, use a battery-operated light or glow stick whenever possible.
Never leave an open-flame candle unattended.
Supplies You May Need
Affiliate disclosure: Some links below are affiliate links. If you make a purchase, Layout Library may earn a commission at no extra cost to you.
Pumpkin Carving Kit
A dedicated pumpkin carving kit gives you scooping, cutting, etching, and detail tools for turning the printed faces into finished jack-o’-lanterns.
Use standard US Letter paper and select portrait orientation. Print in black and white at 100 percent or actual size unless you intentionally need a smaller face.
Turn off settings such as fit to page if exact sizing matters for your chosen pumpkin.
Regular printer paper is suitable for transferring a carving design. Cardstock is sturdier for repeated tracing, paper decorations, or craft templates.
For a reusable stencil, place the printed page in a sheet protector and trace the shapes onto a more durable material.
FAQ
Yes. Use the custom scale setting in the print dialog and reduce the percentage until the face fits. Printing a draft copy first helps you check the proportions before transferring the design.
Children can choose a face, color a craft, scoop a pumpkin, or trace shapes with close adult supervision. Adults should handle carving tools, craft knives, and any other sharp cutting equipment.
No. The faces can be traced, painted, colored, or cut from paper, felt, or removable adhesive material. They also work for windows, banners, party signs, treat bags, and classroom Halloween projects.