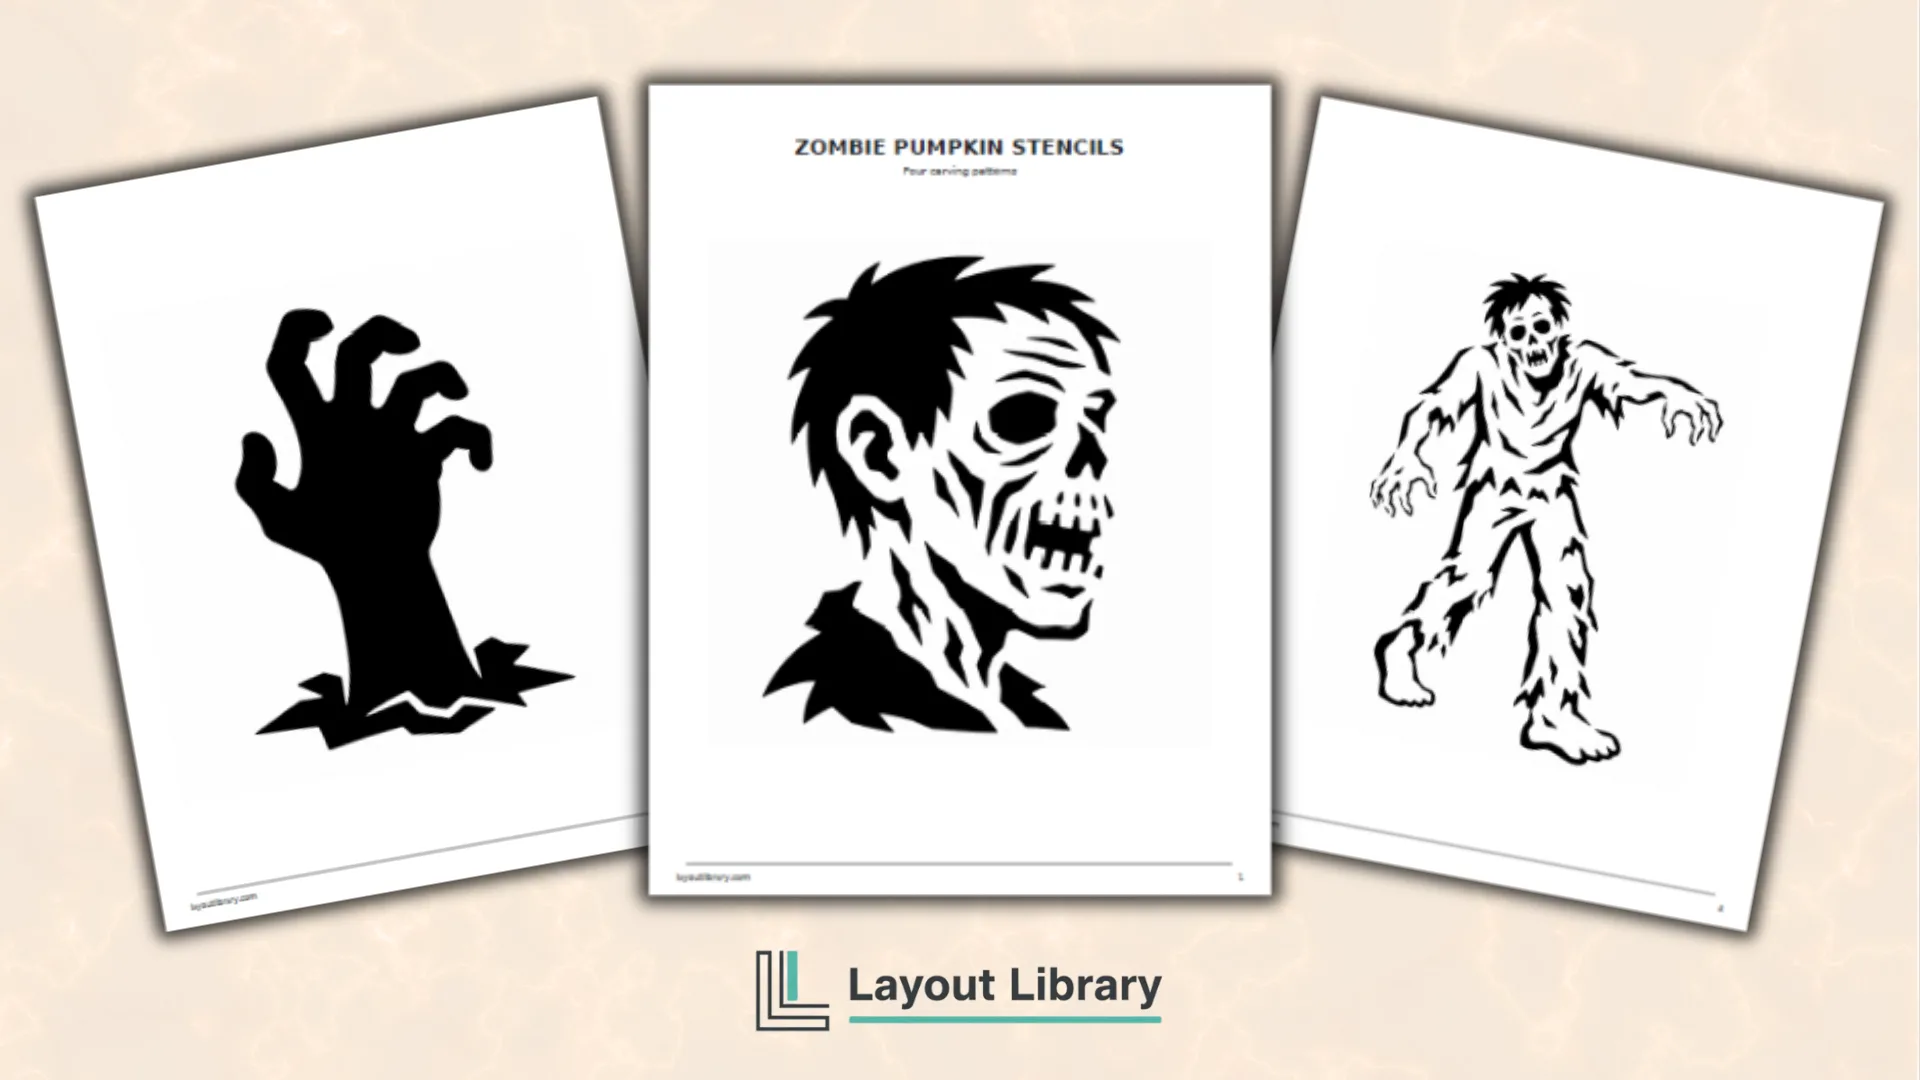
A glowing zombie design can give a jack-o’-lantern plenty of Halloween personality without requiring an elaborate carving plan.
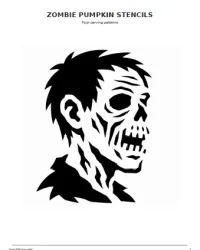
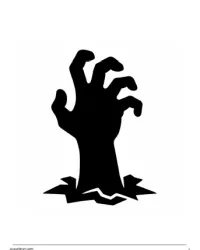
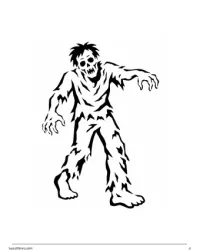
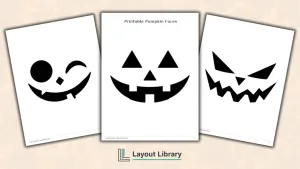
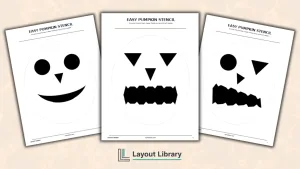
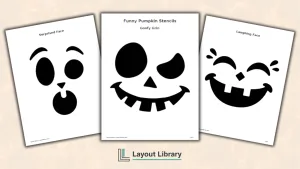
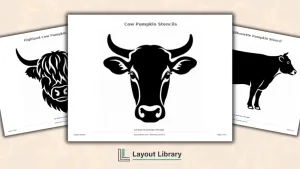
These free printable zombie pumpkin stencils offer four different undead looks, from a dramatic profile to a simple reaching hand.
Each pattern uses bold black shapes and generous open areas so the design is easy to see, trace, and adapt to your pumpkin. Choose one favorite for the porch, or carve several designs for a coordinated Halloween display.
Printable Details
Title: Zombie Pumpkin Stencils. Used For: Halloween pumpkin carving, porch displays, family carving nights, parties, and no-carve crafts. Page Length: 5 pages. Paper Size: 8.5 x 11 in (portrait). File Size: 3.22 MB. File Type: PDF. Color: Black & White. License: Personal Use.
Four zombie designs give you a useful mix of faces, figures, and spooky silhouette shapes.
Bold outlines and large openings make the patterns practical for tracing onto round or uneven pumpkin surfaces.
Portrait pages provide generous space for each stencil while remaining convenient for standard home printers.
The black-and-white format keeps printing simple and lets you clearly identify the main design areas.
You can resize every page in the print dialog to suit smaller or larger pumpkins.
A separate safety and personal-use page keeps the carving guidance and license easy to reference.
Overview
This printable collection is designed for anyone who wants an undead theme without relying on a recognizable movie, television, or game character.
The four options range from playful to spooky, making them suitable for family carving nights, Halloween parties, classroom displays, and front-porch decorations.
The large single-design layout also gives you flexibility. Print a stencil at full size for a medium or large pumpkin, reduce the scale for a smaller pumpkin, or enlarge it across multiple sheets if your printer offers poster settings.
The same patterns can be traced for painted pumpkins, signs, treat-table decorations, or paper crafts.
What’s Included
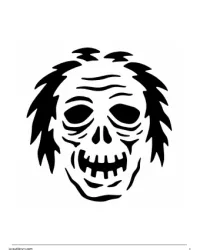
The first stencil features a side-profile zombie head with ragged hair, a large eye opening, and a crooked open mouth. It creates a dramatic face while keeping the major shapes clear.
The second design is a thick zombie hand reaching out of broken ground. Its broad palm and chunky fingers make it the simplest option for a quick carving project.
The third page shows a full walking zombie with bent arms, uneven legs, and ragged clothing. This silhouette works well when you want a recognizable figure rather than a close-up face.
The fourth design is a front-facing zombie face with uneven eyes, a broad nose opening, and a large broken-tooth grin. It has a classic Halloween look that reads clearly from a distance.
How to Use This Printable
Choose a pumpkin with a smooth area large enough for your preferred design.
Print the selected page, then trim away extra paper around the stencil so it can curve more easily. Tape the pattern firmly to the pumpkin, adding small folds or cuts around the paper edge if needed.
Transfer the design by tracing the shapes with a washable marker or by making closely spaced prick marks along the edges.
Remove the paper before carving so you can see every line. Begin with the smallest interior areas, work outward, and leave cut pieces in place until the nearby sections are finished.
Printing Tips
Select US Letter paper and portrait orientation in your printer settings. Use Actual Size or 100% for the original dimensions. If the design is too large, try 85% or 90%; if it is too small, use a custom scale above 100% or a poster-print option.
Standard copy paper works well because it bends around a pumpkin. Print with black ink, turn off double-sided printing, and preview the page before printing. The PDF contains one stencil per page, so you can print only the designs you plan to use.
Pumpkin Carving Safety
Adults should handle carving saws, knives, and other sharp tools.
Children can choose the stencil, help scoop the pumpkin, or trace the design while closely supervised. Work on a clean, dry, stable surface and keep hands out of the tool’s cutting path.
For illumination, use a battery-operated tea light or glow stick instead of an open flame.
A no-carve version is another good option: trace the stencil, fill the shape with washable paint or a paint marker, and let it dry before displaying.
FAQ
The reaching hand is the most beginner-friendly choice because it uses one broad silhouette with large, well-spaced fingers. The front-facing zombie face is also approachable if you prefer a traditional jack-o’-lantern look.
Yes. Change the scale percentage in your printer dialog before printing. Measure the usable area of your pumpkin first, then choose a percentage that keeps the entire stencil within that space.
Yes. Trace a design onto a pumpkin and paint it, or use the patterns for paper signs, window decorations, party crafts, and other personal Halloween projects.