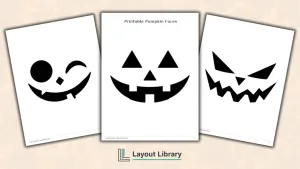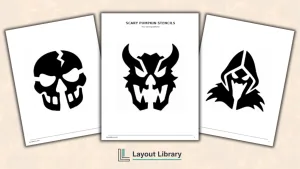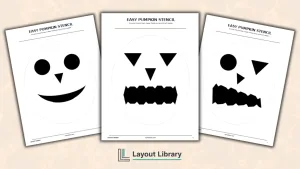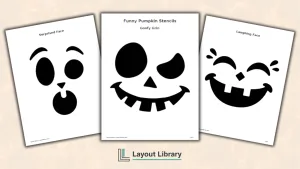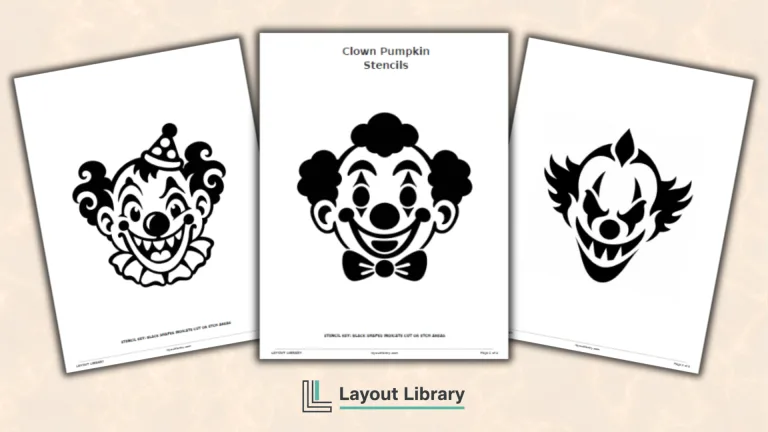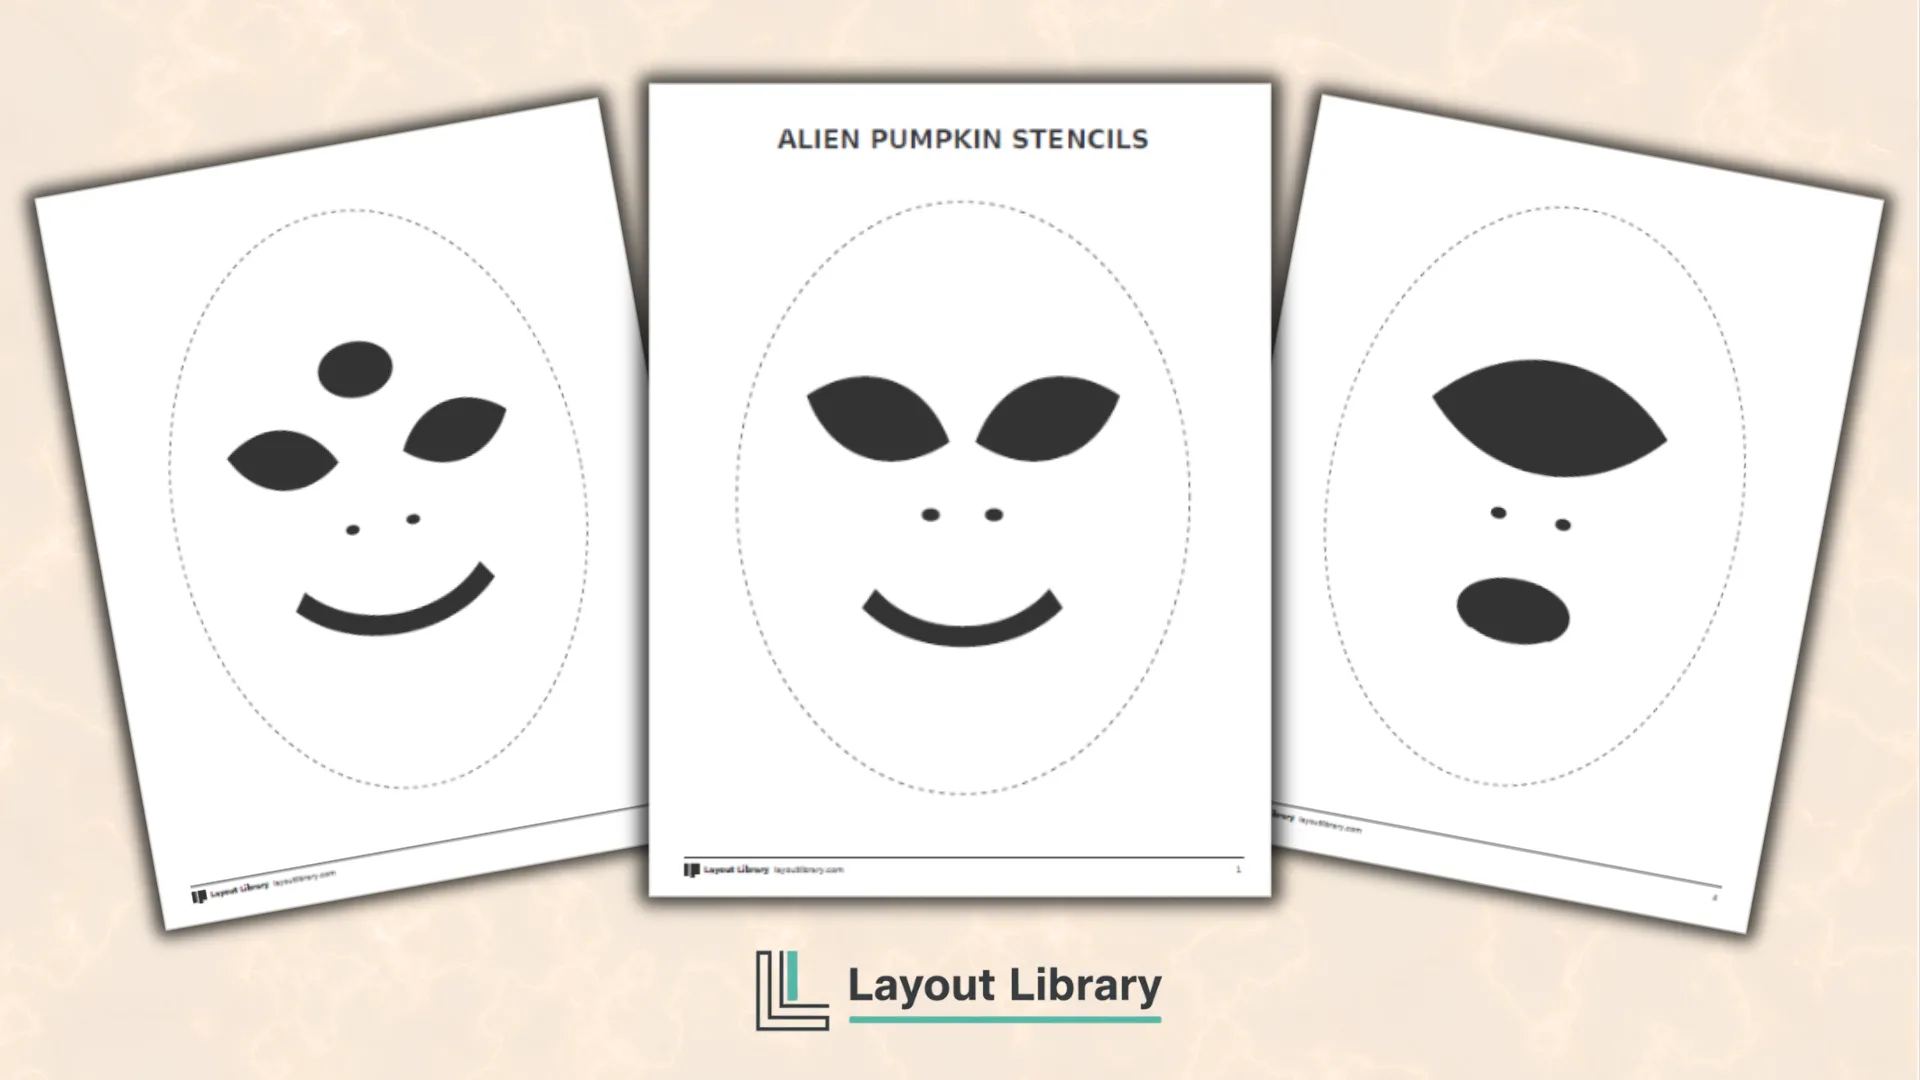
Give your jack-o’-lantern an out-of-this-world expression with these free printable alien pumpkin stencils.
The set includes six original faces, from friendly wide-eyed aliens to bolder geometric expressions.
Each pattern is large, simple to trace, and designed for a standard pumpkin carving project.
Printable Details
Title: Alien Pumpkin Stencils.
Used For: Pumpkin carving, Halloween displays, family activities, party decorating, and stencil tracing.
Page Length: 7 pages.
Paper Size: 8.5 x 11 in (portrait).
File Size: 50 KB.
File Type: PDF.
Color: Black & White.
License: Personal Use.
Image Gallery
At a Glance
What’s Included in This Alien Pumpkin Stencil Set
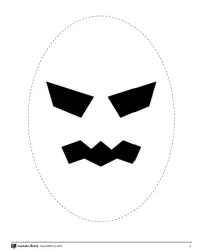
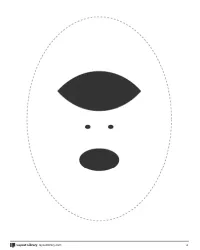
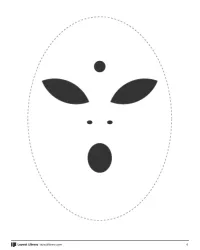
The printable contains six full-page alien face patterns.
The first page includes the product title, while the next five stencil pages keep the focus entirely on the artwork. No design names or descriptive subtitles are printed beneath the faces.
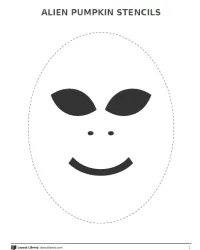
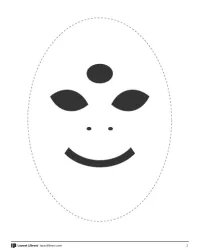
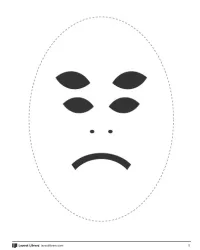
The patterns vary in expression and complexity. You will find tall oval eyes, a three-eyed smile, sharp geometric features, a cyclops face, a four-eyed expression, and a rounded face with a small third eye.
All six designs are original and are not based on a movie, television, game, or branded character.
Each stencil uses solid black shapes to show the areas intended for cutting. A light dashed oval acts as a placement guide, helping you position the design on the front of the pumpkin.
The guide is not part of the carving pattern.
How to Use a Printable Alien Pumpkin Stencil
Print the page that contains your preferred face at actual size or 100 percent. If your pumpkin is smaller, use the custom scale setting in your print dialog. A test print on plain paper can help you confirm the fit before preparing the pumpkin.
Trim away excess paper, then tape the stencil securely to the pumpkin. Small folds around the outer edges can help a flat sheet follow the curved surface. Trace the black shapes with a washable marker, or transfer the outline by making closely spaced pinholes along each edge.
Remove the paper and check the full design before carving. Cut only the transferred face shapes. The dashed oval is there to suggest placement and should not be cut unless you intentionally want a large opening around the face.
Printing Tips
Use regular white printer paper for tracing or pinhole transfer. Cardstock is sturdier, but plain paper bends around a pumpkin more easily.
Select portrait orientation and turn off double-sided printing so every stencil stays on its own sheet.
For a medium pumpkin, start at 100 percent. Try 80 to 90 percent for a smaller surface or increase the scale for a large pumpkin, provided your printer does not crop the design.
Black-and-white or grayscale mode is sufficient because the file contains no color artwork.
Pumpkin Carving Safety
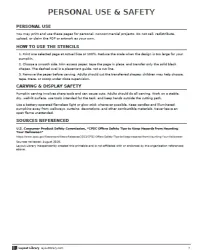
Pumpkin carving involves sharp tools, so an adult should handle all cutting.
Children can help choose a pattern, scoop out seeds, tape the page in place, or trace the design with close supervision. Work on a dry, stable, well-lit surface and keep hands outside the path of the blade.
Use a battery-operated light or glow stick inside the finished pumpkin whenever possible. If you use a candle, keep it away from costumes, curtains, walkways, and other combustible materials, and never leave it unattended.
These precautions align with CPSC Halloween safety guidance.