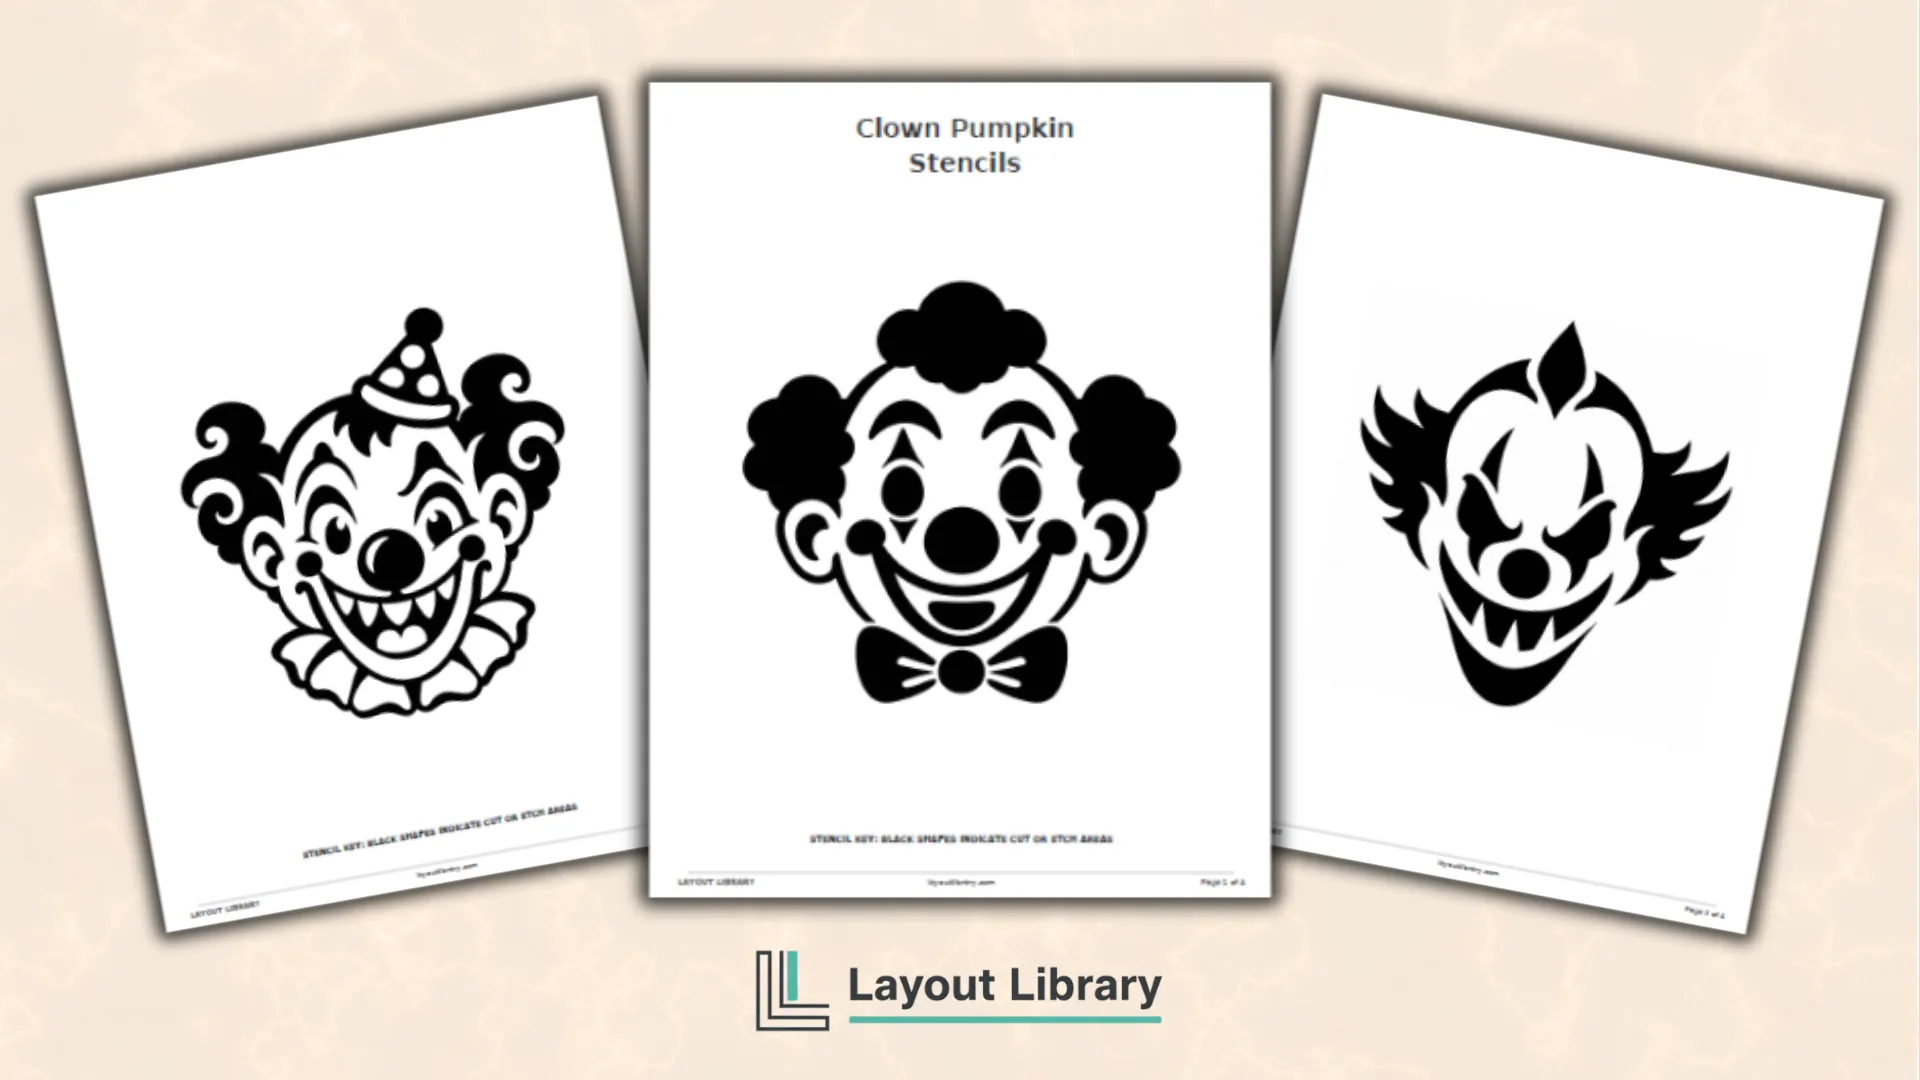
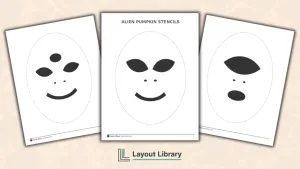
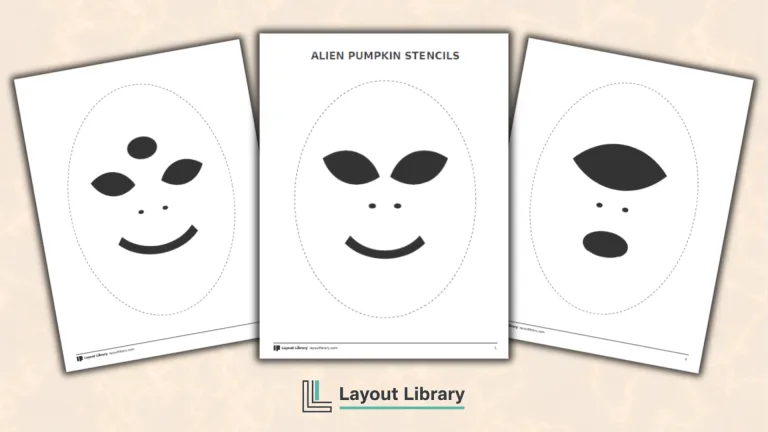
Give your jack-o’-lantern a playful circus twist with these free printable clown pumpkin stencils.
The collection includes three original clown faces that range from cheerful to creepy, so you can choose a look that fits a family party, porch display, classroom celebration, or haunted-house theme.
Each design uses bold black shapes and roomy details that are easy to trace. Print the PDF at home, select a stencil, and transfer the face to a clean pumpkin before carving or etching.
Printable Details
Title: Clown Pumpkin Stencils. Used For: Pumpkin carving, Halloween decorating, tracing, and seasonal crafts. Page Length: 4 pages. Paper Size: 8.5 x 11 inches, portrait. File Size: 1.3 MB. File Type: PDF. Color: Black and white. License: Personal use.
Three original clown faces offer friendly, silly-spooky, and creepy carnival styles for different Halloween moods.
Each portrait page gives one large stencil plenty of room for clear tracing and comfortable carving.
Bold black shapes identify the areas intended for cutting or shallow surface etching.
Beginner and intermediate difficulty labels help you select a design that suits your carving experience.
The final page provides personal-use terms, adult-supervision guidance, and practical pumpkin-lighting safety reminders.
Overview
Clown pumpkins can be funny, whimsical, or just unsettling enough for Halloween.
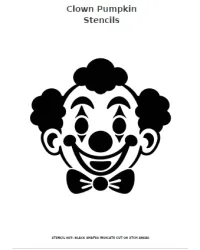
This set keeps the faces simple and readable while giving each clown a different personality. Thefriendly circus clown has rounded hair and a cheerful smile.
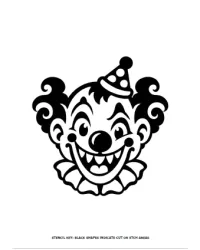
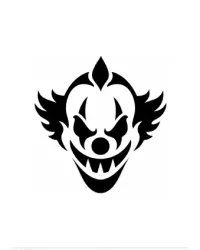
Theparty clown adds a festive hat, curls, diamond-shaped eyes, and a ruffled collar. The creepy carnival clownuses sharper hair, narrow eyes, and a toothy grin for a scarier result.
All three designs are original, generic clown characters rather than versions of recognizable movie, television, or comic-book characters. That makes the set flexible for many Halloween themes without tying your display to a particular franchise.
What’s Included
The PDF contains three full-page stencil designs plus one personal-use and safety page.
The Friendly Circus Clown is the easiest option and works well for newer carvers. Its larger curves and open features make the pattern easier to transfer.
The Silly-Spooky Party Clown sits between cute and creepy. Its hat, eye shapes, grin, and collar create extra visual interest without requiring very tiny cuts.
The Creepy Carnival Clown is the boldest choice, with angular features and pointed teeth that produce a dramatic glow after dark.
How to Use the Clown Pumpkin Stencils
Choose a pumpkin with a smooth, broad side. Wash and dry the surface, then cut an opening and remove the seeds and stringy pulp.
Scrape the inner wall behind the design until it is even and thin enough to carve comfortably.
Print the stencil at actual size for a large pumpkin, or use your printer’s scale setting for a smaller one.
Trim excess paper, position the face on the pumpkin, and secure it with removable tape. Small folds or snips around the outer paper edge can help the flat sheet follow the pumpkin’s curve.
Transfer the pattern by tracing firmly or poking closely spaced guide holes along the edges of each black shape. Remove the paper and connect any unclear marks. Carve the smallest interior details first, then move outward.
If you prefer an etched look, remove only the outer skin inside selected shapes instead of cutting through the pumpkin wall.
Printing and Carving Tips
Use plain white US Letter paper and select black-and-white or grayscale printing.
Check the preview so the page stays in portrait orientation and no part of the stencil is cropped.
A lighter printed copy still works because the outlines and black shapes provide the tracing information.
Keep bridges of pumpkin flesh between nearby openings so the face remains sturdy. Pause occasionally to view the design from a few feet away.
A battery-powered light placed inside the pumpkin will reveal areas that need a little more carving or etching.
Pumpkin Carving Safety
Pumpkin carving involves sharp tools.
An adult should handle all cutting and carving, while children can help scoop pulp, choose a design, or trace the pattern with close supervision. Work on a stable, dry surface and use tools made for pumpkin carving when possible.
Battery-powered lights or glow sticks are safer choices for illuminating finished pumpkins. If a candle is used, keep the pumpkin away from curtains, decorations, walkways, and other combustible materials.
Never leave an open flame unattended, and supervise children around lit pumpkins.
FAQ
Start with the Friendly Circus Clown. Its broad hair shapes, simple eyes, round nose, and open smile use fewer tight turns than the other designs. The Silly-Spooky Party Clown can also work for confident beginners who want a few more decorative details.
Yes. Open your printer settings and reduce the scale percentage before printing. Keep the page in portrait orientation and use the print preview to confirm the entire design remains visible. Extremely small scaling can make narrow details harder to transfer and carve.
The black shapes show the areas intended for cutting through the pumpkin or removing the outer skin for an etched effect. You can combine both methods for added depth, but preserve enough uncut pumpkin between shapes to keep the design stable.