A cow-themed jack-o’-lantern brings a distinctive farmhouse look to Halloween.
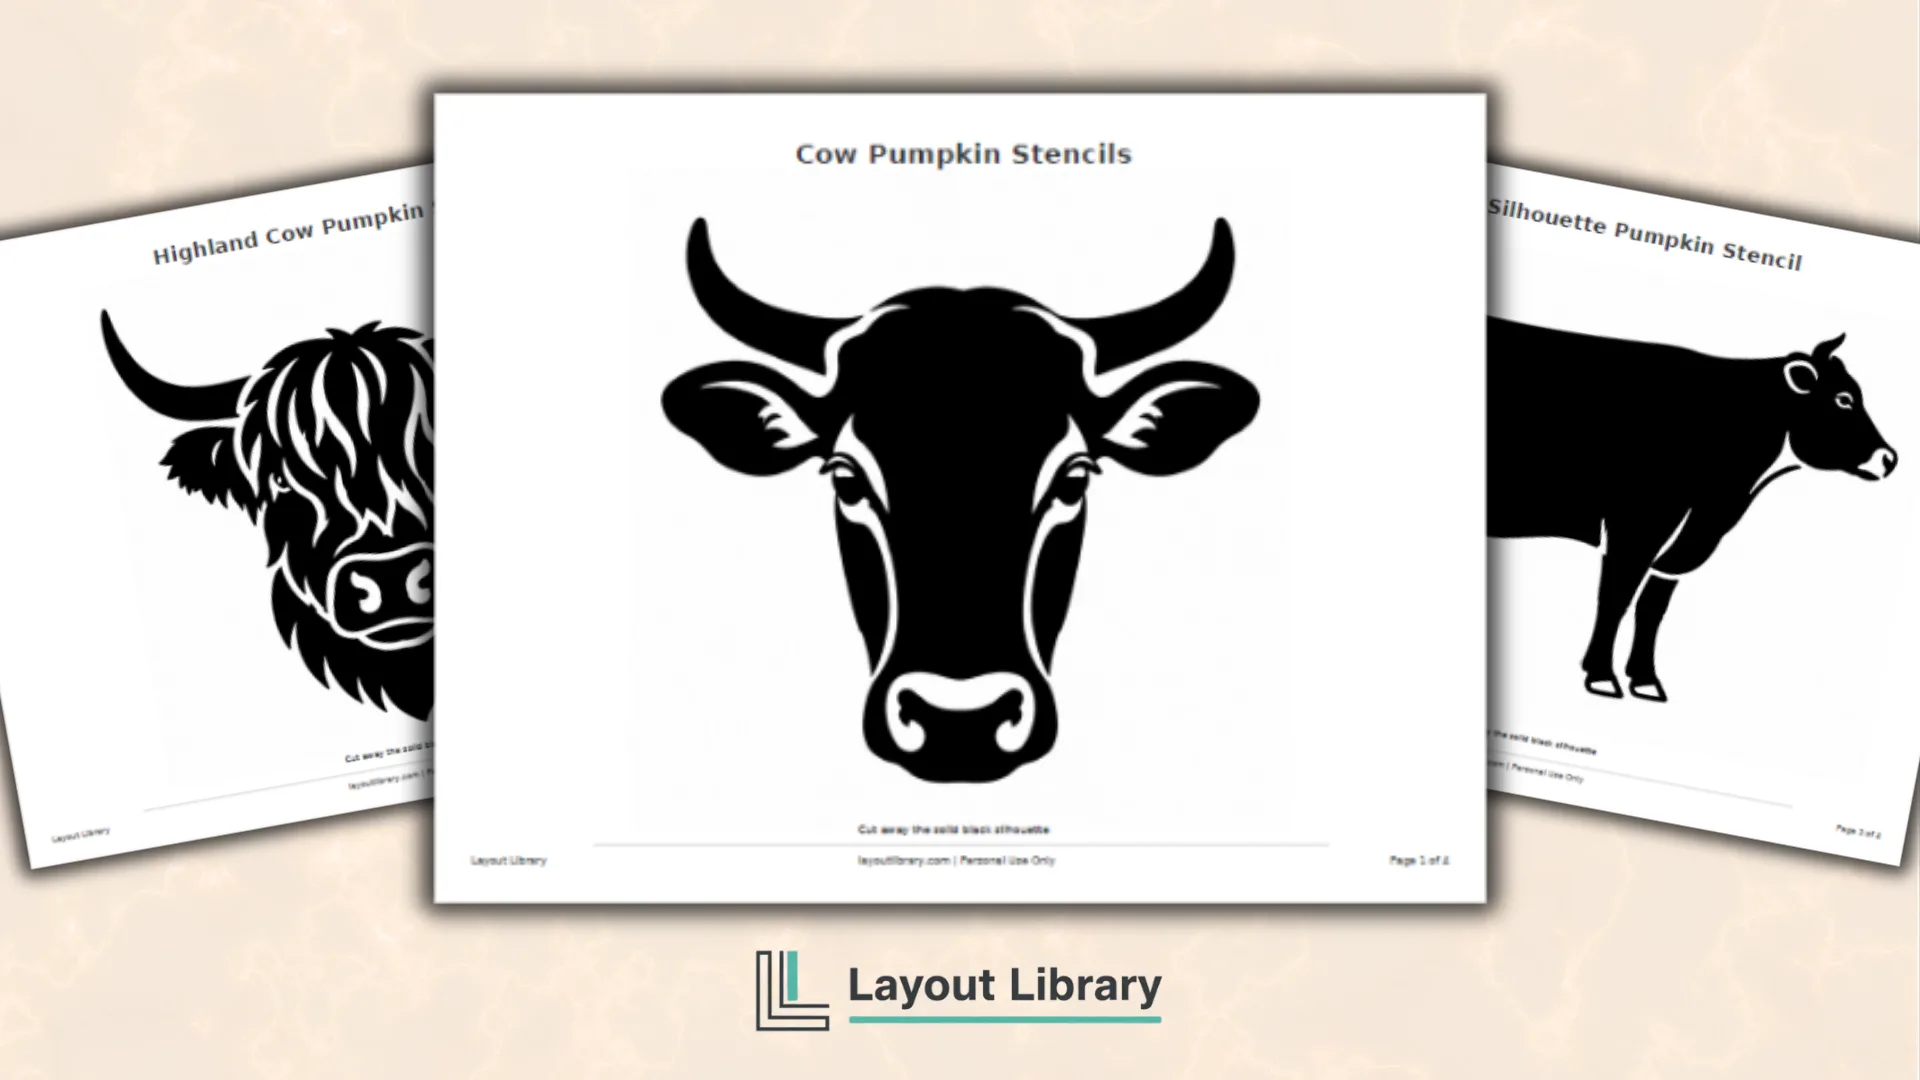
These free printable cow pumpkin stencils use three recognizable silhouettes: a front-facing horned cow head, a shaggy Highland cow head, and a complete cow standing in side profile.
Each page uses one bold black silhouette with a strong outer contour. The solid shape shows what to remove, while open channels preserve useful features such as the Highland cow’s shaggy coat and the side-profile cow’s legs, udder, and tail.
Printable Details
Title: Cow Pumpkin Stencils. Used For: Halloween pumpkin carving, farm-themed decorations, porch displays, fall parties, and carving contests. Page Length: 4 pages. Paper Size: 11 x 8.5 in (landscape). File Size: 2.2 MB. File Type: PDF. Color: Black & White. License: Personal Use.
Three designs: A front-facing horned cow, a shaggy Highland cow, and a full cow silhouette.
Bold solid silhouettes clearly mark the area to remove without relying on tiny facial cuts or decorative details.
Landscape pages give the cow heads and full side-profile design room to stay large and easy to trace.
Clear outer contours keep horns, ears, shaggy hair, legs, the udder, and the tail recognizable after carving.
Each stencil can be printed at full size or scaled to fit a smaller pumpkin.
The final page includes tracing instructions, personal-use terms, carving supervision, and safer lighting guidance.
About These Cow Pumpkin Stencils
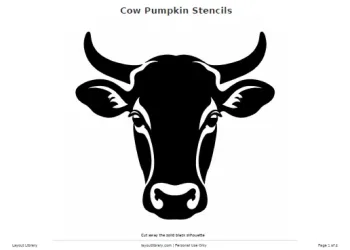
The first pattern is a front-facing horned cow head with a broad forehead, large ears, long curved horns, tapered cheeks, and a rounded muzzle.
Its balanced outline creates a strong cow silhouette that remains recognizable even without small facial details.
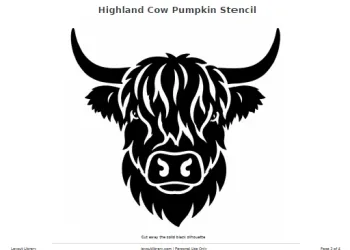
The Highland cow stencil uses wide curved horns, furry ears, a heavy forelock, a broad muzzle, and a shaggy lower outline. Large locks and open channels suggest the breed’s long coat without relying on dozens of tiny cuts.
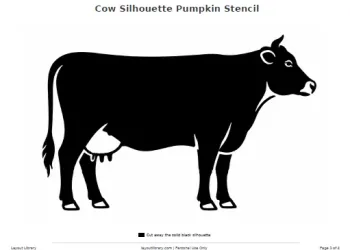
The third page shows an entire cow standing in side profile. Its level back, deep body, sturdy legs, udder, tail, ear, horn, and long muzzle create a clear farm-cow silhouette.
This design works especially well on a broad pumpkin because the animal stretches horizontally.
What’s Included
The PDF contains three full-page cow silhouette patterns followed by a personal-use and carving-notes page.
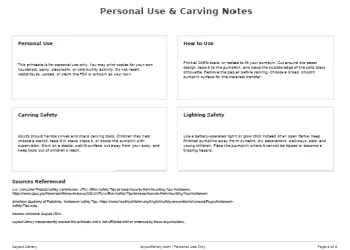
A small visual key near the bottom of each stencil page confirms that the solid black silhouette is the area to cut away.
The final page explains printing, scaling, transferring, and carving. It also includes personal-use terms, design notes, adult-supervision guidance, safer lighting suggestions, and the main safety sources referenced while creating the instructions.
Choosing the Best Stencil
Choose the front-facing horned cow head for a bold, symmetrical design. The Highland cow suits a taller pumpkin because its shaggy face runs vertically.
Use the full side-profile cow on a wide pumpkin with enough room for the body, legs, head, and tail.
Before transferring a pattern, hold the printed page against the pumpkin and check the fit. The main features should sit on the flattest area.
If the paper wraps too far around the sides, reduce the print scale and test it again.
How to Transfer and Carve the Pattern
Print the chosen page, trim excess paper if needed, and tape it firmly to a clean, dry pumpkin.
Trace the outside edge of the solid black silhouette with a transfer tool or carefully mark through the paper. Remove the page and check the complete outline before carving.
Cut away the solid black silhouette. Work slowly around horns, ears, legs, the tail, and shaggy outer edges so the outline stays clean.
The surrounding pumpkin surface frames the cow shape when the design is lit.
Printing and Scaling Tips
Use landscape orientation and select actual size or 100 percent for the largest version.
For a smaller stencil, choose a reduced percentage in the printer settings and keep the page centered. Avoid stretching only the width or height because that distorts the cow’s features.
Ordinary printer paper bends around most pumpkins. Make small relief cuts in the blank paper outside the design if the page buckles, then overlap those cut edges slightly as you tape the stencil in place.
Pumpkin Carving Safety
Adults should handle knives, carving saws, awls, and other sharp tools. Children can choose a stencil, trace the design, or help scoop out the pumpkin.
Work on a stable, well-lit surface, keep hands dry, and cut away from the body.
Use a battery-operated light, flashlight, or glow stick whenever possible. Keep lit pumpkins away from curtains, dry decorations, walkways, pets, and places where children may reach them.
FAQ
Yes. Reduce the scale in your printer settings and keep the page centered. Test the design against the pumpkin before transferring it so the features do not wrap too far around the sides.
Carve the solid black silhouette. The outer contour creates the cow shape, while any white channels that reach the surrounding paper remain uncut.
Yes. Trace the black shapes with paint or a permanent marker for a no-carve pumpkin. Adults should supervise children and follow the safety directions supplied with any art materials.