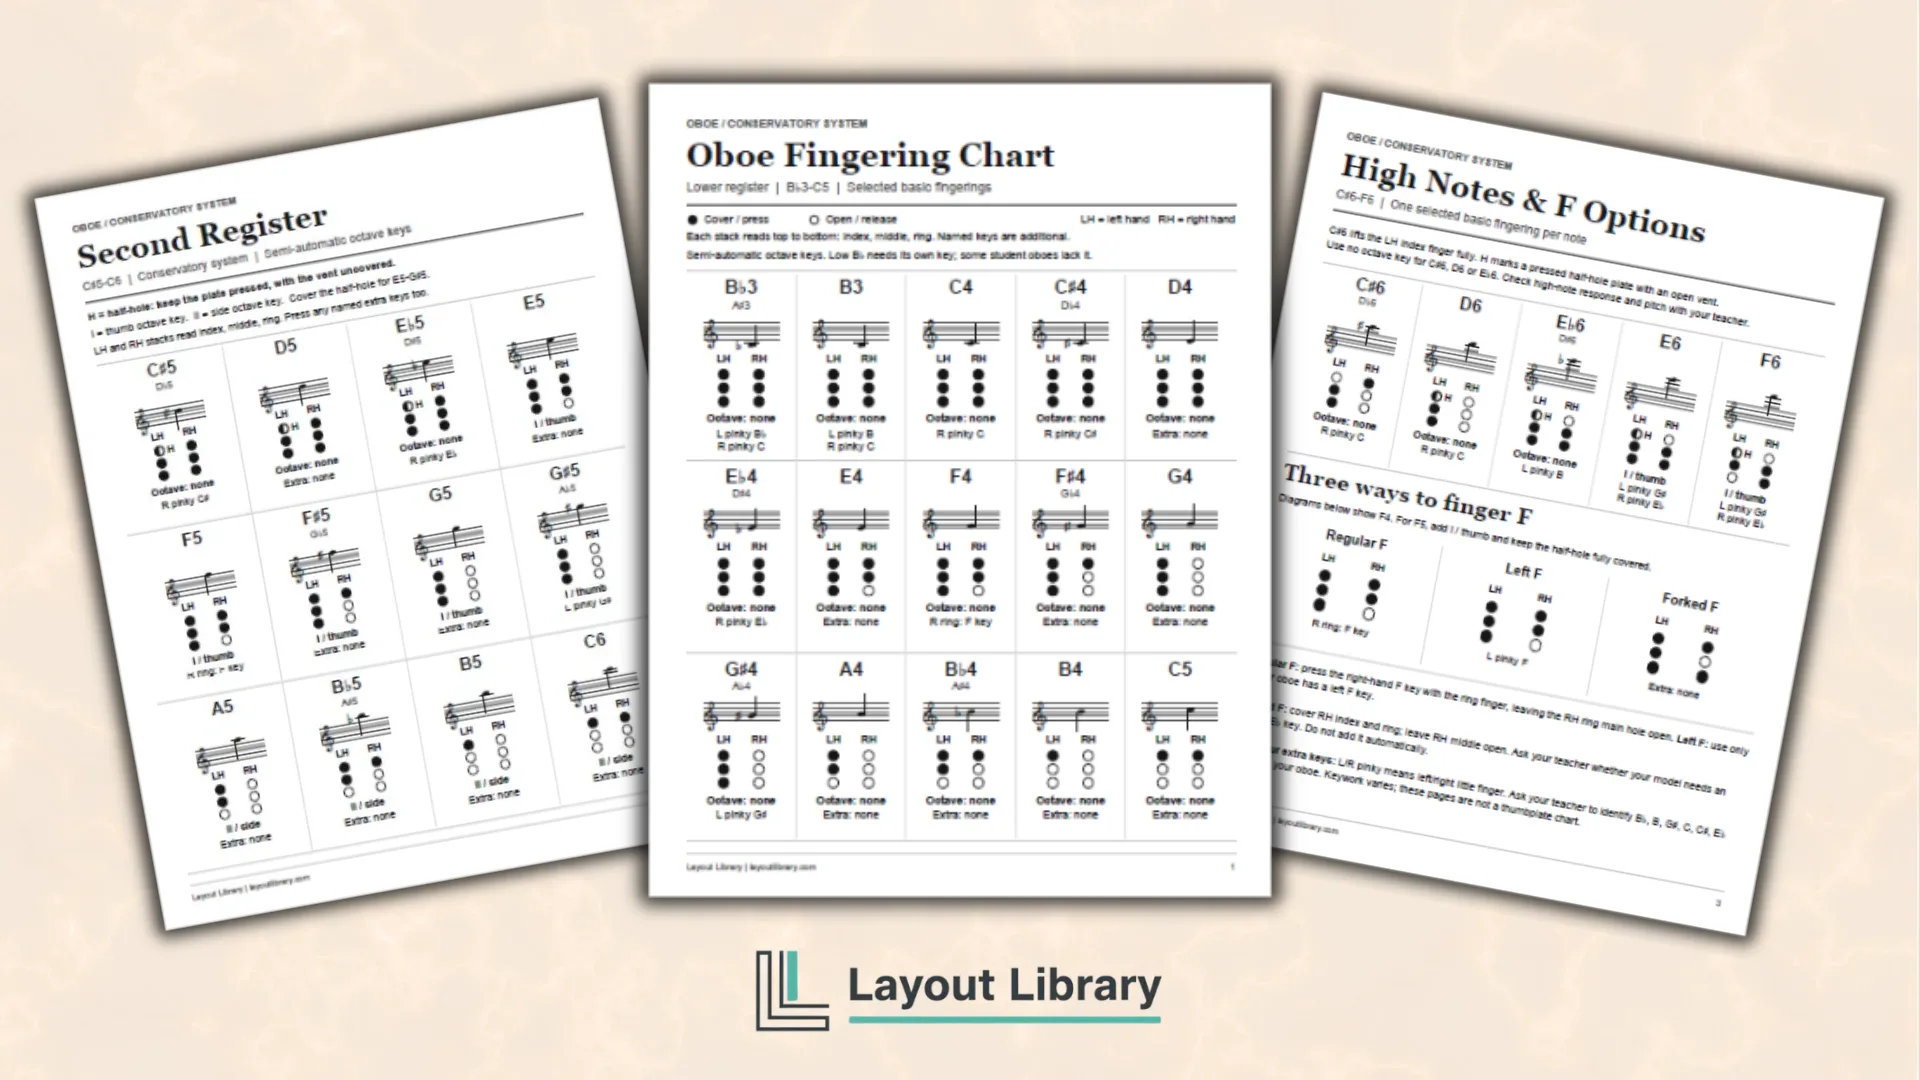
This free printable oboe fingering chart brings selected basic fingerings, key diagrams, short practice patterns, and lesson notes together in an eight-page reference.
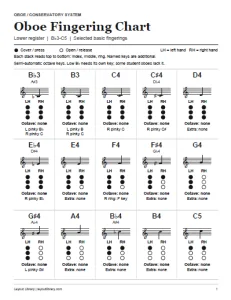
The chart covers B-flat3 through F6 for conservatory-system oboes with semi-automatic octave keys. Note names, treble-staff notation, finger diagrams, and extra-key labels appear together. Four supporting pages help you locate the controls, understand the half-hole, practice changes, and record your teacher’s fingering choices.
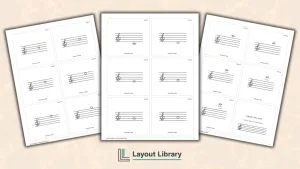
For a separate note-reading activity, pair the chart with our treble clef flash cards. Identify a note on a card, then find its pitch and finger diagram on the appropriate chart page.
Printable Details
Title: Oboe Fingering Chart. Used For: fingering review, transition practice, private lessons, teacher annotations. Page Length: 8. Paper Size: 8.5 x 11 in (portrait). File Size: 156 KB. File Type: PDF. Color: Black & White. License: Personal, Educational & Business Use (No Resale or PDF Redistribution)
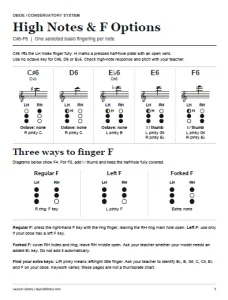
Review 32 selected basic fingerings from B-flat3 through F6, grouped across three chart pages by register.
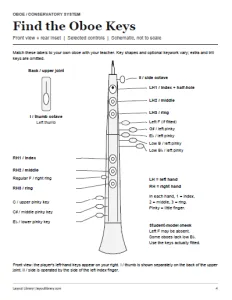
Locate main finger positions, pinky controls, and octave keys with a labeled map and separate rear-view inset.
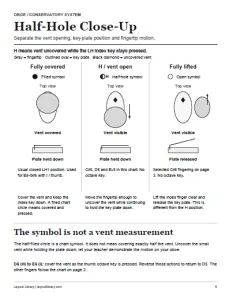
Compare fully covered, half-hole, and fully lifted positions through enlarged diagrams of the fingertip, vent, and plate.
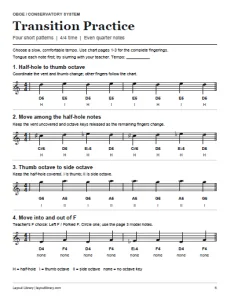
Practice four short musical patterns with note names and register labels beneath the printed staff notation.
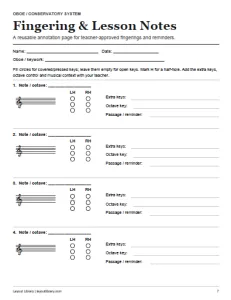
Record four teacher-approved fingerings on blank diagrams, with space for extra keys, octave controls, and passage reminders.
Keep regular, left, and forked F diagrams together so you can discuss suitable choices for your instrument.
Find the Note and Its Register
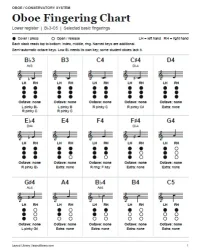
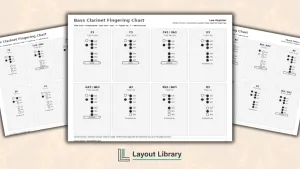
The opening Oboe Fingering Chart page contains 15 fingerings from low B-flat3 through C5. Each entry pairs a large pitch label with its staff position and finger diagram. Sharp and flat equivalents appear beneath applicable note names, helping you recognize the same pitch when a piece spells it differently.
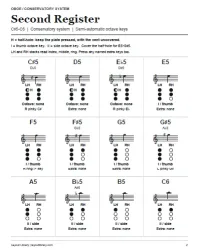
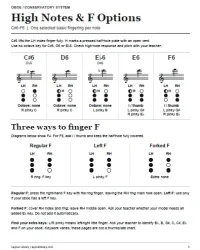
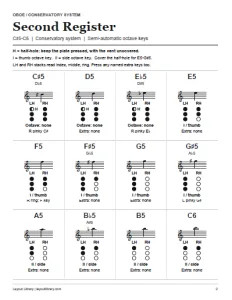
Second Register continues from C-sharp5 through C6, followed by selected C-sharp6 through F6 fingerings on High Notes & F Options. The number after a note identifies its octave. Check that number and the staff position before using a diagram, particularly when moving between registers.
Each diagram has an LH stack for the left hand and an RH stack for the right. Read both from top to bottom as index, middle, and ring finger. Filled circles mean covered and pressed; open circles mean released. The text beneath each diagram names any additional keys.
Locate the Keys Before You Play
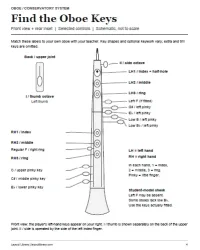
Find the Oboe Keys connects the chart’s labels to a simplified instrument drawing. The map identifies the six main finger positions, left and right pinky controls, regular F key, and side octave lever. A separate upper-joint back view shows the thumb octave key without hiding it behind the front drawing.
Use the map beside your own oboe during a lesson. Your teacher can point out the matching controls and explain any differences in key shape or availability. The page marks left F as optional and notes that some student instruments lack low B-flat, helping you identify which references apply.
See What Changes at the Half-Hole
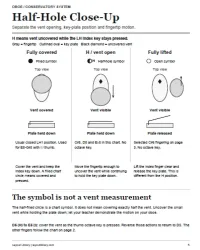
The Half-Hole Close-Up page separates three actions that small chart symbols can make difficult to picture. Enlarged views show the vent covered with the plate pressed, the vent uncovered while the plate stays down, and the index finger lifted clear with the plate released.
The diagrams use gray for the fingertip and a black diamond for an uncovered vent. Their examples connect H with C-sharp5, D5, and E-flat5, then contrast that position with the selected C-sharp6 fingering. A short reminder explains that the half-filled symbol does not mean covering exactly half the opening.
Practice Four Useful Transitions
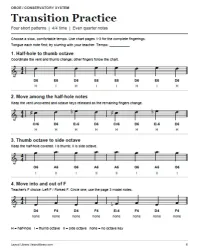
Transition Practice gives you four short patterns to work through with the chart nearby. Each pattern contains two measures of quarter notes in 4/4 time. Pitch names appear below the staff, followed by H, I, II, or none to identify the half-hole or octave control.
The first pattern alternates D5 and E5 to focus on half-hole and thumb-octave coordination. The next moves among C-sharp5, D5, and E-flat5 while retaining H. A third pattern compares G5 and A5, making the thumb-to-side-octave change visible beneath the notes.
The final exercise moves between F4 and D4 or E-flat4. There is space for your teacher to circle left F or forked F as the practice choice. Start at a slow, comfortable tempo, follow the complete fingerings on the chart, and use the printed tempo line to record your pace.
Compare Three Ways to Finger F
Regular F, Left F, and Forked F appear together below the high-note chart. These diagrams show F4, with a note explaining the octave-key change for F5. Keep this comparison beside the fourth exercise when discussing the available left F key and any model-dependent forked F adjustment with your teacher.
Record Fingerings You Want to Remember
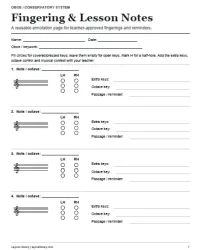
Fingering & Lesson Notes provides four blank records. Each includes a pitch-and-octave field, a small treble staff, and two stacks of unfilled circles. Add a note to the staff and shade the circles to capture a fingering your teacher wants you to use.
The writing lines beside each diagram hold extra-key names, the octave control, and a passage or reminder. For example, you could record an alternate fingering beside the measure number where it helps. Name, date, and oboe/keywork fields let you identify which lesson and instrument the notes belong to.
Arrange the Pages for Your Current Piece
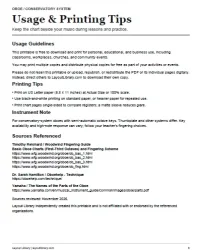
Print at Actual Size or 100% on US Letter paper. Keep the chart pages you need on the stand, with the key map and close-up nearby while you learn the symbols. Store completed annotation pages with your lesson notes, and use the final Usage & Printing Tips page for permissions and sources.
Frequently Asked Questions
This printable is arranged for conservatory-system oboes with semi-automatic octave keys. Thumbplate and other systems differ. Use the labeled key map with your teacher to check the controls on your own instrument before applying the fingerings or practice labels.
Choose the notes and changes already introduced in your lessons. The four patterns focus on different movements, so your teacher can select one that fits your current work. Keep the complete chart beside the exercise and leave unfamiliar high notes for a later lesson.
Yes. Print additional copies when the four records are filled or when you want separate notes for another piece. Keep the pitch, octave, extra keys, and musical context together so you can understand each recorded fingering when you return to it.