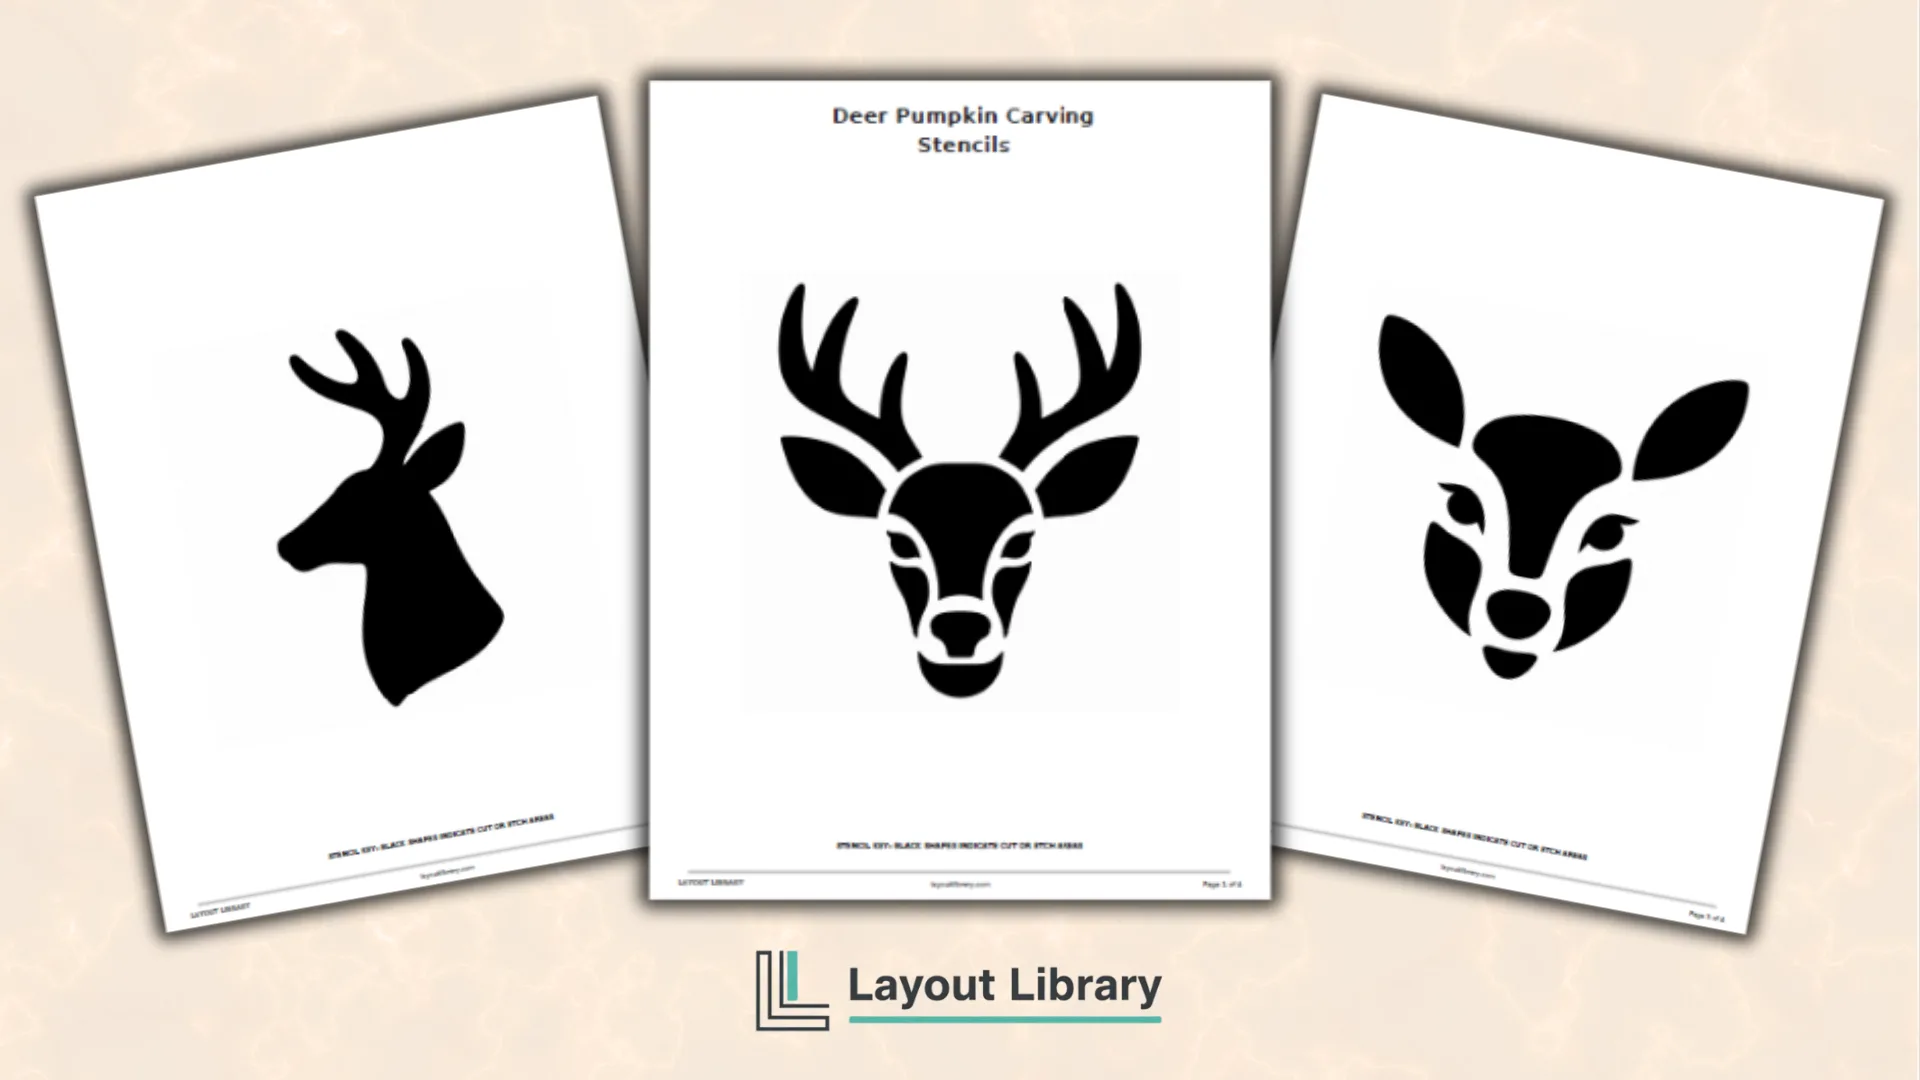
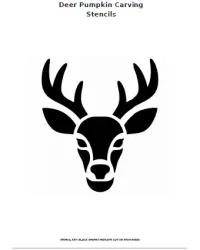
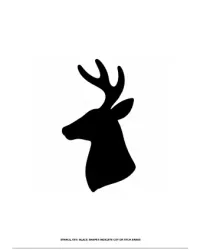
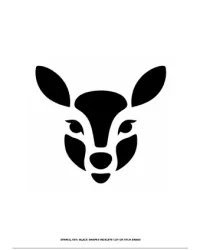
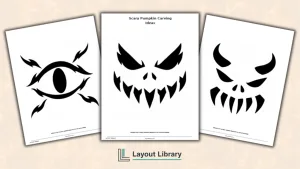
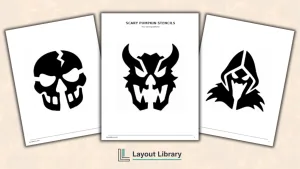
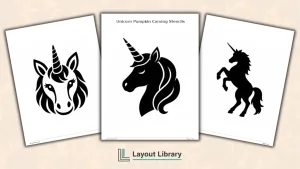
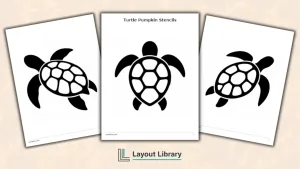
Three deer designs include a front-facing buck, a profile buck, and a gentle doe.
Large portrait layouts leave generous room for tracing and comfortable pumpkin carving.
Thick antlers, wide bridges, and bold shapes reduce fragile cuts and tiny details.
Every stencil uses black shapes to mark areas intended for cutting or surface etching.
Beginner difficulty labels make the set approachable for first-time and casual pumpkin carvers.
Overview
Deer silhouettes pair naturally with fall porches, cabins, woodland parties, hunting-camp décor, and nature-inspired Halloween themes.
These patterns keep that outdoorsy character while avoiding overly detailed antlers or narrow facial lines that can be frustrating to carve.
Each design fills most of a standard letter-size page, so the main features stay visible after tracing. The black areas act as a clear cutting guide, while the surrounding white space helps you see where the pumpkin should remain intact.
What’s Included
The simple buck head features balanced antlers, pointed ears, and bold facial details. Its symmetrical layout makes it easy to center on the front of a pumpkin and creates a classic woodland focal point.
The woodland buck profile uses one strong side-facing silhouette. Broad antler tines and a connected head-and-neck shape make this the simplest option for anyone who prefers fewer individual cuts.
The gentle doe face offers a softer woodland style without antlers. Large eyes, a clear nose, and simple ear details create a friendly design that works well for family Halloween displays and understated fall decorating.
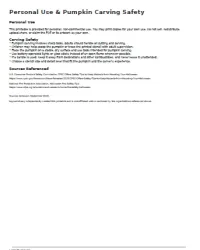
The fourth page includes the personal-use terms, a short carving-safety reminder, and source information. Difficulty labels on the stencil pages help you choose a pattern before you begin.
How to Use the Deer Pumpkin Carving Stencils
Print the page you want at 100% or actual size. Trim away excess paper if needed, then tape the stencil flat against a clean, dry pumpkin. Small snips around the paper edge can help the sheet curve around a rounded surface without folding across the design.
Trace the black shapes by poking closely spaced guide holes through the paper and pumpkin skin. Remove the paper, connect the marks with a washable marker if helpful, and double-check every shape before carving.
Cut or etch the black sections while leaving the white areas in place. Start with the smallest interior details, then move outward to larger sections. Working from the center helps protect the design from bending or cracking while you carve.
Printing and Carving Tips
Use plain letter-size printer paper for easy transfer. If the design is too large for your pumpkin, reduce the print scale in your printer settings. Keep the page centered and maintain the original proportions so the deer does not look stretched.
Choose a pumpkin with a broad, smooth face and a sturdy wall. Scrape the inside wall behind the design a little thinner than the rest of the pumpkin, but leave enough thickness to support the antlers, ears, and facial bridges.
For crisp edges, use short, gentle sawing motions instead of pushing the tool straight through. Turn the pumpkin as you work so your wrist stays comfortable. If a small corner begins to lift, pause and approach it from the opposite direction.
Pumpkin Carving Safety
Pumpkin carving requires sharp tools, so an adult should handle all cutting. Children can help scoop seeds, tape the stencil, or mark the guide holes with close adult supervision and an age-appropriate tool.
Place the pumpkin on a stable, dry surface and keep fingers away from the cutting path. Use tools made for pumpkin carving when possible, work slowly, and stop if the pumpkin shifts or your grip feels uncertain.
Battery-operated lights are the safest choice for illuminating a finished pumpkin. If you use a candle, keep the pumpkin away from curtains, decorations, walkways, and other combustible materials, and never leave the flame unattended.
FAQ
The woodland buck profile is the easiest starting point because it uses one connected silhouette with wide antler tines and few interior details. The gentle doe is also approachable if you prefer several simple shapes without antlers.
Yes. Select a lower percentage in your printer’s scale settings, such as 80% or 70%, and preview the page before printing. Avoid shrinking the design so far that the narrowest bridges become difficult to carve cleanly.
Either method works. Cutting completely through produces a bright, high-contrast glow. Surface etching removes only the outer skin for a softer effect and can be helpful for small facial details. You may also combine both techniques while keeping every white bridge intact.