Matching a loose button to a sewing pattern or replacement can be frustrating when measurements use different units.
This printable button size chart places actual-size outlines, ligne measurements, millimeters, decimal inches, and inch fractions in one reference.
The four-page PDF is designed for sewing rooms. Two pages let you compare a physical button with printed outlines, while the conversion page translates between common sizing systems.
Printable Details
Title: Button Size Chart.
Used For: Button comparison, ligne conversion, sewing projects, garment repair, craft planning, and supply organization.
Page Length: 4 pages.
Paper Size: 11 x 8.5 in (landscape).
File Size: 51 KB.
File Type: PDF.
Color: Black & White.
License: Personal Use.
Image Gallery
At a Glance
What’s Included in the Button Size Chart?
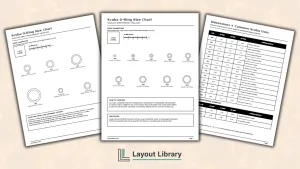
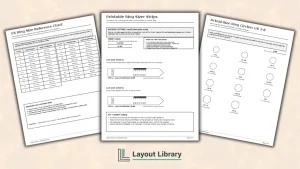
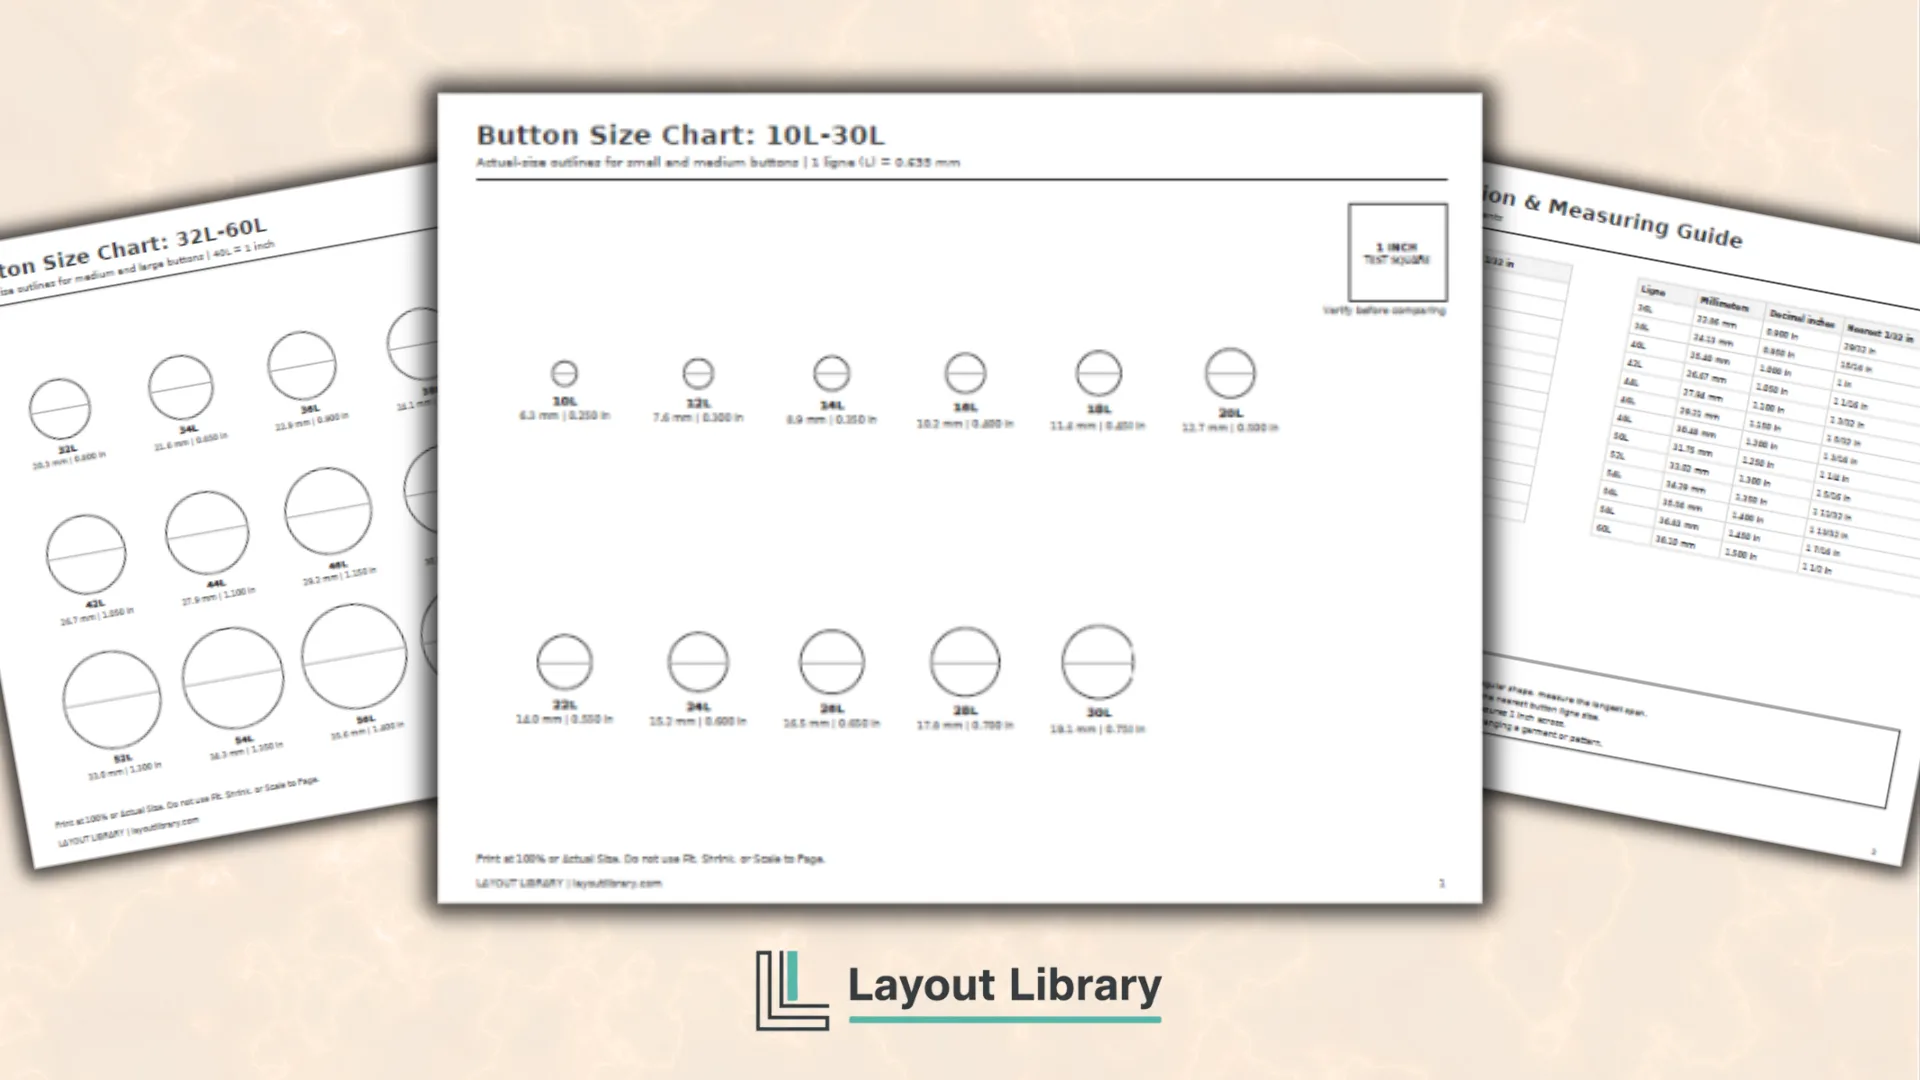
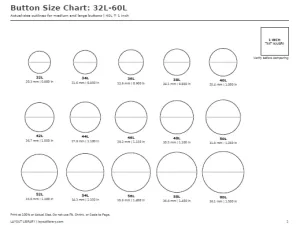
The first actual-size page covers 10L through 30L. These small and medium outlines are arranged in two open rows, leaving enough space to place a button over a circle or compare its edge with the printed diameter line.
Each size appears in two-ligne increments and includes the corresponding millimeter and decimal-inch measurements. This page can help with shirt, blouse, cuff, small accessory, doll-clothing, and craft buttons, although the correct size depends on the individual project.
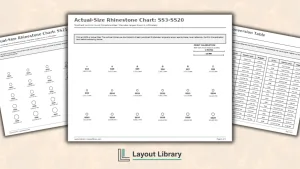
The second comparison page continues from 32L through 60L. Its three-row grid gives larger buttons more room and provides the same measurement formats. Use it for coat buttons, statement buttons, bags, decorative pieces, and projects that call for a wider diameter.
Both comparison pages include a one-inch test square. That calibration feature matters because an outline is only actual size when the PDF prints without automatic enlargement or reduction.
Using the Ligne Conversion Table
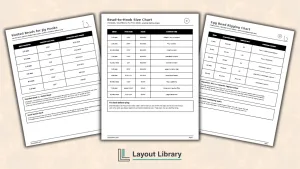
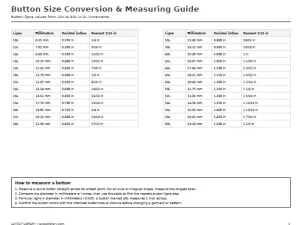
The “Button Size Conversion & Measuring Guide” covers 10L through 60L in two-ligne increments.
Two matching tables list ligne, millimeters, decimal inches, and the nearest 1/32-inch fraction, so you can work with patterns, product listings, rulers, or packaging that use different units.
Button ligne follows the convention that 40L equals one inch. One ligne equals 0.635 millimeters, so a 20L button measures 12.7 millimeters or one-half inch. The table includes exact decimal values and practical ruler fractions.
How to Measure and Compare a Button
For a round button, measure straight across the widest point. For an oval or irregular button, use the longest span. A ruler or seam gauge can provide a close reading, while calipers are useful when you need greater precision.
After measuring, find the closest millimeter or inch value on the conversion page. You can also place the button over an actual-size circle. Align it with the horizontal diameter line, then check whether the outer edge matches the outline.
If the measurement falls between two entries, record the physical diameter rather than forcing it into a listed size. Sellers may round values differently, and decorative rims can make buttons with the same listed size look different.
Practical Ways to Use the Printable
Keep a copy near your sewing machine when choosing buttons for a new pattern. It can help you visualize a listed size before ordering supplies and compare replacements when the original button is missing.
For garment repair, compare an existing button from the same garment with the chart before shopping. When organizing a collection, record the ligne or millimeter size on bags, envelopes, drawers, or divided containers so matching pieces are faster to locate.
Crafters can use the outlines when planning closures, embellishments, ornaments, fabric projects, and handmade accessories. The conversion page also helps when instructions specify millimeters but your ruler or supply listing uses inches.
Printing and Accuracy Note
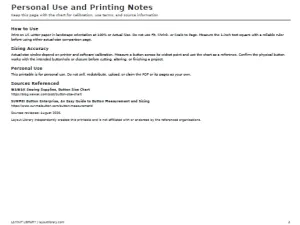
Print on US Letter paper in landscape orientation. Choose 100% or Actual Size and avoid Fit, Shrink, or Scale to Page.
Measure the one-inch test square with a reliable ruler before comparing a physical button with an outline.
Printer and software settings can change the scale. Treat the circles as a reference, measure at the widest point, and confirm that the physical button works with the intended buttonhole or closure before cutting, altering, or finishing a project.