Fly-hook size numbers tell only part of the story.
This printable gives you a clear place to compare numbering systems, common fly types, hook proportions, and the hooks already in your fly box.
Keep it near your tying bench or in a fishing binder for quick reference.
Printable Details
Title: Fly Fishing Hook Size Chart.
Used For: Fly tying, hook selection, fly box organization, substitutions, streamside reference.
Page Length: 5.
Paper Size: 11 × 8.5 in (landscape).
File Size: 55 KB.
File Type: PDF.
Color: Black & White.
License: Personal Use.
Image Gallery
At a Glance
What This Fly Fishing Hook Size Chart Includes
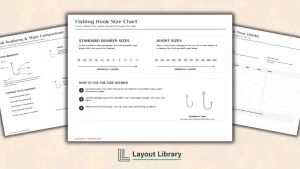
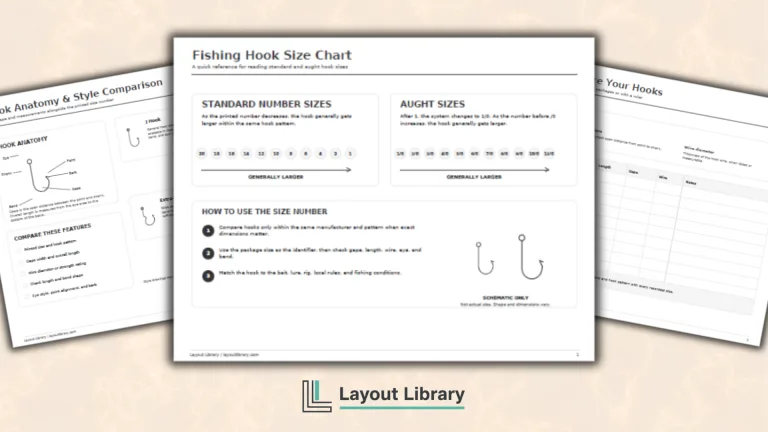
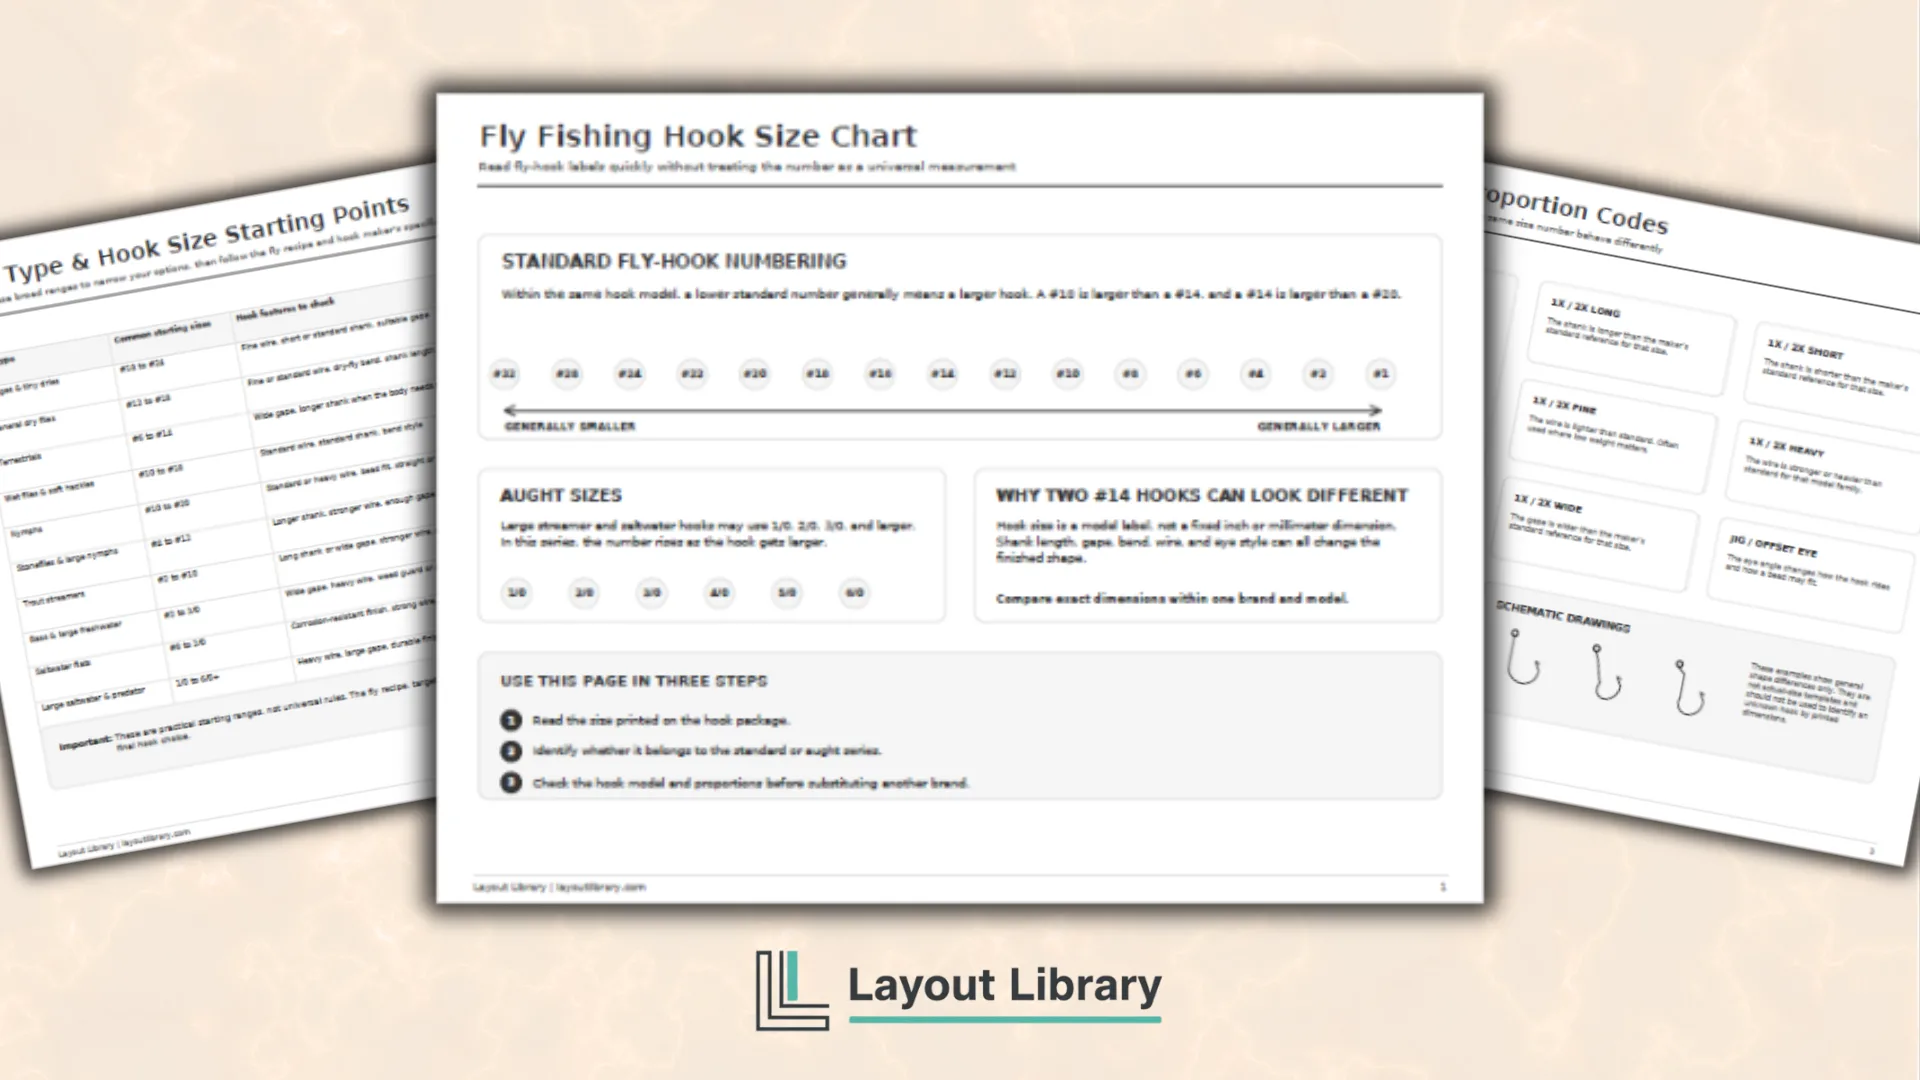
The first page explains the two numbering directions you are most likely to see.
Standard numbered hooks generally become larger as the number gets lower, so a #10 is larger than a #14 within the same model. Aught sizes move the other way. A 3/0 is larger than a 1/0.
The page shows both systems separately so you can quickly check which direction applies. It also explains why two hooks marked with the same size can still look different. Hook numbers are model labels, not universal measurements.
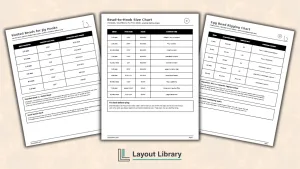
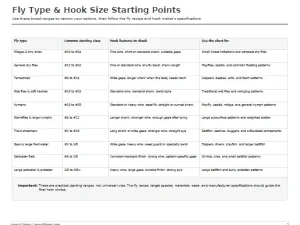
The second page gives you broad starting ranges for ten useful fly groups.
These include midges, dry flies, terrestrials, wet flies, nymphs, stoneflies, trout streamers, bass patterns, saltwater flats flies, and large predator flies.
Each row also tells you which hook features deserve attention. For example, the nymph row reminds you to check wire weight, bead fit, and shank shape.
The terrestrial row points you toward gape and shank length because bulky bodies need enough room.
Use the Anatomy and Proportion Guide
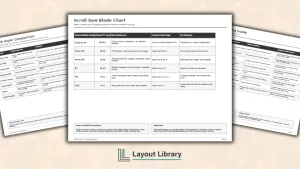
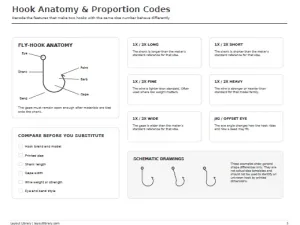
The third page labels the eye, shank, bend, point, barb, and gape on one clean hook drawing. This gives you a shared set of terms when reading a fly recipe or product description.
Six small cards explain common proportion codes such as 2X long, 2X short, 2X fine, 2X heavy, and 2X wide. The cards tell you exactly which part of the hook changes. A 2X long label refers to shank length, while a 2X wide label refers to the gape.
Use the comparison checklist on this page whenever you replace one hook model with another. Work down the boxes and compare the brand, model, printed size, shank length, gape, wire, eye, and bend.
This simple process helps you avoid choosing a hook that matches the number but not the proportions your fly needs.
The three hook silhouettes are intentionally schematic. They show general differences between straight, curved, and jig-style shapes, but they are not actual-size templates.
Organize Your Fly Box and Tying Bench
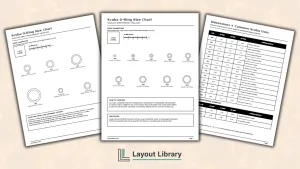
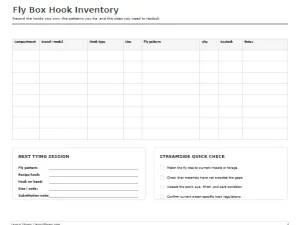
The fourth page turns the reference into a practical inventory. Record each compartment, hook brand and model, hook type, size, fly pattern, quantity, and restocking status.
The notes column gives you room for details such as barbless, black nickel, curved shank, or bead compatibility.
Complete one row whenever you open a package or reorganize a compartment. The page becomes a useful map of your collection. You can check supplies and spot low quantities before the next tying session.
The lower-left panel helps you plan one specific pattern. Write down the recipe hook, the hook you already own, its size or proportion code, and any substitution notes.
The streamside checklist beside it gives you four quick checks before fishing the fly.
How to Print and Use the Pages
Print the PDF on standard US Letter paper in landscape orientation. Choose actual size or 100 percent scale so the table rows and writing areas stay consistent.
The hook drawings still should not be used as physical measuring gauges, even when the print scale is correct.
You can print all five pages as a bench reference or print only the pages you use regularly. Place the inventory page in a sheet protector and use a fine-tip dry-erase marker if you want to update quantities without printing a new copy.