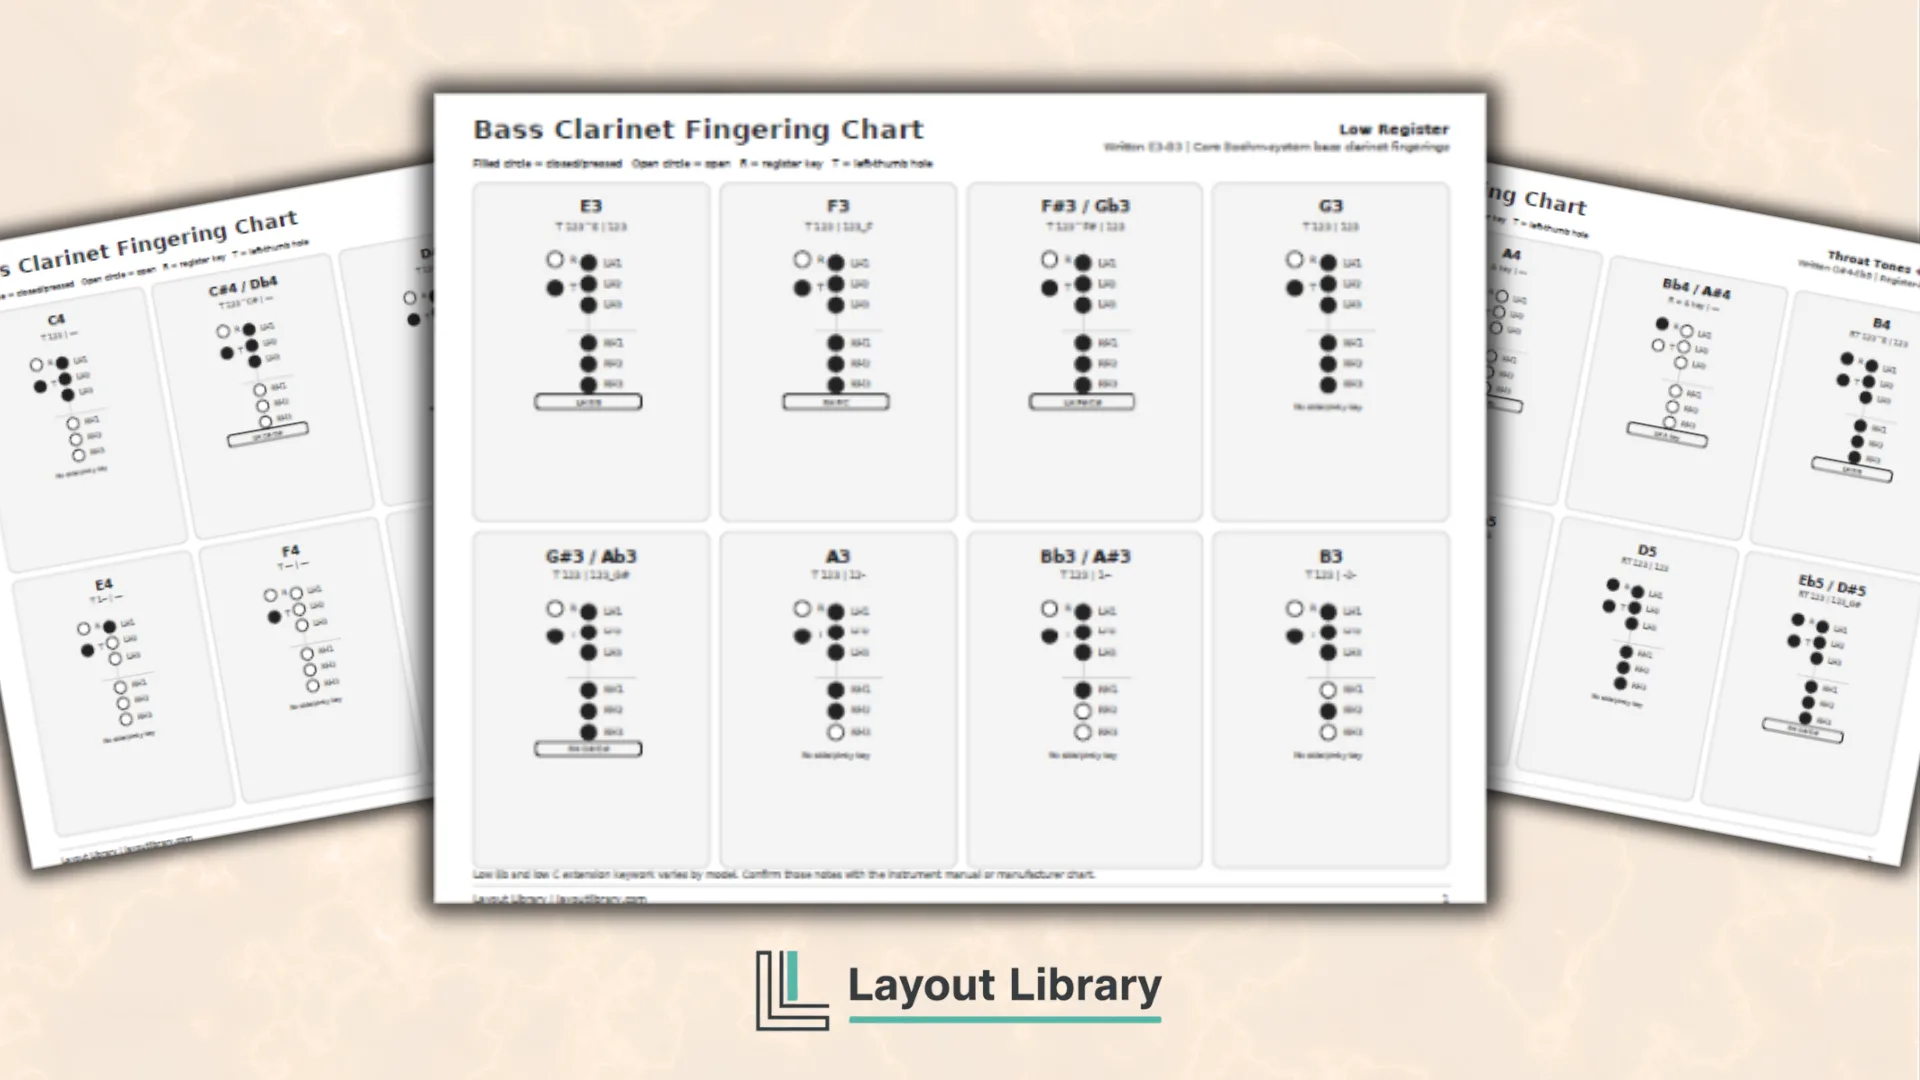
Learning bass clarinet fingerings becomes easier when every key pattern is organized in one clear reference.
This printable chart helps students review written notes, compare nearby fingerings, and prepare for rehearsals.
The pages use simple black-and-white diagrams that distinguish closed keys from open keys at a glance.
They cover common primary Boehm-system fingerings from written low E through clarion C, with a separate reminder about instrument-specific low extensions.
Printable Details
Title: Bass Clarinet Fingering Chart.
Used For: Band practice, private lessons, school rehearsals, fingering review, and home practice.
Page Length: 5.
Paper Size: 8.5 × 11 in (landscape).
File Size: 72 KB.
File Type: PDF.
Color: Black & White.
License: Personal Use.
Image Gallery
At a Glance
What’s Included in the Bass Clarinet Fingering Chart
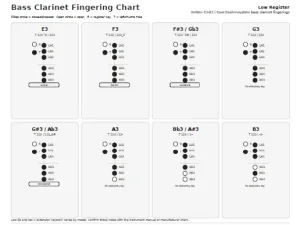
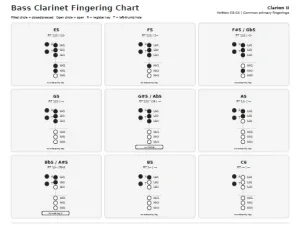
The first page covers written E3 through B3.
These low-register notes use the thumb hole, main finger holes, and several little-finger keys. Their shared layout makes chromatic changes easier to see.
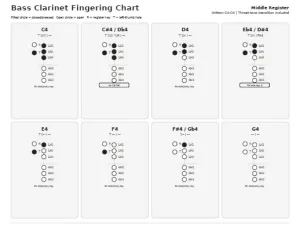
The second page continues from written C4 through G4, including the transition from covered-hole fingerings into the more open throat-tone area.
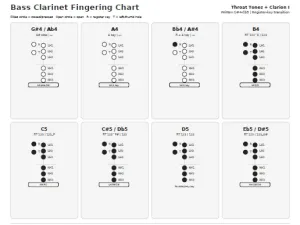
Page three begins with G-sharp, A, and B-flat throat tones before moving through the register-key transition. Page four completes the core chart through written C6.
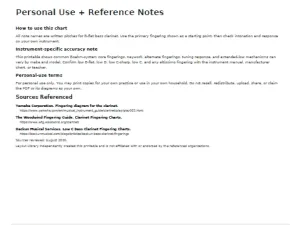
The fifth page contains personal-use information, an accuracy note, and the major verification sources. It also flags model-specific keywork differences.
How to Read the Fingering Diagrams
A filled circle means a hole is covered or a key is pressed.
An open circle means the position stays open. LH1 through LH3 identify left-hand fingers, while RH1 through RH3 identify right-hand fingers.
T represents the left-thumb hole, and R represents the register key. Other required keys appear in a small label beneath the diagram.
Each diagram includes a shorthand code. For example, T 123 | 123 closes the thumb hole and all six main holes. RT 123 | — also presses the register key while opening the right hand.
Students can follow the visual circles first and use the codes as a compact second check.
Ways to Use This Printable During Practice
Keep one copy on a music stand. When a difficult note appears, find the written pitch, set the fingers slowly, and confirm that every closed hole is sealed before playing.
Teachers can assign one page at a time. A student might begin with the low-register page, play each note slowly, then reverse direction.
Later sessions can focus on throat tones or the register-key transition without making the entire range feel overwhelming.
For chromatic-scale review, move through adjacent notes while watching which finger changes. Mark unfamiliar notes on a practice copy and revisit them later.
Build a Short Review Routine
Start each practice session with five familiar notes, then add two new notes.
Play each pitch as a long tone before connecting it to neighboring notes. This gives the hands time to learn the pattern while the player listens for a clear response.
After the notes feel comfortable, use a metronome and play them in both directions. Record any fingering that still causes hesitation.
Returning to that group during the next session creates focused repetition without turning the chart into one memorization task.
Printing and Setup Tips
Print on US Letter paper in landscape orientation. Choose actual size or 100 percent scale. Black ink on white paper provides the clearest contrast.
Keep all four chart pages in a binder or place frequently used pages in sheet protectors. Avoid shrinking multiple pages onto one sheet because labels may become too small.
This chart shows written pitches for B-flat bass clarinet. It does not convert the notes to concert pitch.
Students should read the note printed in their bass clarinet part, then locate that same written note on the chart.