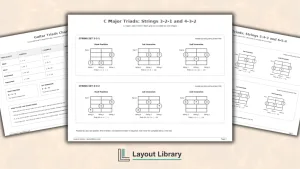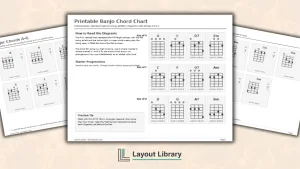
Building a personal chord library is easier when you have clean diagrams ready for your own notes.
This printable blank ukulele chord sheet gives you several page layouts for recording new shapes, organizing lessons, and keeping useful fingerings together.
The pages stay simple. You can add chord names, finger positions, open or muted strings, and starting frets.
Printable Details
Title: Blank Ukulele Chord Sheet.
Used For: Chord study, music lessons, song practice, songwriting, fingering notes, and personal chord references.
Page Length: 5 pages.
Paper Size: 8.5 × 11 in (portrait).
File Size: 52 KB.
File Type: PDF.
Color: Black & White.
License: Personal Use.
Image Gallery
At a Glance
What Is Included in This Blank Ukulele Chord Sheet?
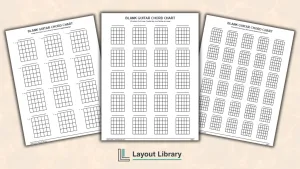
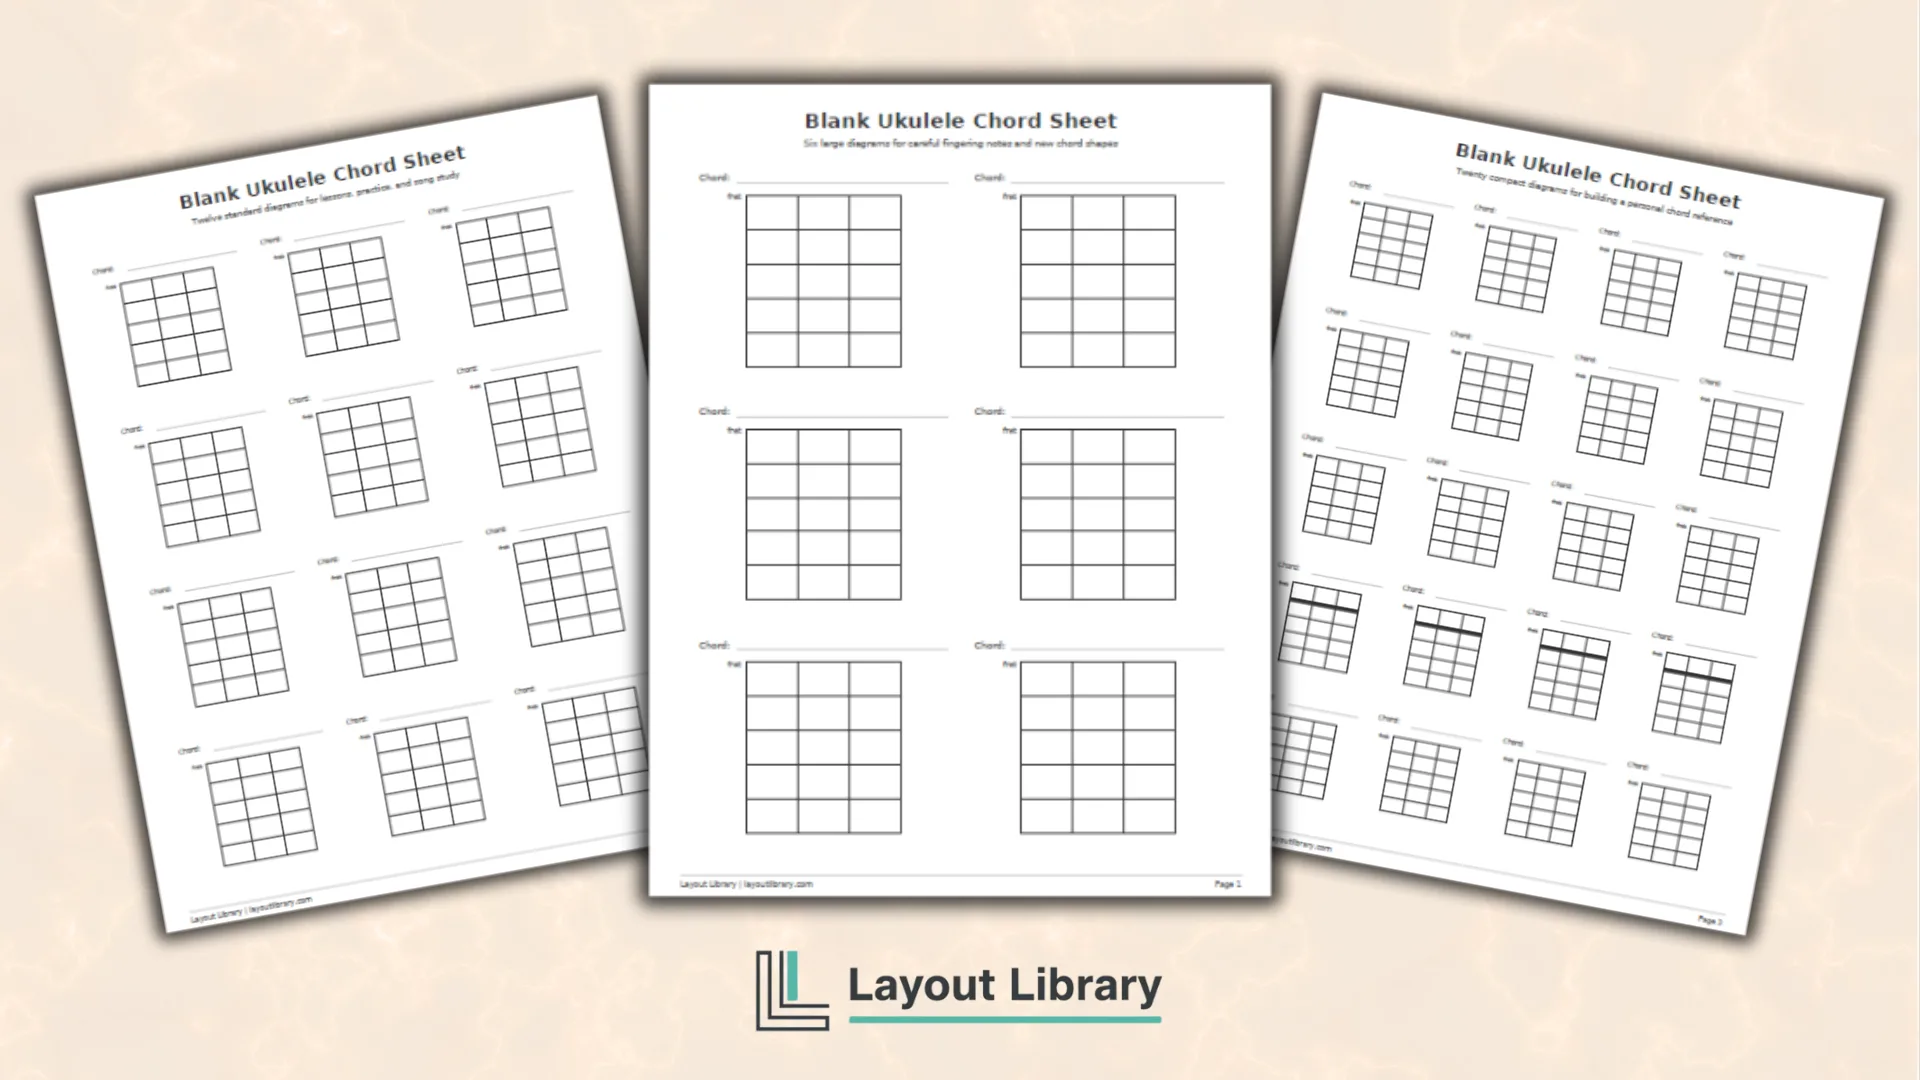
The PDF includes four working pages with different arrangements.
The first page has six large diagrams in a two-column grid. This version gives you the most room for finger numbers, note names, alternate positions, or corrections while learning a new shape.
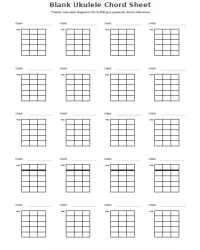
The second page contains twelve standard diagrams. It balances writing space with capacity, making it a useful choice for a lesson, a collection of related chords, or the main shapes used in one song.
The third page fits twenty compact diagrams on one sheet. Use it to create a quick-reference chart for a key, chord family, set list, technique, or growing personal library.
The boxes remain open and uncluttered so you decide what information belongs inside them.
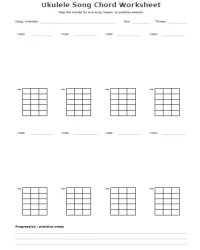
A fourth worksheet adds eight diagrams plus useful, focused song fields.
How to Fill In a Ukulele Chord Diagram
Start by writing the chord name on the line above the box.
The four vertical lines represent the ukulele strings, and the horizontal spaces represent frets. Use solid dots to show where your fingers press the strings.
Above the nut, you can write O for a string that rings open and X for a string that stays muted. Add finger numbers inside or near the dots if they help you remember a comfortable fingering. Many players use 1 for the index finger through 4 for the pinky.
For a movable shape higher on the neck, write its starting fret beside the grid. You can also add note names, scale degrees, barre markings, or a short reminder about the next chord.
Since the grids have no fixed string labels, you can organize them in the visual direction that suits your study method.
Practical Ways to Use the Pages
During a lesson, use the large page to record only the new shapes introduced that day.
Leave room beside the dots for your teacher’s fingering, tone, or transition notes. Rewriting the shapes later on the standard page can reinforce what you learned.
For songwriting, place the chords you are considering on the song worksheet. Number the boxes in progression order, test different voicings, and note the key or tempo at the top.
The three bottom lines can hold a progression, strumming cue, capo reminder, or section label.
When building a reference, group chords with a clear system. You might organize one page by key, chord quality, movable position, or song. A consistent label at the top of each box makes the finished chart much easier to scan during practice.
Printing and Reuse Tips
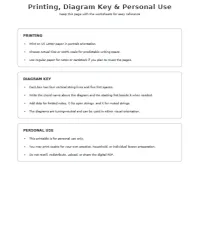
Print the PDF on US Letter paper in portrait orientation. Select Actual Size or 100% scale to preserve the intended writing space.
Ordinary printer paper works well for lesson notes, while heavier paper creates a sturdier reference for a binder or music stand.
Write in pencil while testing unfamiliar shapes so changes stay easy. For a reusable copy, place a page inside a sheet protector and use a dry-erase marker.
Keep completed sheets in labeled binder sections so your personal chord library remains organized as it grows.