A movable paper skeleton makes an easy Halloween project for homes, classrooms, parties, and seasonal displays.
This free printable separates the body into large, manageable pieces, so you can cut out the bones and assemble a figure that bends at the shoulders, elbows, hips, and knees.
The simple black-and-white artwork is ready to use as printed or personalize with crayons, markers, colored pencils, or patterned paper.
Build one skeleton for a door or bulletin board, or print several so children can create their own poses and decorations.
Printable Details
Title: Halloween Skeleton.
Used For: Halloween crafts, classroom displays, party decorations, movable paper figures, and cut-and-paste activities.
Page Length: 4 pages.
Paper Size: 8.5 x 11 in (portrait).
File Size: 49 KB.
File Type: PDF.
Color: Black & White.
License: Personal Use.
Image Gallery
At a Glance
About This Halloween Skeleton Printable
This printable features a simplified skeleton designed as a Halloween craft rather than an anatomical reference.
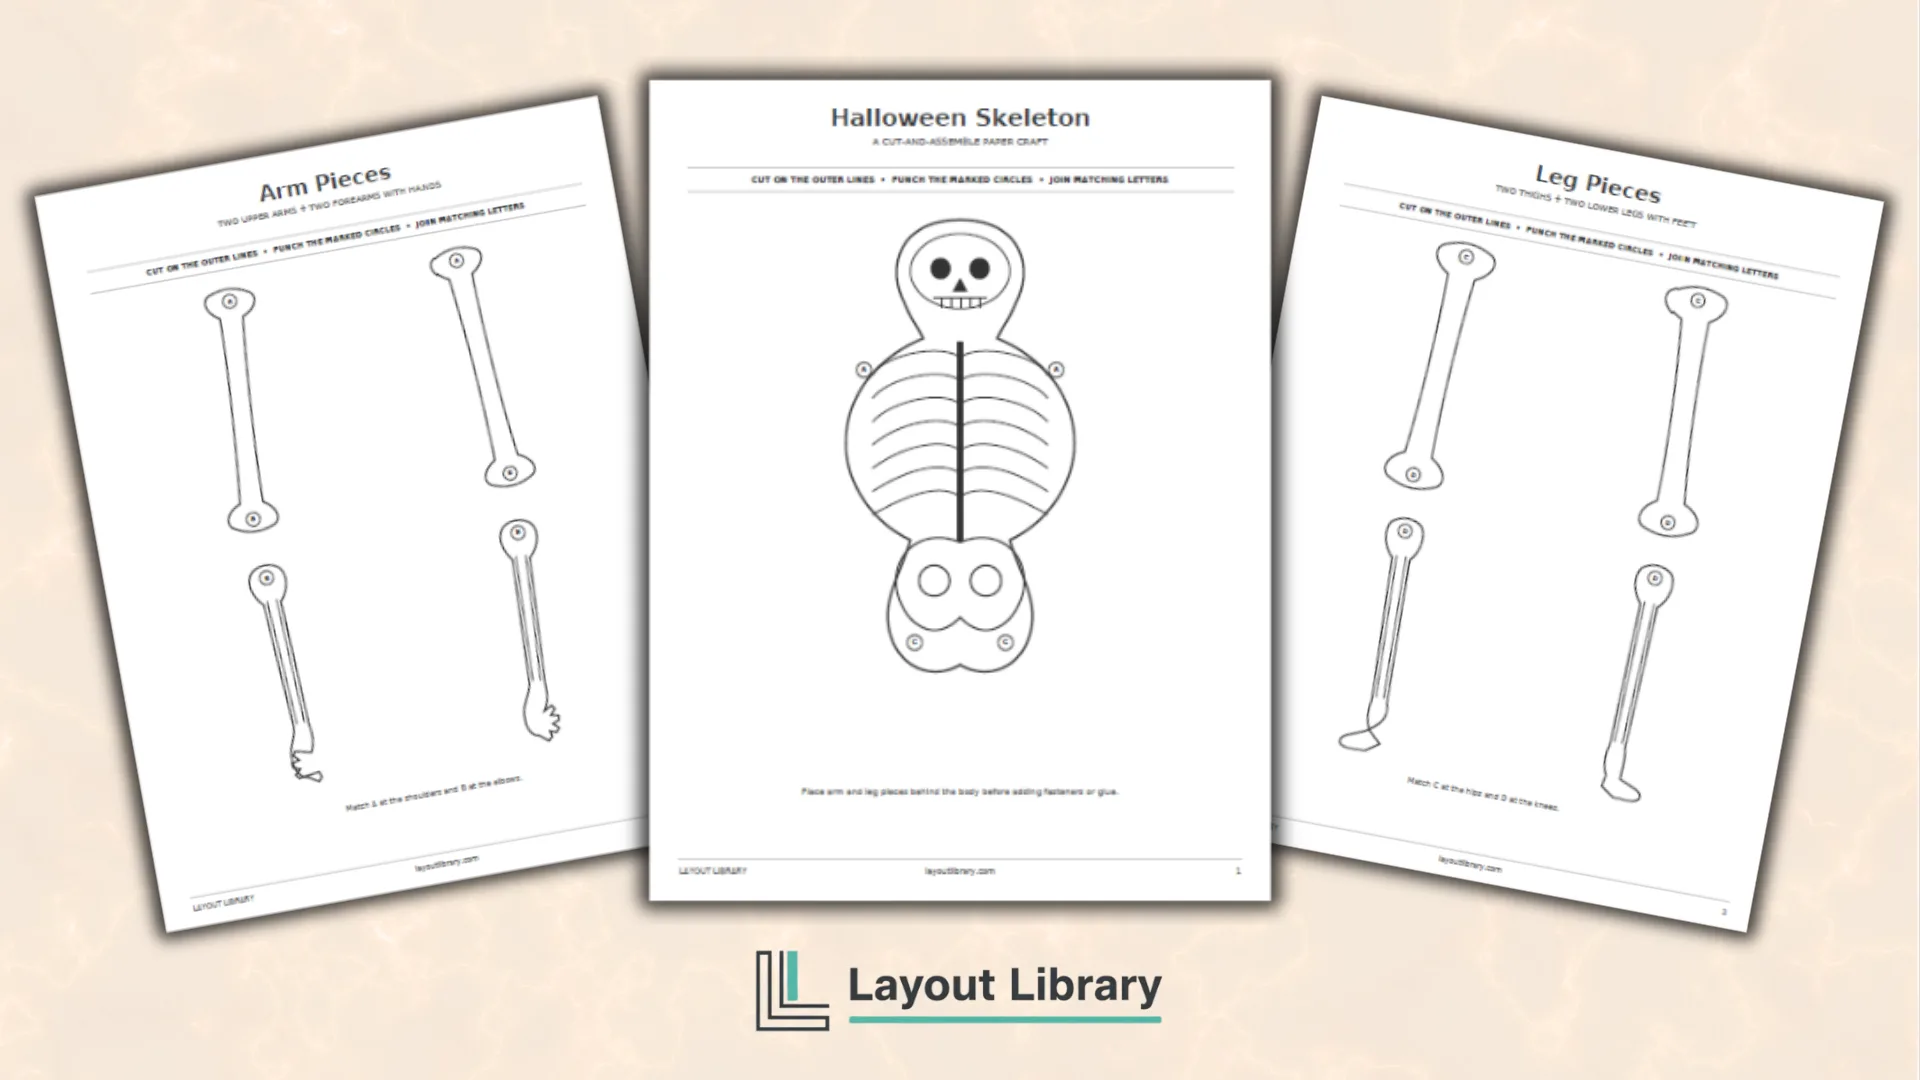
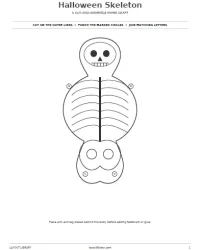
The skull, rib cage, spine, and pelvis form one central piece. The arms and legs are divided into matching sections that can move when connected with brass paper fasteners.
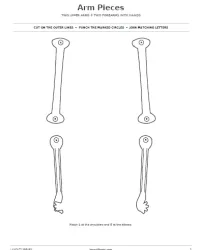
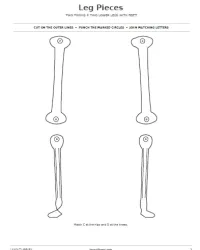
Letters beside the joint points make assembly easier. Match A at the shoulders, B at the elbows, C at the hips, and D at the knees. Solid outlines guide cutting, while small circles show where an adult can carefully make holes for movable joints.
What’s Included
The four-page PDF contains three craft sheets and one personal-use and safety page.
Page one holds the torso, page two includes two upper arms and two forearms with hands, and page three includes two thighs and two lower legs with feet.
This spacing keeps each piece large enough for comfortable cutting.
How to Assemble the Skeleton
Print the pages at actual size or 100 percent, then cut around the solid outer lines.
Place the limb pieces behind the torso so the joint circles overlap. An adult can make each hole with a small hole punch or another suitable paper-craft tool.
Push brass paper fasteners through matching joints and open the prongs on the back. Leave each fastener slightly loose if you want the limbs to move. For a fixed skeleton, skip the holes and attach the overlapping pieces with glue or tape instead.
Supplies You May Need
Affiliate disclosure: Some links below are affiliate links. If you make a purchase, Layout Library may earn a commission at no extra cost to you.
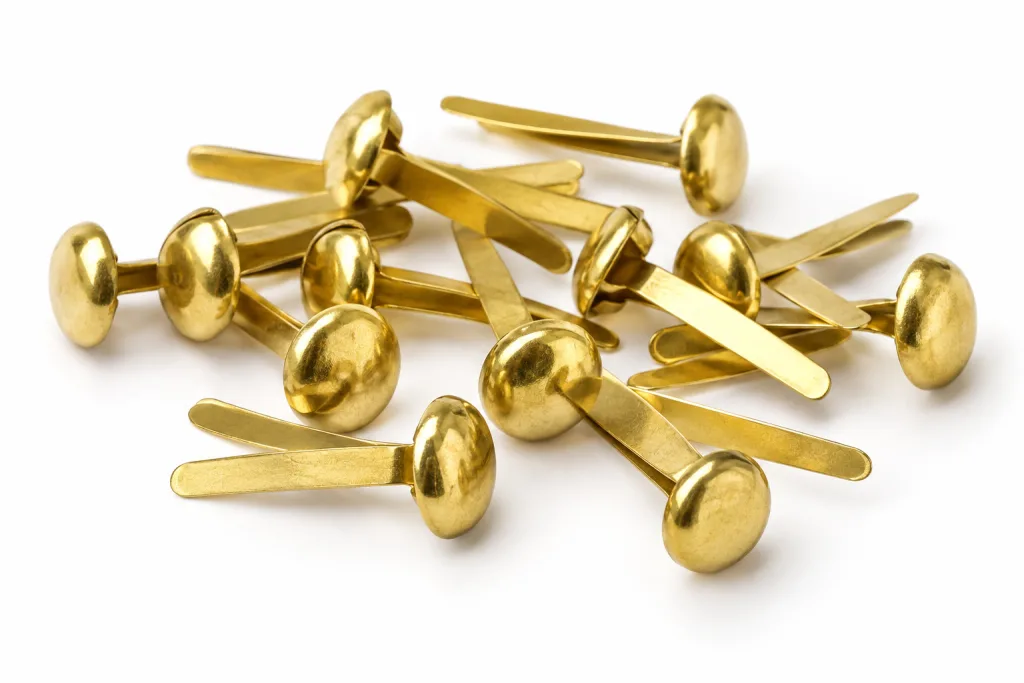
Brass Paper Fasteners
Brass paper fasteners connect the marked joints so the skeleton’s arms and legs can move while keeping the individual pieces securely attached.
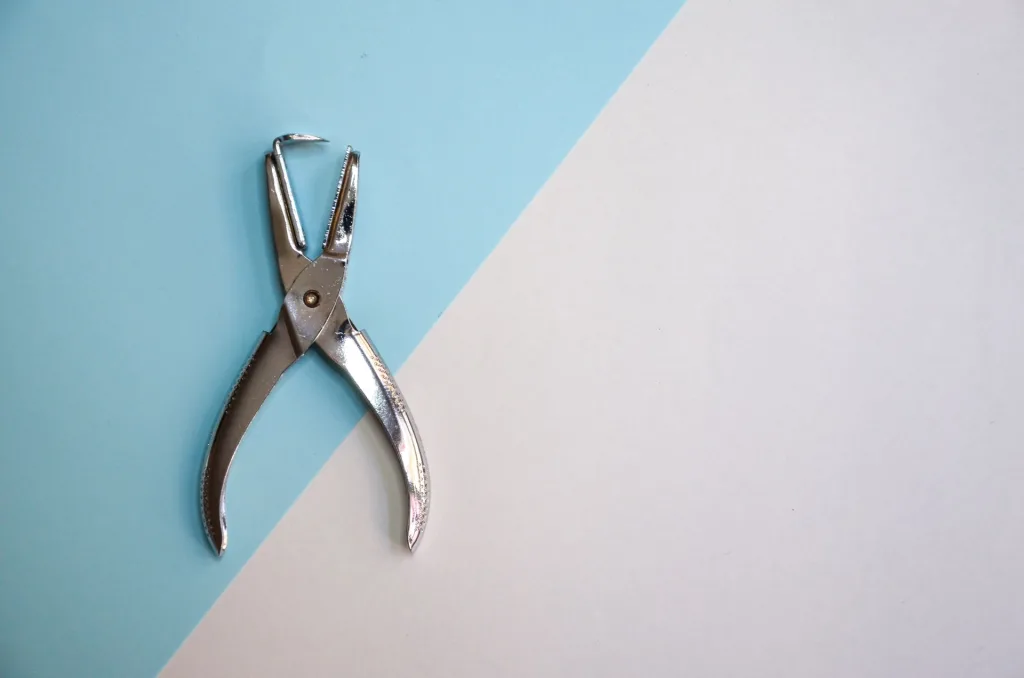
Single Hole Punch
A single-hole punch makes clean openings at the printed joint circles before the paper fasteners are inserted.
White Cardstock
Light white cardstock gives the finished skeleton more structure for posing, hanging, and repeated use without making the pieces unnecessarily bulky.
Ways to Use the Finished Craft
Pose the assembled skeleton for a front door, classroom wall, party backdrop, window, or Halloween bulletin board. It can also become a movable puppet for storytelling, a coloring activity, or a sample for a cut-and-paste craft station.
Try printing one copy on white paper and another on pale cardstock. Children can add hats, bows, costumes, patterns, or funny expressions before assembly. Several finished figures can form a dancing skeleton display, with each one arranged in a different pose.
Printing and Cutting Tips
Standard printer paper is easiest for younger crafters to cut, while light cardstock creates a sturdier decoration.
Check that the printer is set to portrait orientation and avoid “fit to page” if it changes the intended scale. A sharp pair of scissors will give the smoothest outline.
Color and decorate the pieces before connecting them, especially around the joints. When using cardstock, test one fastener hole first so the paper does not tear. If you plan to hang the figure, attach a loop to the back of the torso rather than to a movable limb.
Skeleton Craft Safety
An adult should handle craft knives, hole punches, sharp scissors, and the pointed ends of brass fasteners.
Fasteners and small paper scraps can be choking hazards, so keep them away from children under three and anyone who mouths objects. Supervise children throughout cutting and assembly.
Paper decorations can burn. Keep the finished skeleton away from candles, jack-o-lantern flames, heaters, and hot bulbs.
Secure hanging decorations carefully, and keep strings away from walkways and places where they could create an entanglement or trip hazard.