This free printable alto sax fingering chart gives students and returning players a reference to keep beside their music, along with focused pages for learning keys, practising changes, and checking recall.
The eight-page PDF includes 32 standard fingerings from written low B-flat through high F. A labeled key map, five-note focus sheet, three practice strips, and a fill-in worksheet turn the reference into something learners can use throughout a lesson.
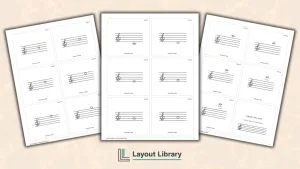
For students who are also learning the staff, pair it with our treble clef flash cards. The cards support note recognition, while these charts connect written notes with finger positions on the alto saxophone.
Printable Details
Title: Alto Sax Fingering Chart. Used For: Band lessons, home practice, key identification, finger-change drills, fingering recall, note-reading activities. Page Length: 8 pages. Paper Size: 8.5 x 11 in (portrait). File Size: 166 KB. File Type: PDF. Color: Black & White. License: Personal, Educational & Business Use (No Resale or PDF Redistribution)
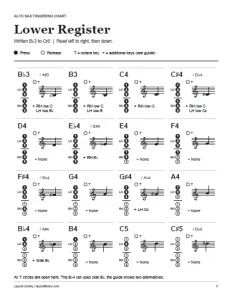
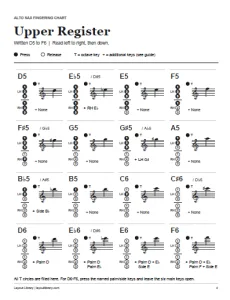
Find 32 standard fingerings in ascending order across separate lower and upper register reference charts.
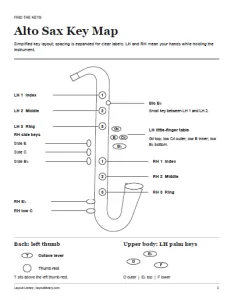
Locate main, bis, side, palm, little-finger, and octave controls on a clearly labeled schematic key map.
Begin with five enlarged note diagrams before working through the complete range of the reference charts.
Practise three specific finger changes with triangle markers showing which keys move within each pair.
Test eight primary fingerings on a worksheet, then compare your answers with the included reference pages.
Print black-and-white pages for a music stand, lesson folder, practice binder, or classroom handout.
Find the Keys Before Looking Up a Note
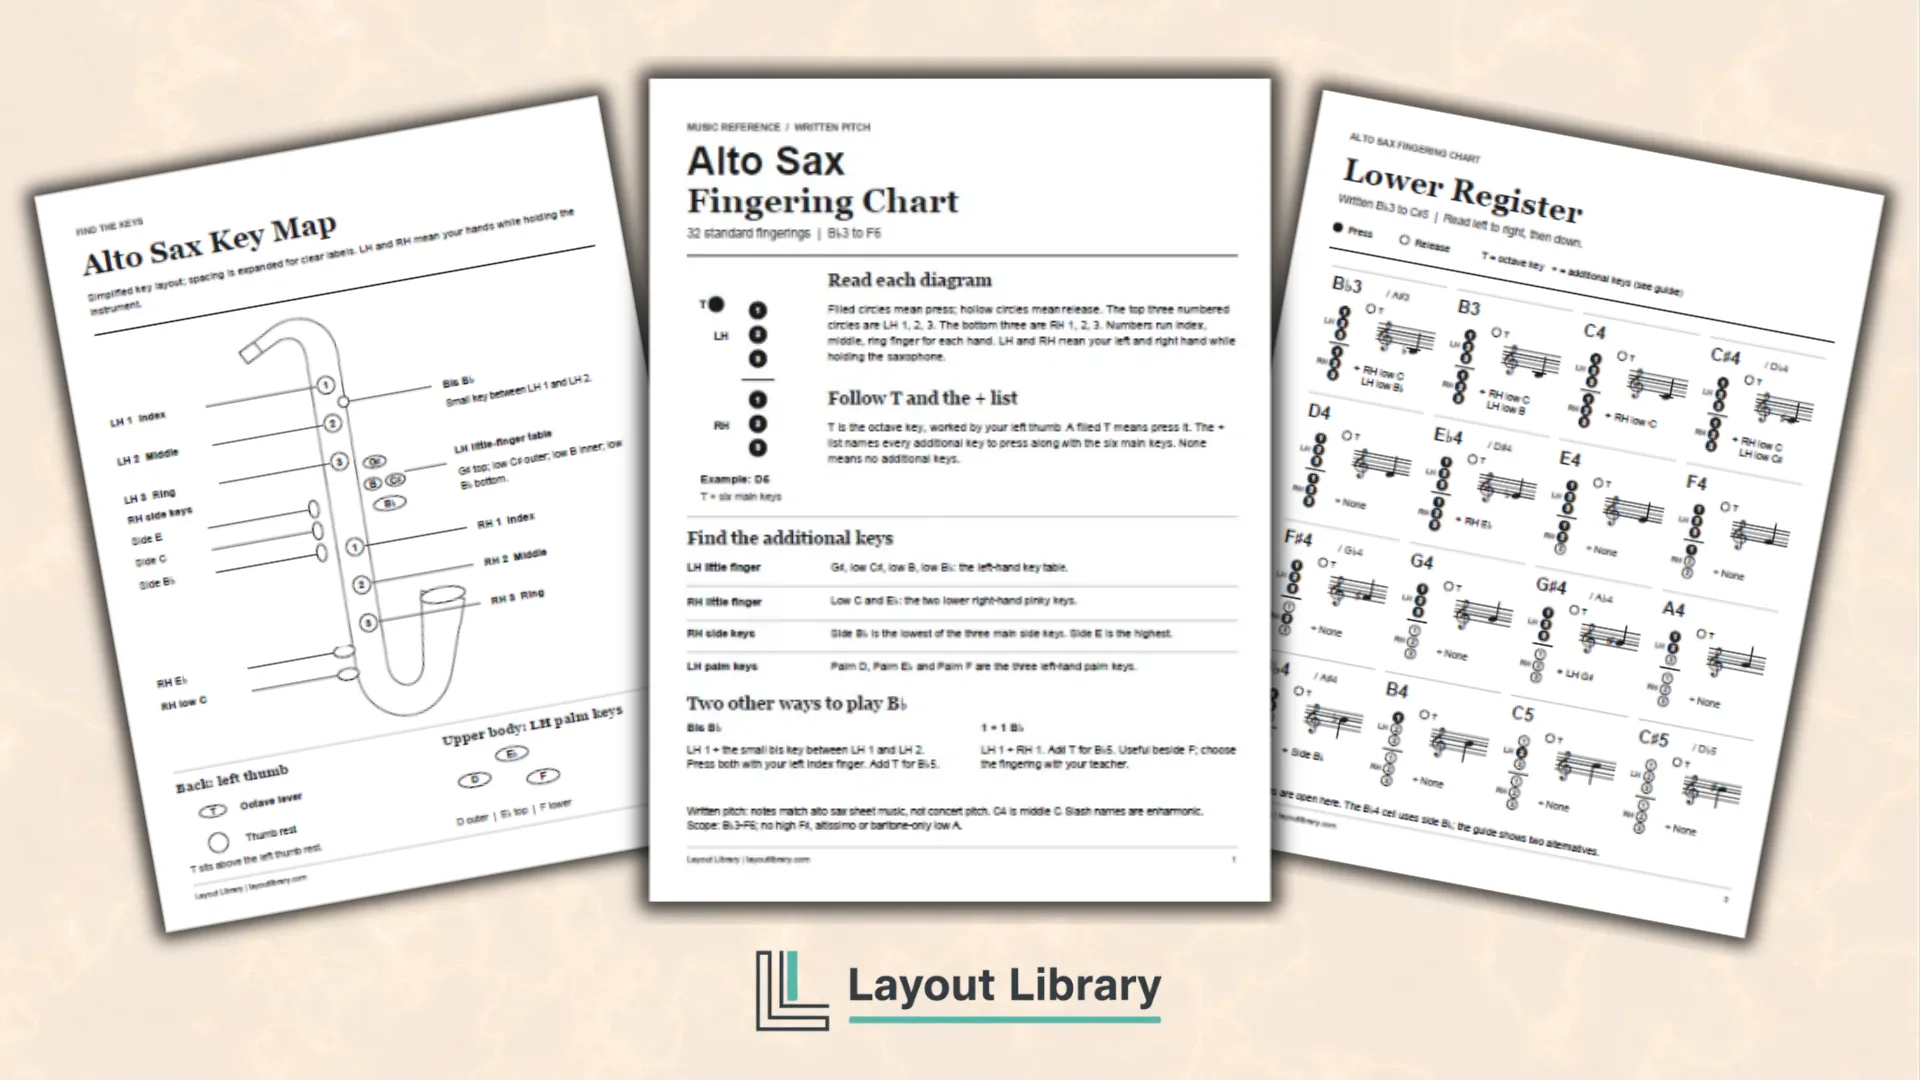
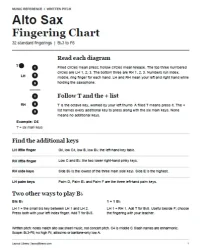
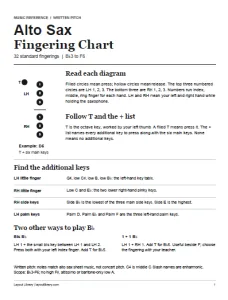
The opening guide explains the symbols used throughout the printable. Filled circles mean press; hollow circles mean release. The top three numbered circles represent the left hand, and the lower three represent the right hand. A separate T circle shows the left-thumb octave key.
The plus list names additional keys. When it says None, the main-key circles and T indicator provide the complete combination shown. Check each part of the diagram to see whether a side, palm, or little-finger key is also needed.
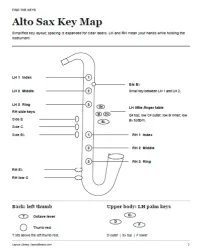
Alto Sax Key Map puts those names into context. Its simplified instrument drawing labels the six main keys, bis B-flat, the left little-finger table, right side keys, and right little-finger keys. Separate details show the back thumb controls and left-hand palm group.
The map expands the spacing for clear labels. Keep it beside the charts when a term such as side B-flat or palm E-flat is unfamiliar, then locate that control on your instrument with your teacher.
Keep the Full Reference Within Reach
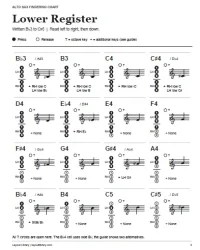
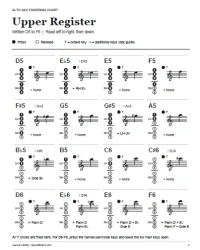
The third and fourth pages contain the lower and upper register charts. Each has 16 cells arranged in four rows. Read left to right across a row, then continue with the row below.
Every cell pairs a note name with treble staff notation, six numbered main keys, a T indicator, and any additional keys. Common sharp and flat names appear together, helping a learner find the same pitch under either spelling.
Lower Register covers written B-flat3 through C-sharp5. Upper Register continues from D5 through F6, with the four palm-key notes grouped in its final row. The opening guide also explains bis and one-plus-one alternatives to the side B-flat shown in the charts.
Start With Five Enlarged Diagrams
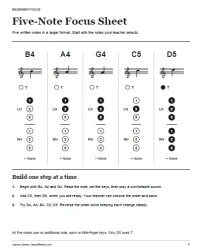
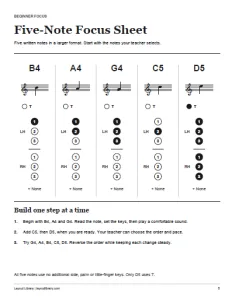
Five-Note Focus Sheet presents B4, A4, G4, C5, and D5 in a larger format. Each note has staff notation, numbered keys, an octave indicator, and a reminder that no extra side, palm, or little-finger keys are used.
Start with B, A, and G, then add C5 and D5 when appropriate. The instructions leave the order and pace flexible so a teacher can select the notes that match the current lesson.
A short ascending sequence provides a next step once the separate positions feel familiar. Students can reverse the sequence while using the large diagrams to check each change.
Practise Three Different Kinds of Change
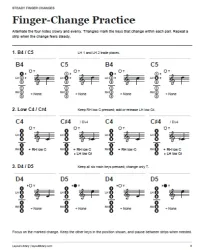
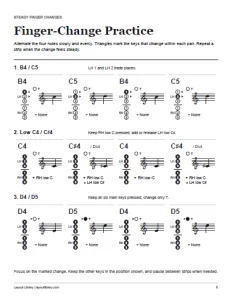
Finger-Change Practice contains three horizontal strips, each showing a pair of notes repeated across four diagrams. Small triangles identify the changing controls, making it possible to concentrate on one movement while keeping the other keys in place.
The B4 and C5 strip shows the left index and middle fingers trading positions. Low C4 and C-sharp4 keep the right low C key pressed while the left low C-sharp key changes. D4 and D5 keep all six main keys down and change only the octave key.
Work through one strip slowly and evenly, then repeat it when the movement feels steady. The page does not prescribe a tempo, leaving room to use it at the pace of an individual lesson or home practice session.
Check Recall With Eight Fingering Prompts
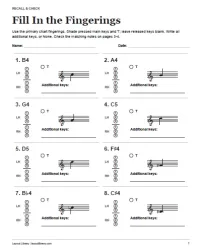
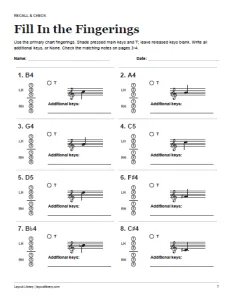
Fill In the Fingerings asks learners to shade the pressed main keys and octave key for eight named notes. A separate answer line captures additional keys, or None when no extra key is needed.
The prompts include the five focus notes, then add F-sharp4, B-flat4, and low C-sharp4. This extends the review to a different right-hand position, a side key, and a low-note little-finger combination.
Use the primary chart fingerings for this worksheet. After completing it, compare each response with the matching note on pages three and four. Keep the charts separate during a recall check, or leave them available for guided practice.
Choose the Pages for Each Session
Print at Actual Size or 100% on US Letter paper, with one PDF page per sheet. The complete set works in a lesson binder, while the two register charts can sit side by side on a music stand.
For a shorter session, set out the focus sheet and one practice strip. Add the worksheet to check which positions need another look. A pencil makes the shading and written answers easier to correct and revisit.
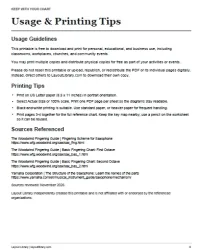
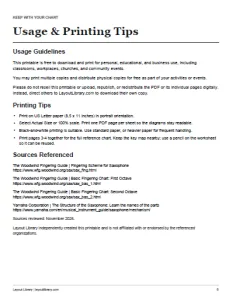
Usage & Printing Tips ends the PDF with printing guidance, usage permissions, and the major factual sources. It can stay at the back of the folder while the reference and activity pages remain accessible.
Frequently Asked Questions
It shows written notes matching alto sax sheet music. The numbers identify octaves, with C4 meaning middle C. Look up the written note in your alto sax part, then follow its main keys, T indicator, and plus list.
Match each named note with its cell on the lower or upper register chart on pages three and four. Compare all six main keys, the T circle, and the additional-key list. The worksheet specifies the primary chart fingerings to keep the expected answers clear.
The reference ends at written high F6. High F-sharp, altissimo fingerings, and the baritone-only low A are outside its scope. The focus, practice, and worksheet pages all use notes within the included range.