A blank guitar neck can turn abstract music theory into something you can see, mark, and remember.
Instead of trying to hold every scale shape or chord tone in your head, you can map the idea directly onto a clean fretboard and keep the page beside you while you practice.
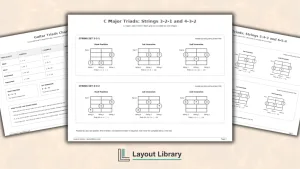
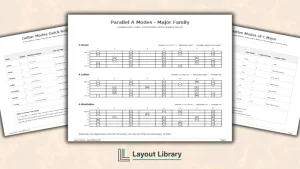
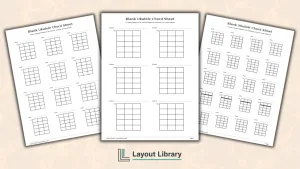
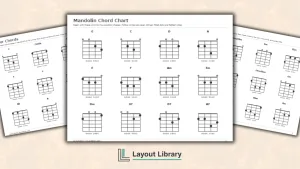
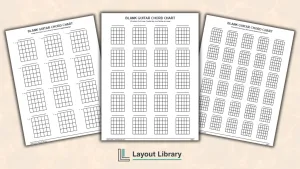
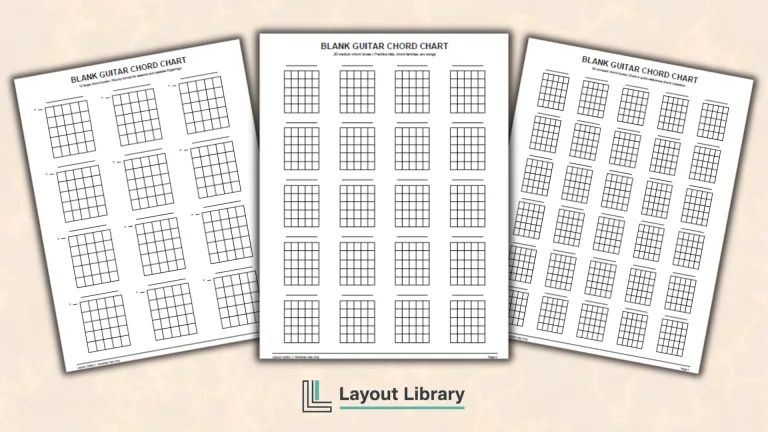
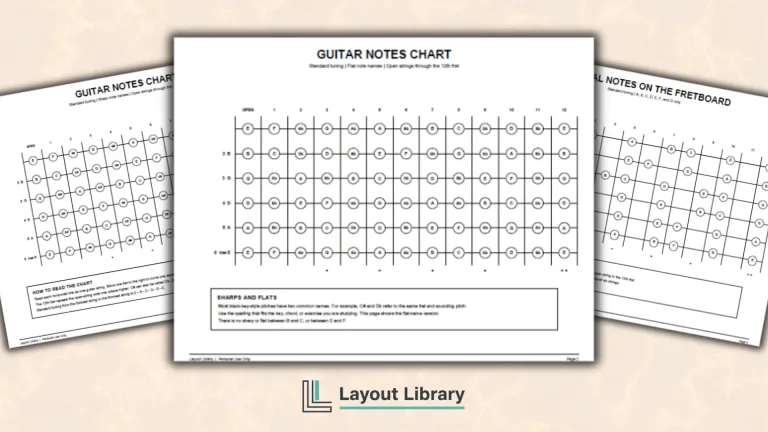
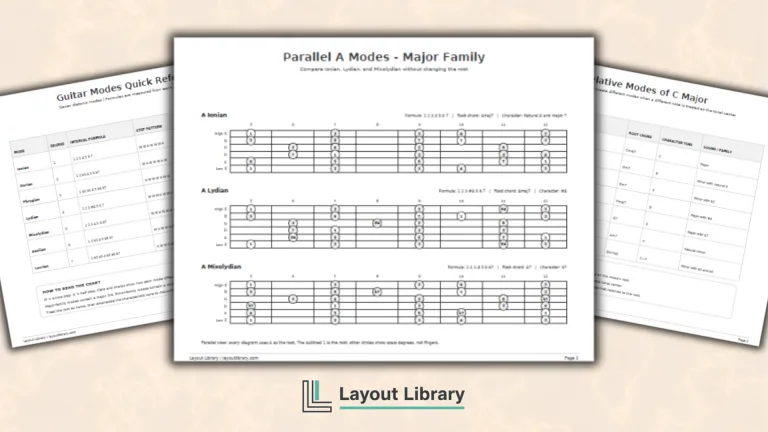
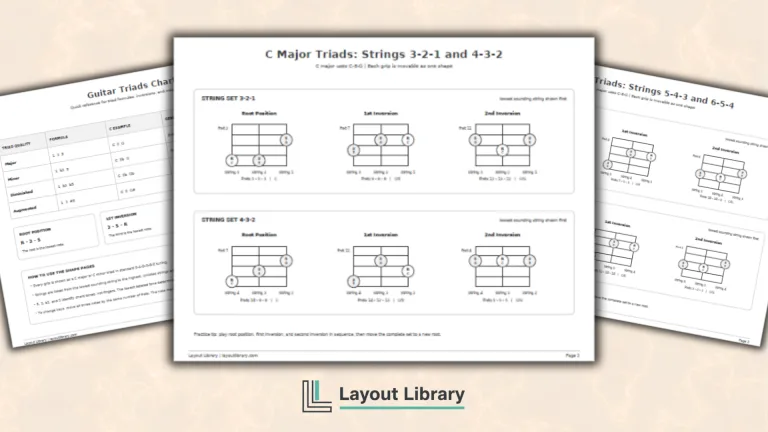
This printable guitar neck set includes full-neck layouts, shorter practice diagrams, and focused position boxes for broad patterns or small areas.
Printable Details
Title: Guitar Neck Practice Diagrams.
Used For: Scale mapping, chord study, interval practice, triads, arpeggios, riffs, songwriting, and guitar lessons.
Page Length: 5.
Paper Size: 8.5 × 11 in (landscape).
File Size: 52 KB.
File Type: PDF.
Color: Black & White.
License: Personal Use.
Image Gallery
At a Glance
What’s Included in the Guitar Neck Printable?
The PDF contains four practice pages plus a personal-use page.
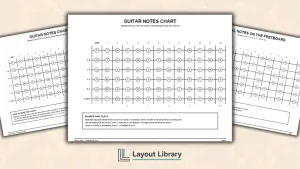
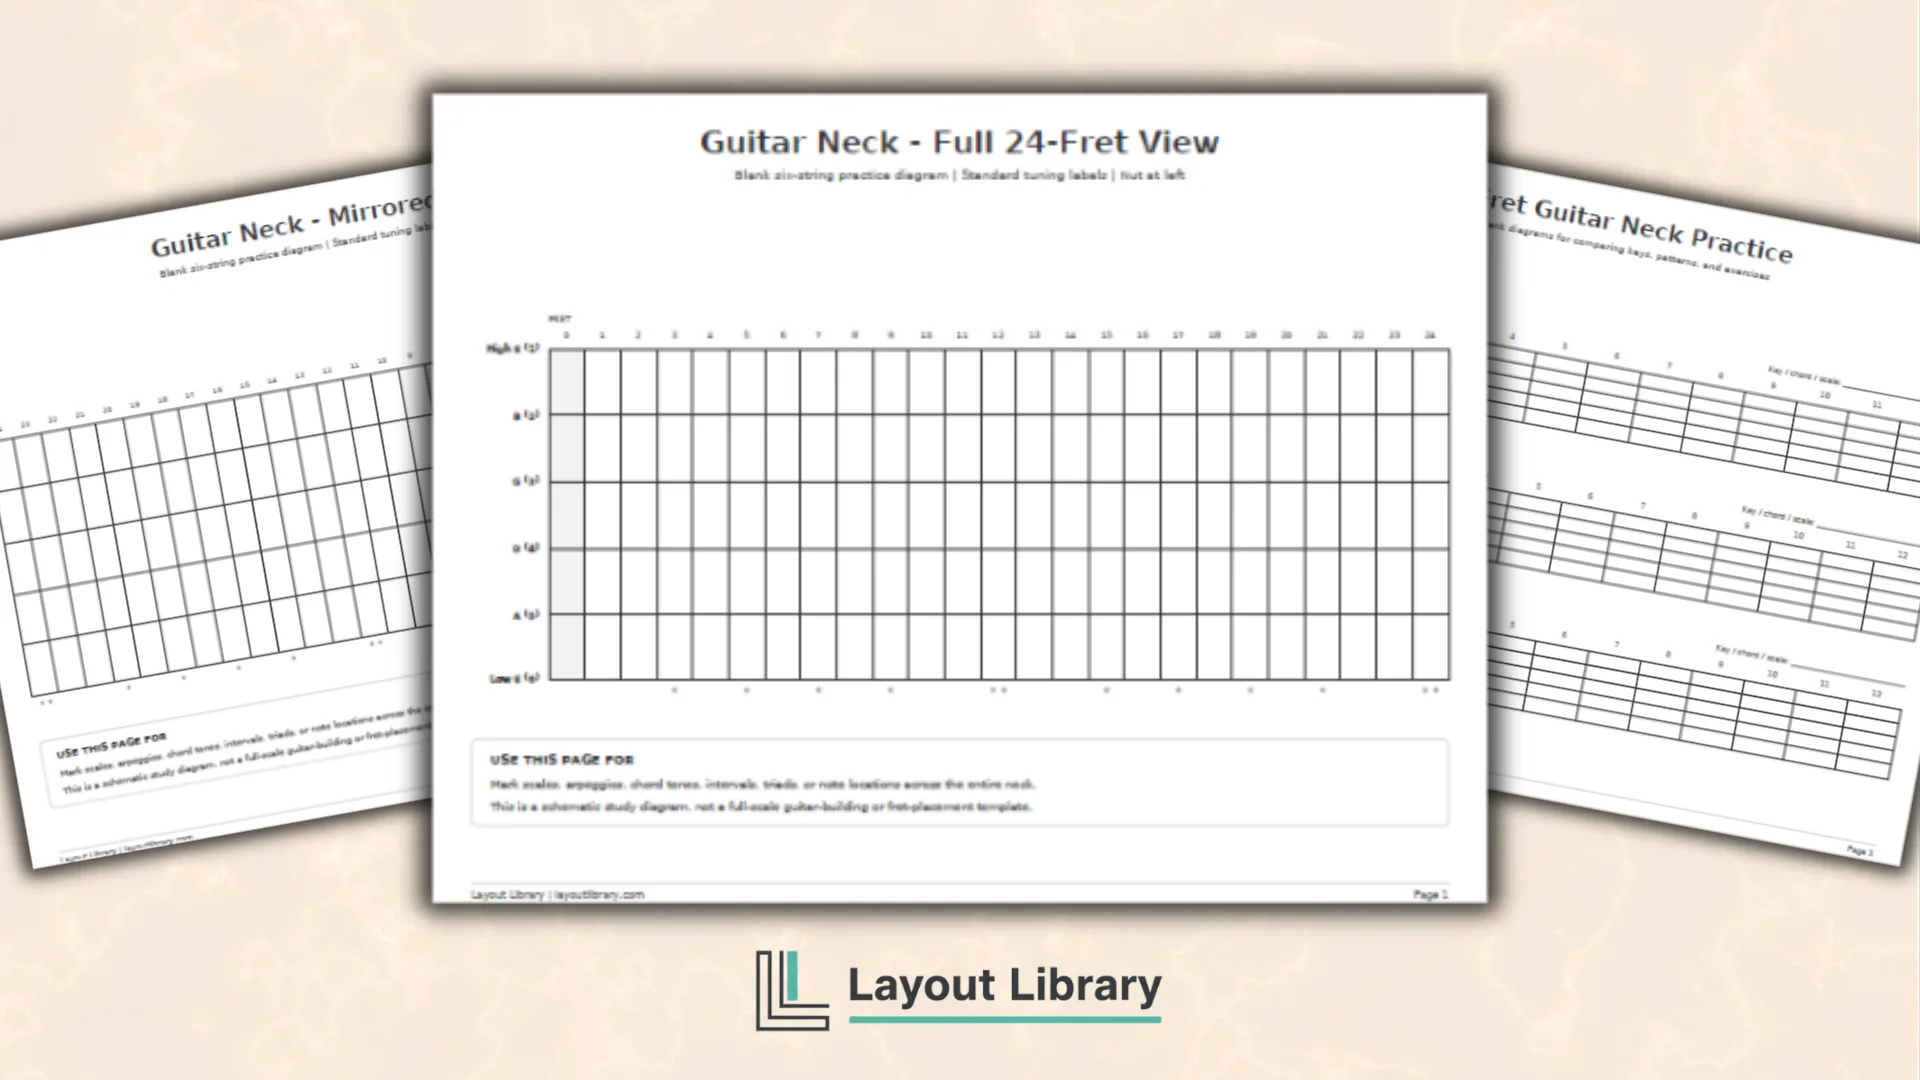
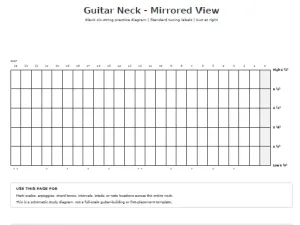
The first page shows one blank six-string neck from the open strings through fret 24. It includes numbered frets, standard E-A-D-G-B-E string labels, single position markers, and double markers at frets 12 and 24.
The second page presents the same 24-fret layout in a mirrored orientation, with the nut on the right. This option can feel more intuitive for some left-handed players or anyone who prefers to visualize the neck from the opposite direction.
The high E string remains at the top so the page still follows familiar tablature-style organization.
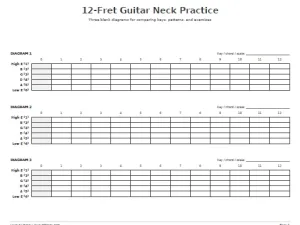
Page three provides three larger diagrams covering the open strings through fret 12. Each has space to name the key, chord, scale, or exercise.
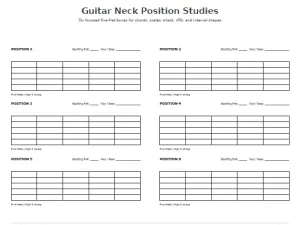
Page four contains six five-fret position boxes with fields for the starting fret and musical idea. These smaller boxes are useful when the complete neck contains more information than you need.
Practical Ways to Use Blank Guitar Neck Diagrams
Start with one clear goal for each diagram.
Circle every root in a scale, mark chord tones with different symbols, or write interval numbers. Keeping one concept on each neck makes patterns easier to study.
Use the 12-fret diagrams when you want to compare related ideas. For example, place a major scale on the first neck, its relative minor on the second, and shared chord tones on the third.
The five-fret boxes are better for compact chord voicings, triads, short riffs, and position-based fingering exercises.
How to Mark the Fretboard Clearly
Choose a simple symbol system before you begin.
A filled circle can represent a root, an open circle another scale tone, and a small square a chord tone. For intervals, write 1 for the root and add the scale degrees used in your exercise.
Keep labels centered between the fret lines because a guitarist presses the string behind a fret rather than directly on top of it. Add a small legend beside the diagram whenever you use more than one symbol.
Clear markings will make the page useful later instead of leaving you to decode an old practice session.
Printing and Orientation Tips
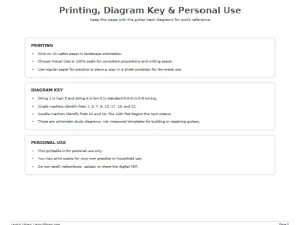
Print the pages on US Letter paper in landscape orientation. Actual Size or 100% scale will preserve the intended spacing and writing area.
Regular printer paper is suitable for everyday exercises, while cardstock can make a sturdier reference page.
For repeated use, place a printed sheet in a clear page protector and mark it with a fine-tip dry-erase pen. Wipe the page clean before switching keys or exercises.
The diagrams are schematic learning tools and are not measured plans for building, repairing, or positioning frets on a physical guitar.
Building Better Fretboard Knowledge
Over time, combine the page types. Study a five-fret shape first, place it inside the 12-fret view, and finally locate its repetitions across the 24-fret neck.
This progression helps turn an isolated shape into a usable understanding of the instrument.