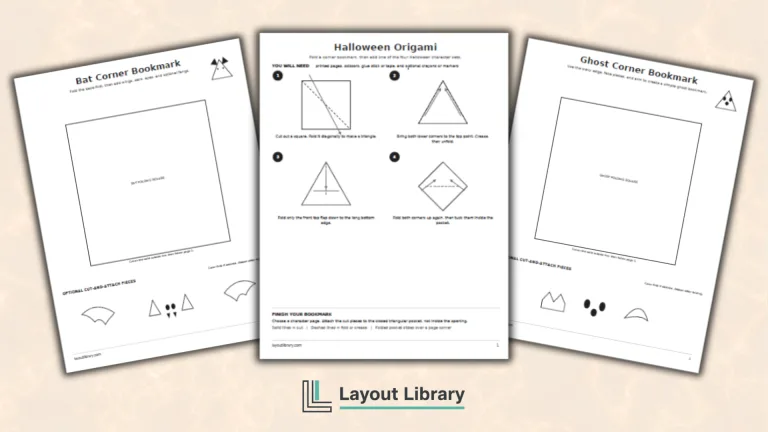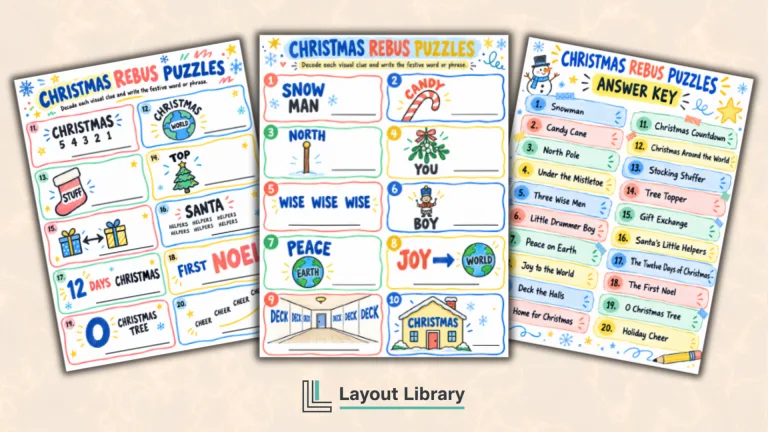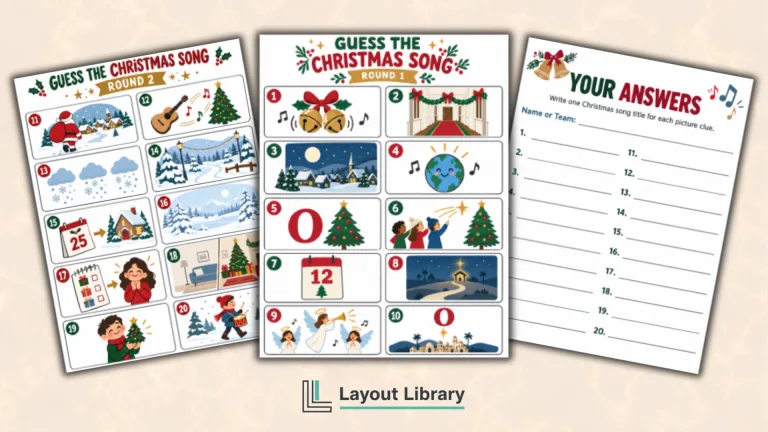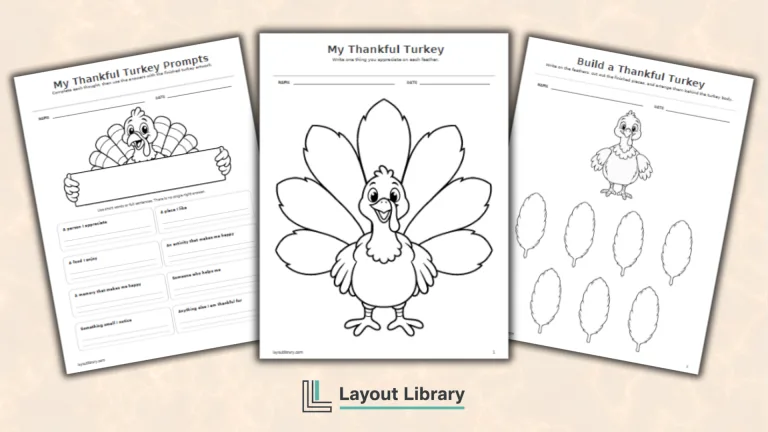
Christmas ornaments become more meaningful when they preserve a small detail from a child’s life.
These free printable “How Tall I Am” Christmas ornaments use ribbons cut to the child’s height, creating keepsakes families can unwrap and compare for years.
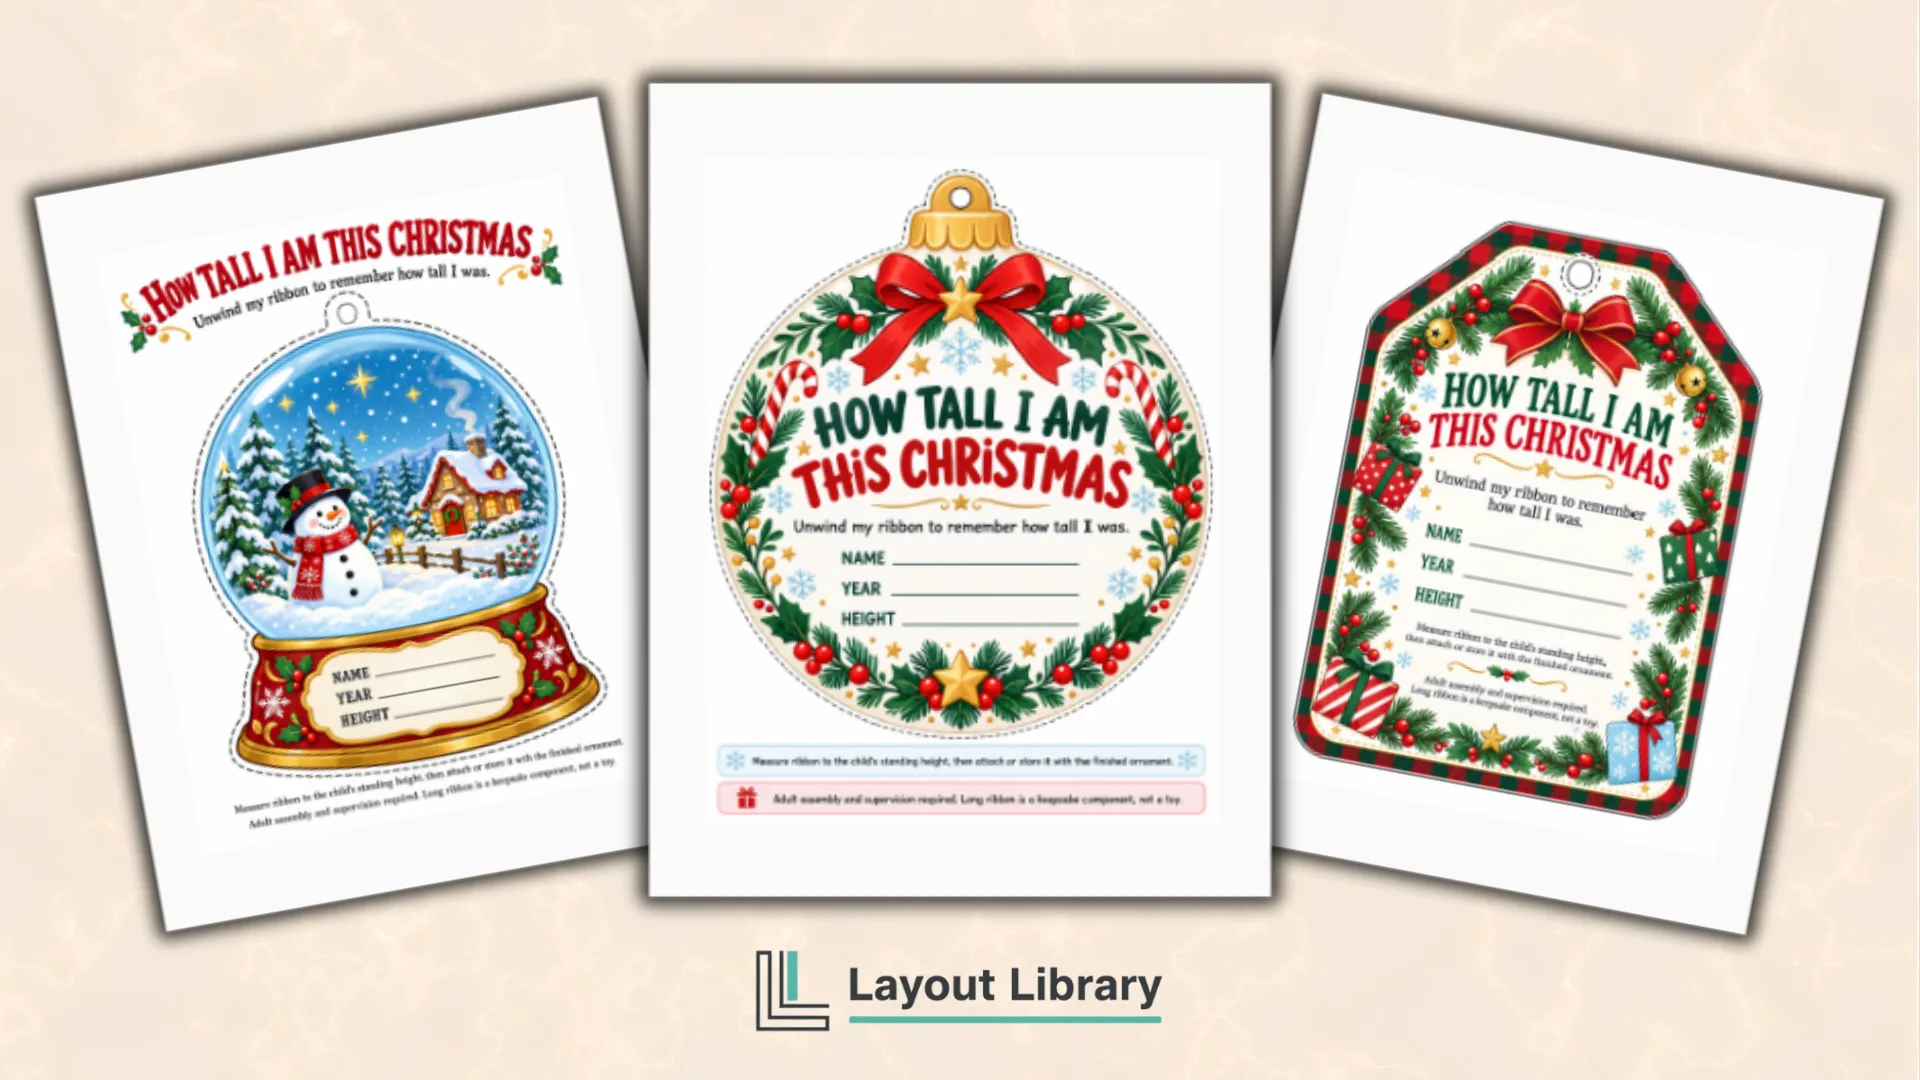
The PDF includes three portrait ornament styles with space for a name, year, and recorded height.
Choose the classic bauble, snow globe, or festive gift tag, then print the page that best fits your classroom craft, family activity, or handmade holiday gift.
Printable Details
Title: How Tall I Am This Christmas Ornament.
Used For: Christmas keepsakes, classroom parent gifts, preschool crafts, family ornaments.
Page Length: 4 pages.
Paper Size: 8.5 x 11 in (portrait).
File Size: 6.91 MB.
File Type: PDF.
Color: RGB.
License: Personal Use.
Image Gallery
At a Glance
Three Christmas Ornament Styles
Each craft page follows the same simple workflow while offering a different visual shape. The finished color artwork keeps the child’s details easy to read while giving each ornament its own festive character.
Classic Bauble Ornament
The classic bauble page uses a familiar round ornament silhouette with a hanging cap and marked hole area.
Its balanced shape suits traditional Christmas artwork and gives families a timeless option that looks natural on a tree, wreath, classroom display, or keepsake box.
Snow Globe Ornament
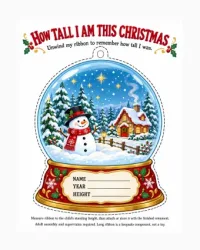
The snow globe version combines a round display area with a sturdy base. It is a playful choice for winter scenes, falling snow, Christmas characters, or a small child portrait, while the ribbon keeps the focus on how much the child has grown.
Festive Gift Tag Ornament
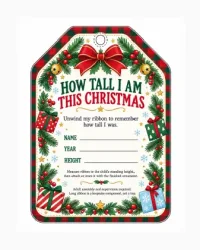
The gift tag page offers a softer rectangular shape with rounded corners and a hanging point. It works especially well when the ornament will be attached to a wrapped parent or grandparent gift before becoming a tree decoration.
What’s Included in the PDF?
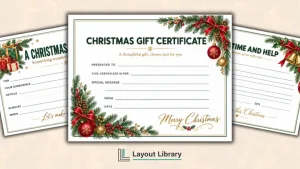
The first three pages contain the bauble, snow globe, and gift tag concepts. Each includes the title, a short keepsake message, lines for the child’s name, year, and height, plus a reminder to measure and attach the ribbon.
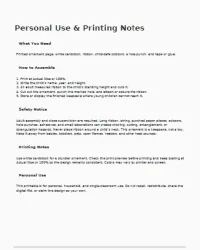
The final page lists the recommended supplies, five assembly steps, print settings, personal-use terms, and a detailed safety notice. This keeps the practical guidance together while leaving the three craft pages uncluttered.
How to Make the Height Ribbon Ornament
Print the chosen design on white cardstock at Actual Size or 100%. Add the child’s name, the year, and the measured height before cutting so the writing surface stays flat and easy to handle.
Have an adult measure the child from the floor to the top of the head, then cut a ribbon to the same length. Cut out the ornament, punch the marked hole, and attach or secure the ribbon according to the finished artwork.
The ribbon can be folded, loosely coiled, or stored with the ornament so it can be extended later. Write the same year on both the ornament and any storage envelope to keep the keepsake details together.
Printing and Assembly Tips
Cardstock gives the cut ornament more structure than standard paper. If regular printer paper is used, mounting the finished shape on cardstock before attaching the ribbon can make it sturdier for handling and storage.
Check the print preview for clipped edges and keep scaling at 100%. For a classroom group, print one test copy first, then prepare ribbon, scissors, hole punches, and writing tools at separate stations to keep the activity organized.
Ribbon Safety Note
Adult assembly and close supervision are required. Long ribbon or string can create an entanglement or strangulation hazard, and small paper pieces or decorations may present a choking hazard.
Never place the ribbon around a child’s neck. Treat the finished ornament as a keepsake, not a toy, and display it out of young children’s reach.