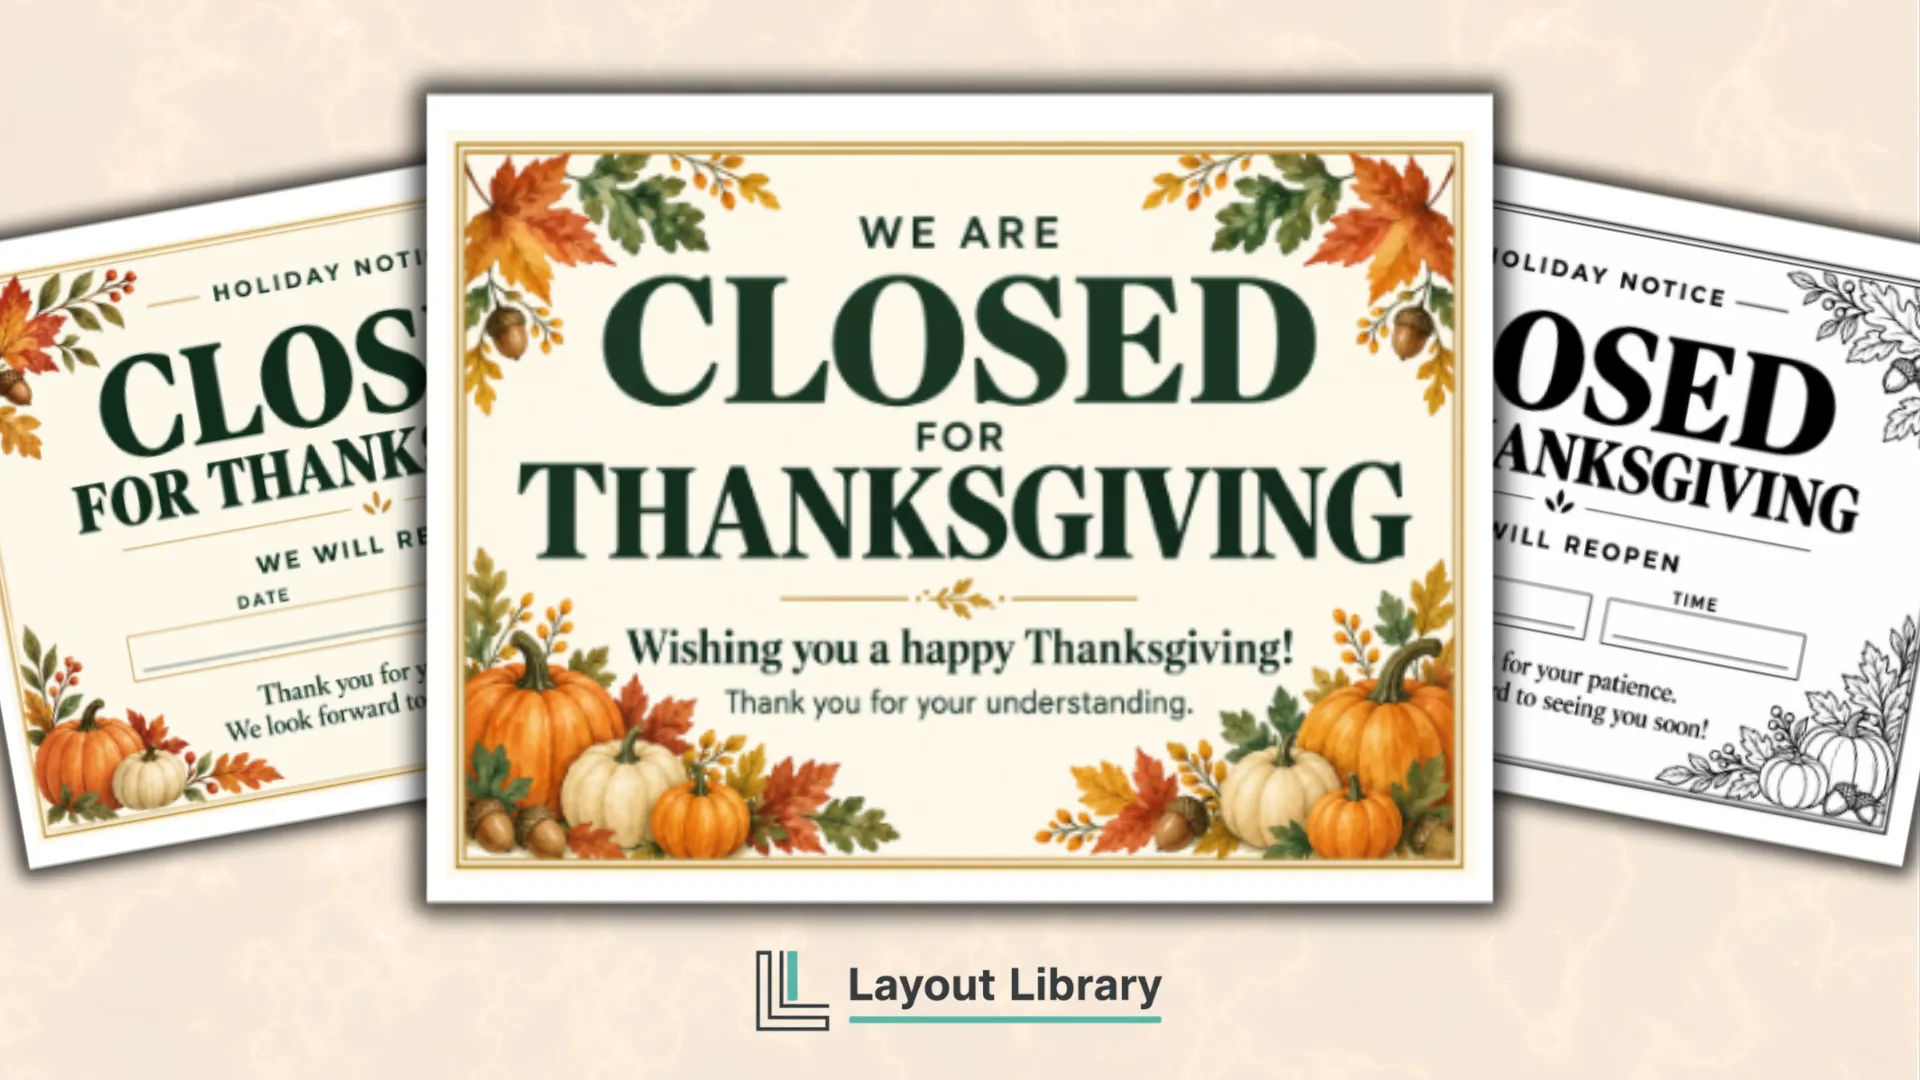
These free printable closed for Thanksgiving signs put the holiday closure front and center, with optional spaces for the details people usually want next: the dates you are closed and when you will reopen.
Choose from three sign layouts, each provided in color and black-and-white. The landscape pages keep the main message large while leaving room for handwritten information.
A simple leaf motif adds a seasonal touch without crowding the wording.
Printable Details
Title: Closed for Thanksgiving Signs.
Used For: Door notices, window displays, reception desk notices, holiday reopening updates.
Page Length: 7.
Paper Size: 11 x 8.5 in (landscape).
File Size: 10.2 MB.
File Type: PDF.
Color: RGB.
License: Personal Use.
Image Gallery
At a Glance
A Clear Holiday Notice
Each design gives CLOSED the most prominent position, followed by the Thanksgiving wording or closure details.
The wide format leaves breathing room around the text, so the notice does not look like a crowded announcement. All three layouts use dark lettering.
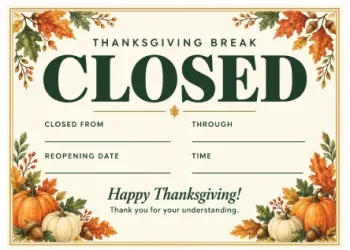
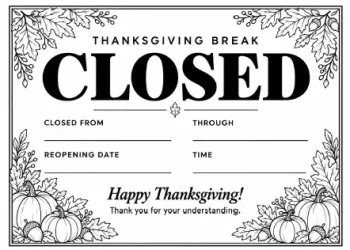
The color versions have restrained teal borders and lines, with small sand-colored leaves. Their black-and-white versions use the same wording and placement with unfilled leaf outlines.
You can choose the version that suits your display without giving up any information.
What’s Included
General Closure Sign
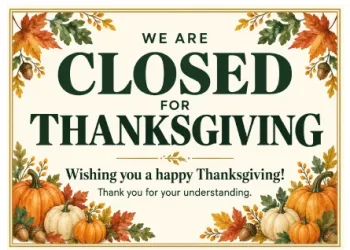
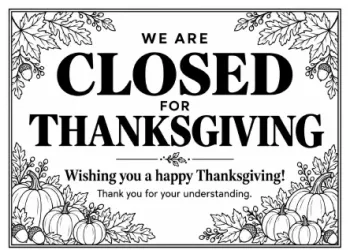
Pages 1 and 2 say that you are closed for Thanksgiving and include a friendly holiday greeting. There are no fields to complete on the first design.
This is the simplest choice when you only need to explain the closure, or when a separate notice already gives your reopening information.
Closure With Reopening Details
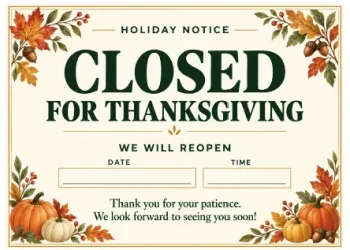
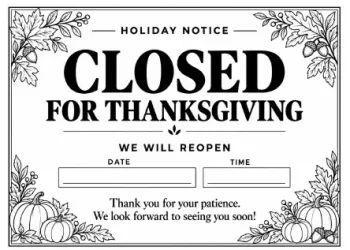
The next pair adds a WE WILL REOPEN section with separate date and time lines. It keeps the closure message above the information visitors need for their next visit.
A short thank-you message at the bottom gives the notice a welcoming finish.
Multi-Day Thanksgiving Break
The final sign pair has fields labeled CLOSED FROM, THROUGH, REOPENING DATE, and TIME. Use it when the closure extends beyond a single day.
The two date sections help you show the full break while keeping the return date separate and clear.
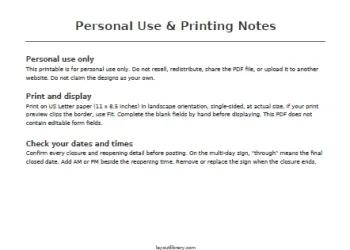
The seventh page contains personal-use terms, a page guide, printing notes, and reminders for checking your dates. It is a reference page, not another sign to display.
How to Use the Signs
Start by deciding which information your notice needs to communicate. If visitors need a specific return time, choose the reopening layout.
If you are closing for several consecutive dates, choose the multi-day version so the beginning and end of the break are both visible.
Write the dates clearly and include AM or PM with the reopening time. Spelling out the month can make a handwritten date easier to interpret.
On the multi-day sign, THROUGH means the last date you remain closed, not the day you return.
Fill in every relevant field before placing the notice on a door, window, or reception counter. If you use copies at more than one entrance, compare their details before posting.
Remove or replace the signs when the closure ends so the information stays current.
Printing Tips
Use US Letter paper and select landscape orientation. Print single-sided at actual size, then check the preview to confirm that the border fits.
If your printer clips an edge, select Fit. The designs leave at least half an inch around the page for normal printing margins.
Color pages are 1, 2, and 3; black-and-white pages are 4, 5, and 6. Choose the exact page numbers you want instead of printing every version.
Plain paper works for a temporary notice, while cardstock can help a sign hold its shape in a stand.