Choosing a scroll saw blade involves more than matching a number on the package.
This printable brings the most useful blade details into one workshop reference, so you can compare blade sizes, tooth styles, materials, and test-cut results before starting a project.
Printable Details
Title: Scroll Saw Blade Chart. Used For: Blade selection, workshop reference, project planning, material matching, test-cut tracking. Page Length: 5. Paper Size: 11 x 8.5 in (landscape). File Size: 54 KB. File Type: PDF. Color: Black & White. License: Personal Use.
Compares common universal blade numbers with typical TPI ranges, stock thicknesses, cut types, and turning ability.
Explains eight tooth styles, including skip, reverse, crown, spiral, and metal-cutting blades.
Matches common materials and project situations with practical blade-number and tooth-style starting points.
Includes troubleshooting suggestions for burning, tear-out, blade wandering, melting plastic, and unstable cuts.
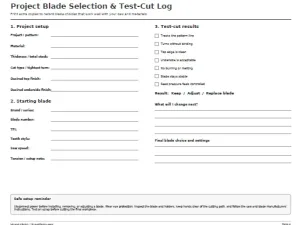
Provides a reusable selection worksheet for recording materials, settings, test-cut results, and final blade choices.
Uses landscape pages that keep the comparison tables open, readable, and suitable for workshop reference.
Clearly separates general starting guidance from the manufacturer specifications you should confirm before cutting.
What the Scroll Saw Blade Chart Includes
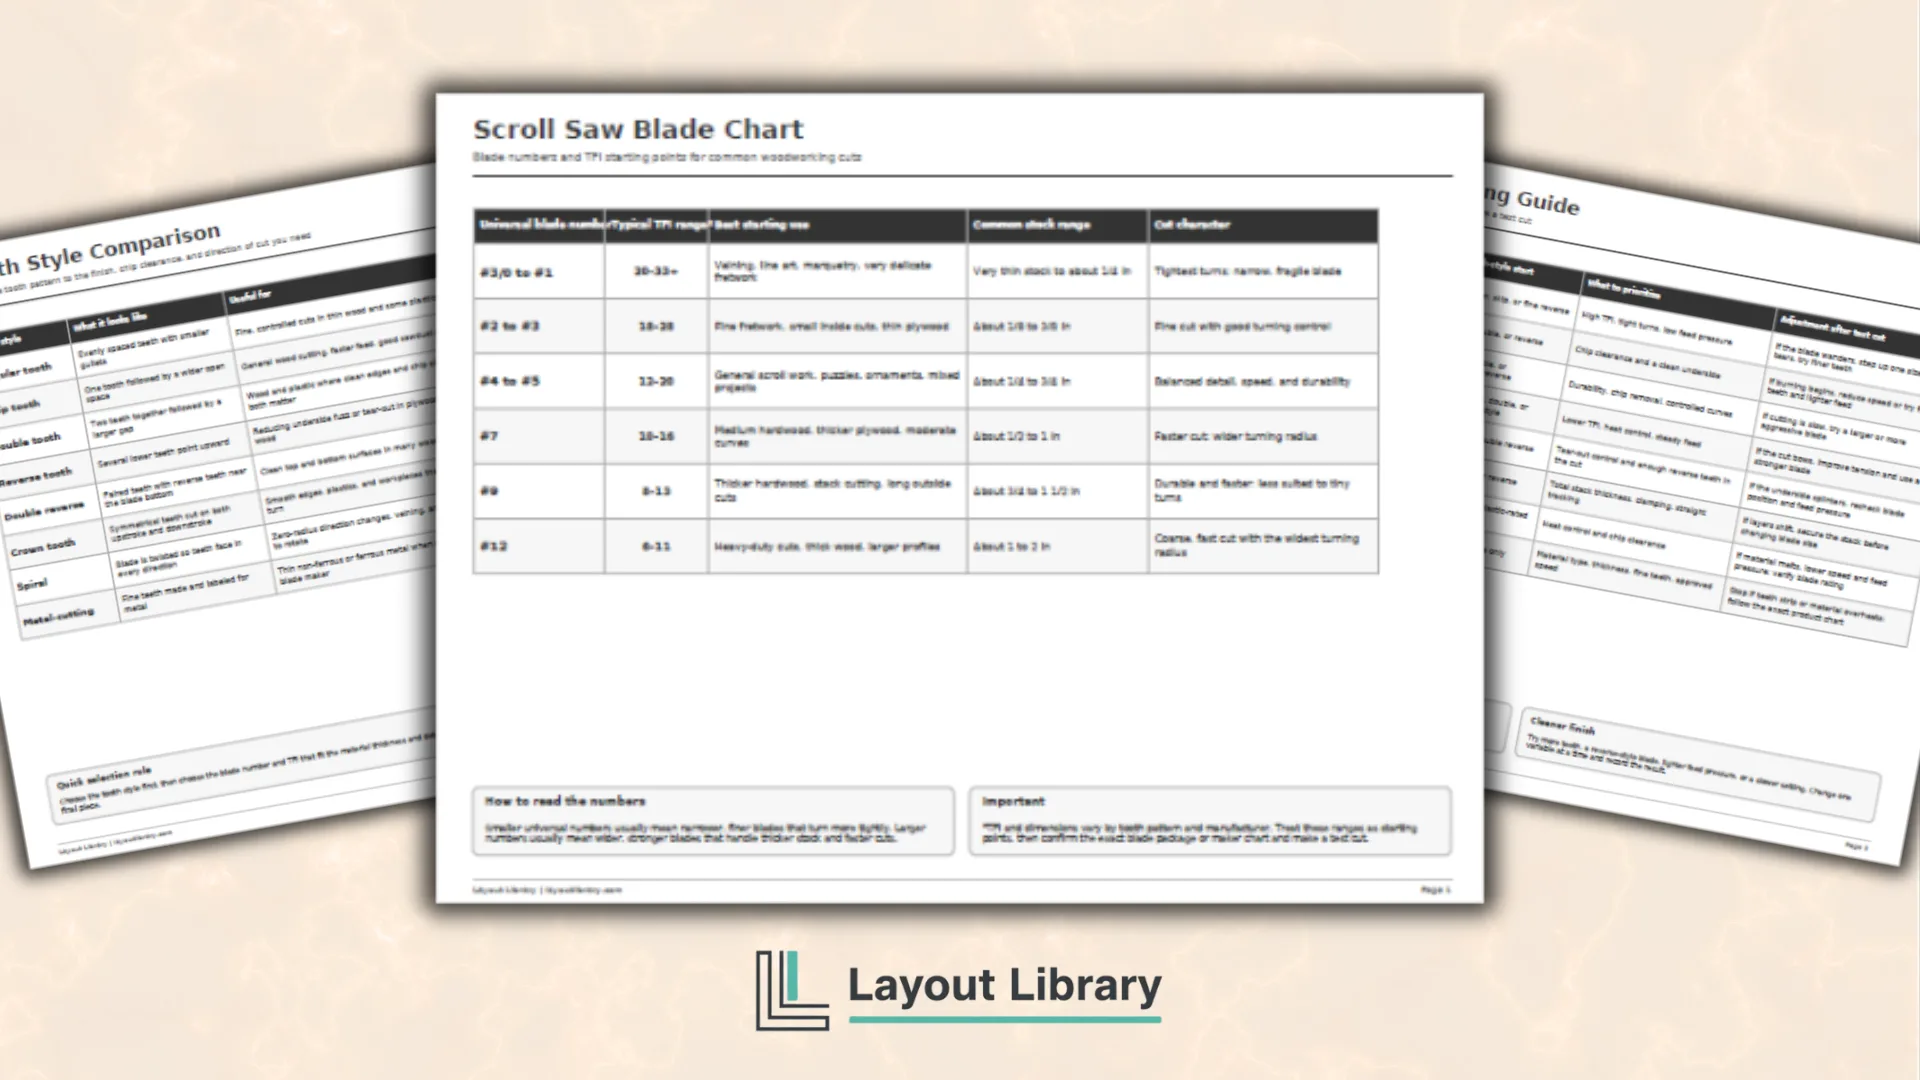
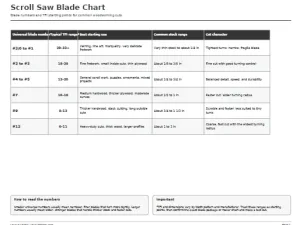
The Scroll Saw Blade Chart opens with a quick comparison of six common blade-number groups. You can see how a very fine #3/0 to #1 blade differs from a heavier #9 or #12 blade in TPI, stock thickness, turning radius, and typical use.
Smaller blades are shown with delicate fretwork and tighter turns, while larger blades are connected to thicker stock, faster cutting, and greater durability. A note beneath the table reminds you that exact specifications vary by blade series.
Compare the Different Tooth Styles
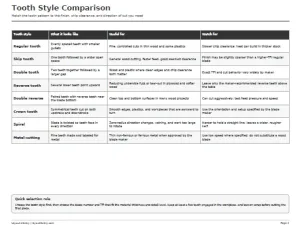
The Tooth Style Comparison page explains eight blade patterns in one table.
Each row tells you what the teeth generally look like, where that style may be useful, and what to watch for during setup or cutting.
For example, the reverse-tooth row highlights its value when you want less fuzz or tear-out on the underside of plywood.
The spiral-blade row explains its ability to cut in every direction, along with the tradeoff of a wider, rougher kerf and less control on straight lines.
Use this page when the blade number seems right but the finish or chip clearance still does not match the project.
It helps you compare the cutting behavior of regular, skip, double, reverse, crown, spiral, and metal-cutting blades without treating those categories as interchangeable.
Match the Blade to Your Material and Cut
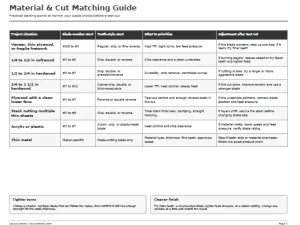
The Material & Cut Matching Guide starts with the project instead of the blade. It includes rows for thin plywood, softwood, hardwood in two thickness ranges, clean plywood cuts, stack cutting, acrylic or plastic, and thin metal.
Read across the row that best matches your project. You will find a blade-number range, a suggested tooth style, the main factor to prioritize, and one adjustment to try after a test cut.
These are starting points, so you can make a focused choice and then confirm it against your blade package.
The adjustment column is especially helpful when the first choice is close but not quite right. It gives you a next step for common results such as burning wood, splintering plywood, melting plastic, bowing cuts, or layers shifting during stack cutting.
Record What Works on Your Saw
The Project Blade Selection & Test-Cut Log turns the reference pages into a repeatable workshop process. Start by recording the material, thickness, type of cut, tightest turn, and the finish you want on both sides of the workpiece.
Next, write down the blade brand, series, number, TPI, tooth style, saw speed, and any tension or setup notes. After testing the blade on scrap, check the results for tracking, turning, edge quality, heat, stability, and feed control.
Finish the page by choosing whether to keep, adjust, or replace the blade. There is room to record the next change and save the final blade choice. Over time, completed logs can become a personalized reference for your saw, materials, and cutting style.
Using the Printable in Your Workshop
Keep the three chart pages in a binder or near your blade storage. Print a new test-cut log for a different material, blade series, or project type.
Before changing a blade, disconnect the saw from power and follow its manual. Confirm the exact blade specifications and approved materials on the package or manufacturer chart.
Wear eye protection, inspect the blade and holders, and make the first cut on scrap rather than the final workpiece.
FAQ
No. Manufacturers and tooth patterns can assign different dimensions and TPI values to the same general blade number. Use the chart to choose a starting range, then confirm the exact product specifications before cutting.
The material guide includes starting considerations for acrylic, plastic, and thin metal. Use only blades approved for the specific material, follow the recommended speed, and stop if the material overheats or the blade begins losing teeth.
Use a new log when the material, thickness, blade series, or cutting goal changes. For familiar projects, your saved logs can help you return to a combination that already worked well.