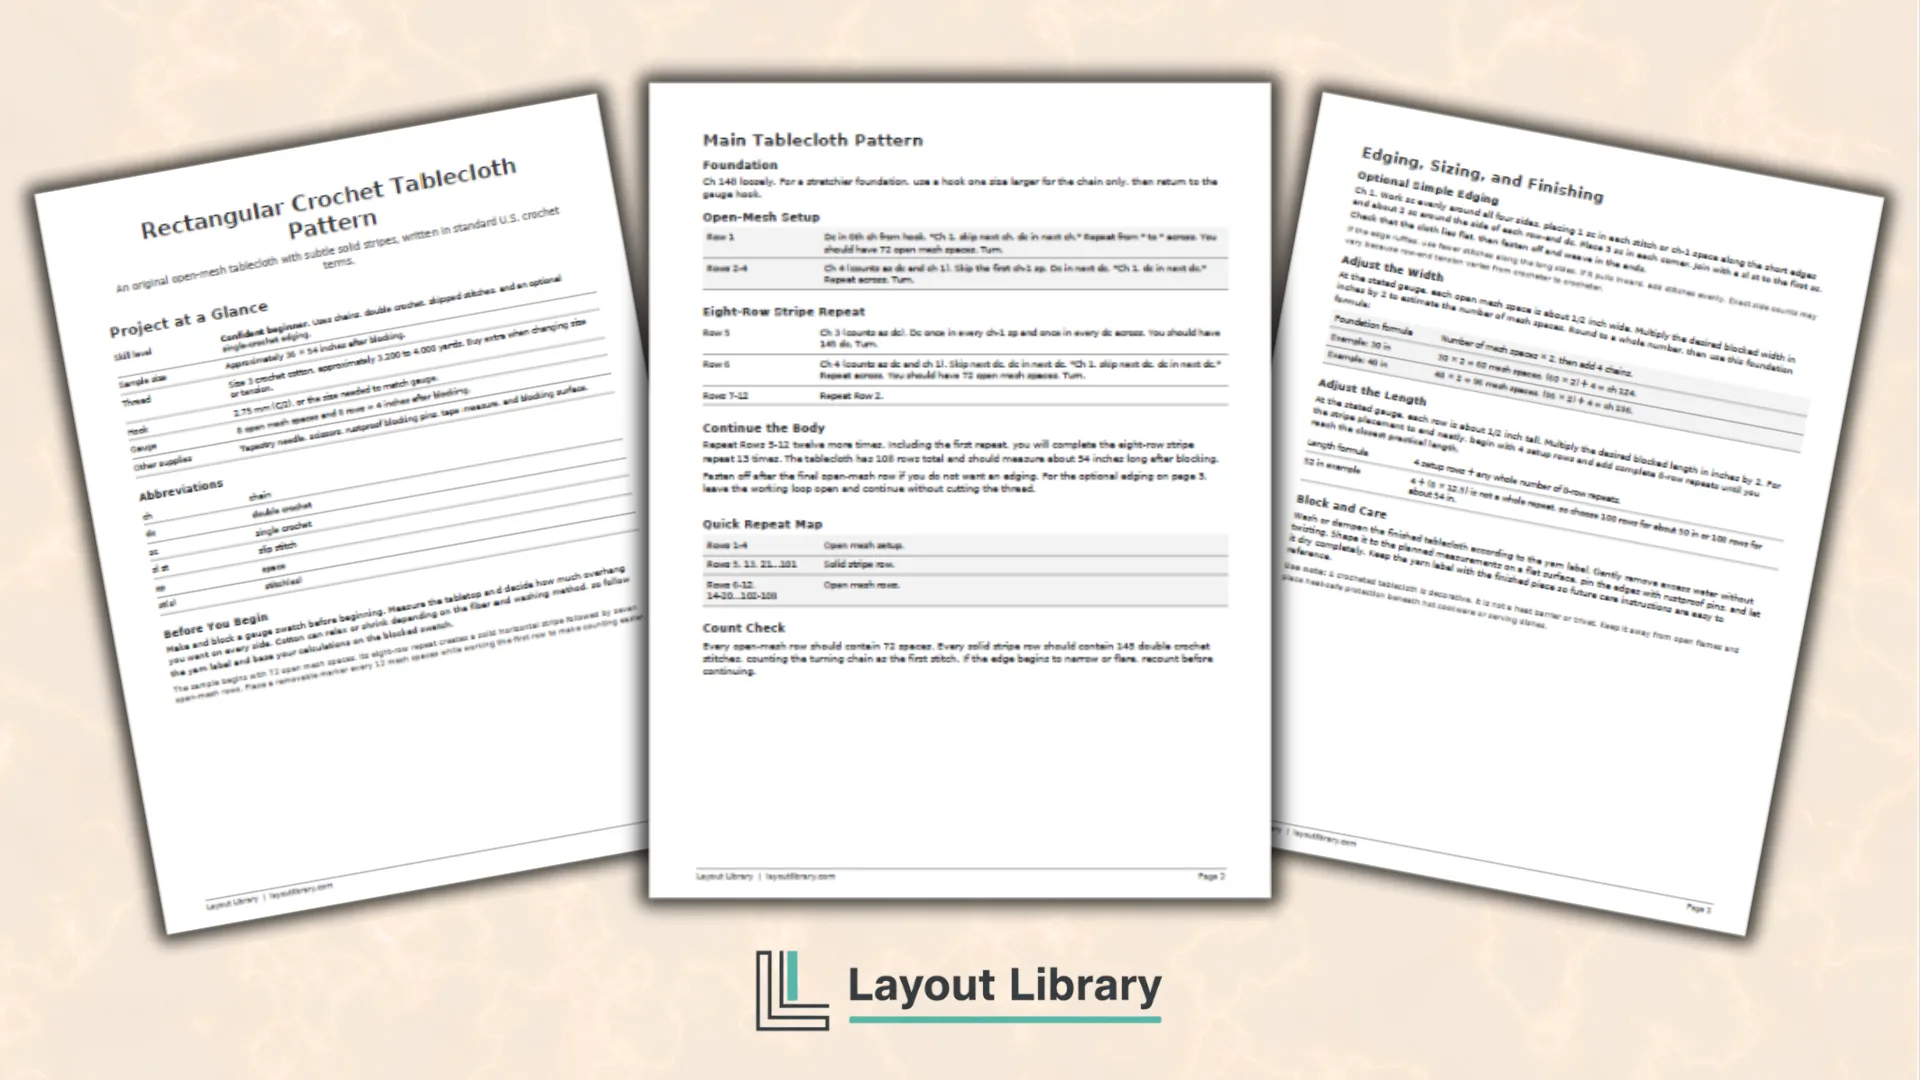
A handmade tablecloth can bring texture, softness, and a timeless look to an everyday dining space.
This free printable rectangular crochet tablecloth pattern gives you a clear open-mesh design that is simple enough to repeat while still creating an elegant finished piece.
The sample is designed at approximately 36 × 54 inches after blocking. Because tables vary, the printable also includes straightforward width and length formulas for adapting the pattern to your preferred dimensions.
Printable Details
Title: Rectangular Crochet Tablecloth Pattern.
Used For: Dining table decor, handmade gifts, crochet practice, custom table coverings.
Page Length: 4 pages.
Paper Size: 8.5 × 11 in (portrait).
File Size: 50 KB.
File Type: PDF.
Color: Black & White.
License: Personal Use.
Image Gallery
At a Glance
An Original Open-Mesh Tablecloth Design
This pattern uses an approachable filet-style mesh made with chains and double crochet stitches. A solid row appears at regular intervals to form quiet horizontal stripes across the finished cloth.
The repeating structure makes the project easier to track than an intricate picture chart. It also gives the tablecloth a classic lace-inspired appearance without requiring many specialized stitches.
The instructions are written for a confident beginner. You should already be comfortable making chains and double crochet stitches, recognizing chain spaces, turning rows, counting stitches, and weaving in ends.
What the Printable Includes
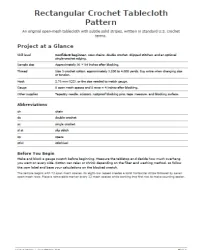
Page one contains the finished sample size, recommended thread and hook, gauge, supplies, abbreviations, and preparation notes. It explains why a blocked gauge swatch matters before you calculate a custom size.
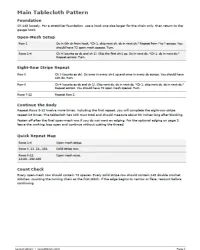
Page two contains the full main pattern. The sample begins with 72 open mesh spaces and uses a repeating eight-row stripe sequence. A quick repeat map and stitch-count check help you catch mistakes before they affect later rows.
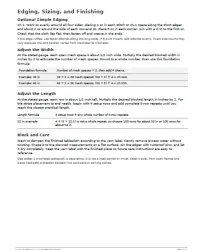
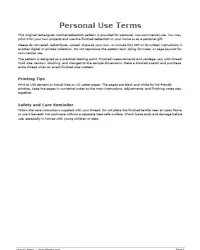
Page three covers the optional single-crochet edging, width and length formulas, blocking, and care. The final page contains the personal-use terms, printing tips, and a concise reminder about heat and flame safety.
Choosing Materials and Checking Gauge
The sample calls for size 3 crochet cotton and a 2.75 mm hook, or the hook size needed to match gauge. Cotton creates crisp stitch definition and responds well to careful blocking, which helps straighten the edges and open the mesh.
Your thread brand, hook, and natural tension can change both the dimensions and yardage. Make a generous swatch using the main mesh pattern, wash or dampen it according to the thread label, and let it dry in shape before measuring.
The stated gauge is eight open mesh spaces and eight rows per four inches after blocking. If your swatch is wider or taller, change hook size or use your measured gauge in the sizing calculations.
How to Adjust the Finished Size
Measure the tabletop first, then add the desired overhang to both sides of each dimension. A small topper may stay close to the tabletop, while a traditional tablecloth usually extends farther over the edges.
At the sample gauge, each open mesh space measures about one-half inch wide. Multiply the desired width by two to estimate the number of mesh spaces. Multiply that number by two again, then add four chains to calculate the foundation chain.
For length, the design starts with four setup rows and continues in complete eight-row repeats. Choose the nearest practical repeat count for your target measurement. The printable includes examples that make both formulas easier to apply.
Printing and Using the Pattern
Print the pages on US Letter paper at 100 percent or Actual Size. Keep the pages in numerical order so the materials, row instructions, sizing notes, and finishing information remain easy to reference while you crochet.
Mark completed rows lightly in pencil or use a removable page flag. Count the mesh spaces regularly, especially after every solid stripe row. Fixing a missed stitch early is much easier than correcting the width several repeats later.
Once the crochet is complete, follow the care directions on the thread label. Shape the damp tablecloth on a flat blocking surface, use rustproof pins, and allow it to dry completely before placing it on the table.