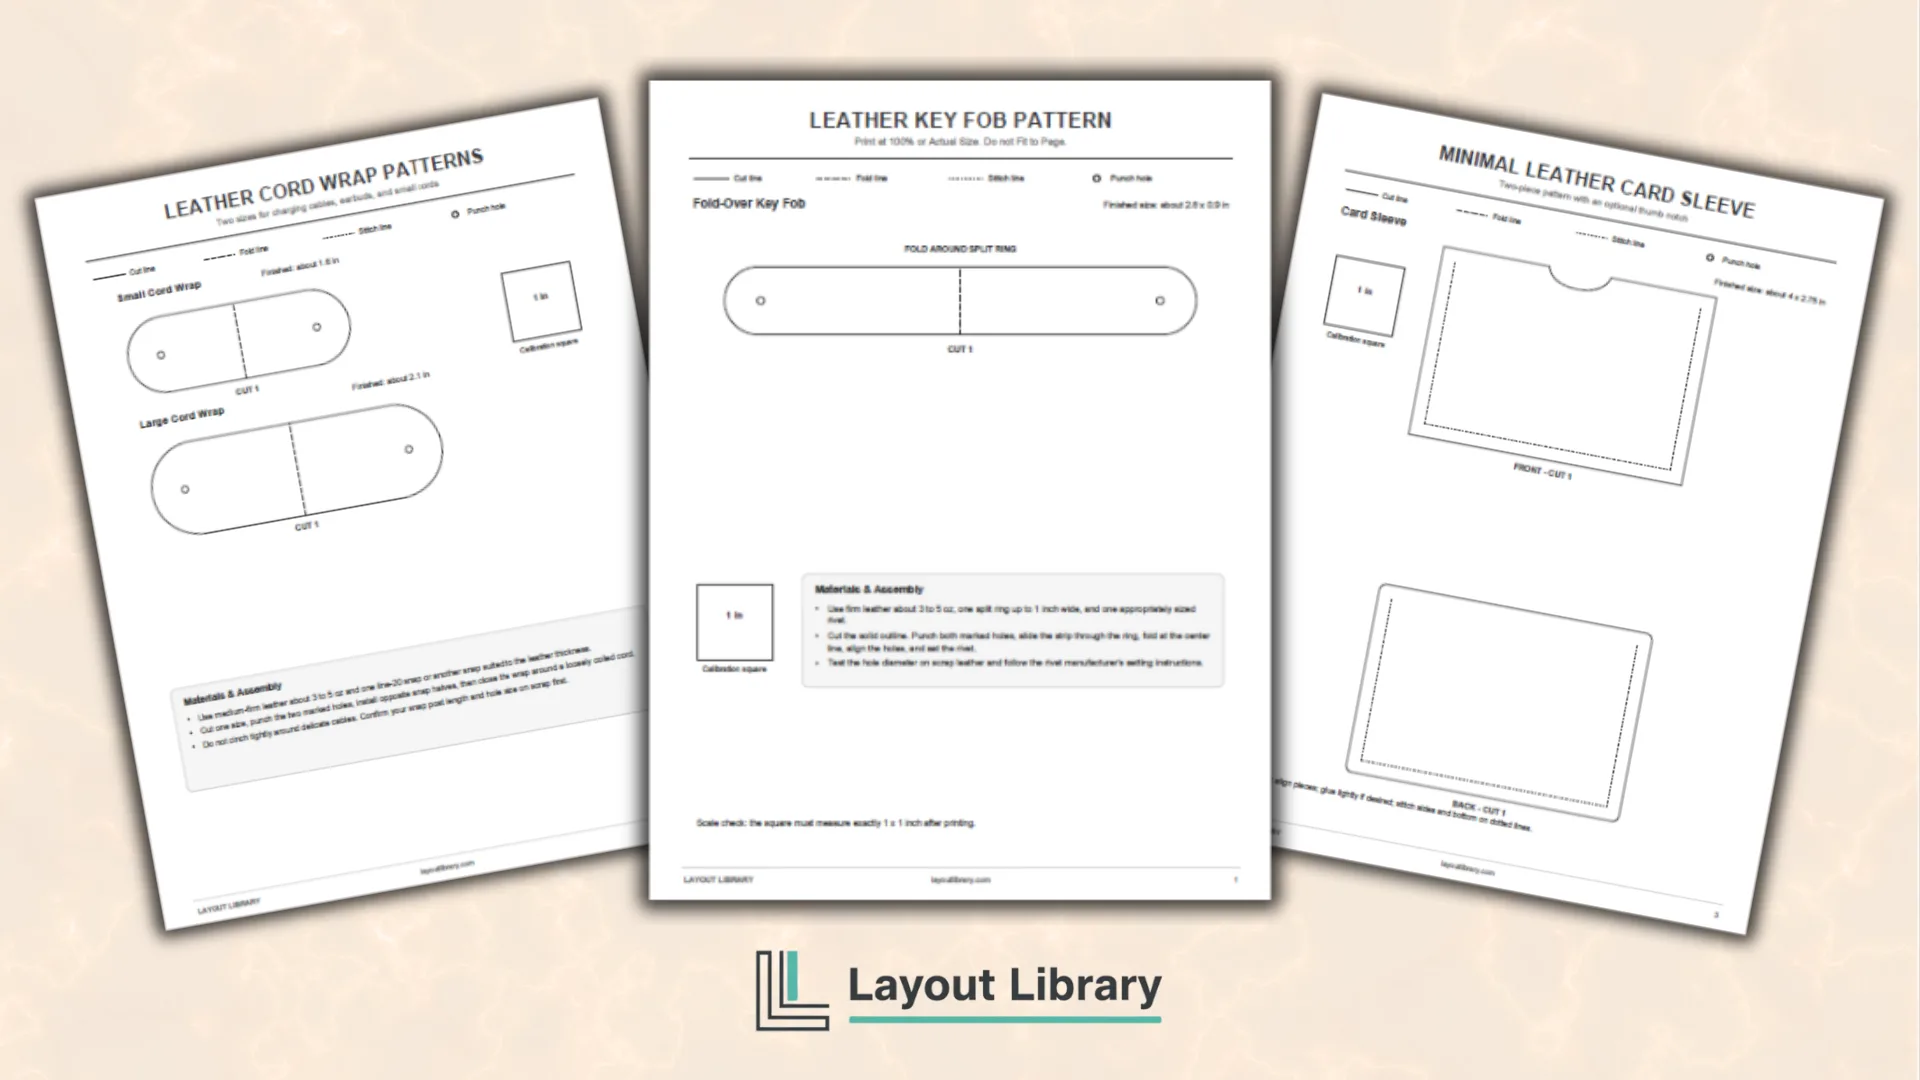
Start a small leathercraft project with these free printable leather patterns.
The PDF includes four original templates for practical items you can make with common leatherworking tools and a small amount of leather.
Each page is designed for full-size printing, tracing, and cutting. Clear legends show cut lines, fold lines, stitch lines, and punch holes, while calibration squares help you confirm that the templates printed at the intended scale.
Printable Details
Title: Leather Patterns.
Used For: Beginner leathercraft, small handmade gifts, scrap leather projects, tracing practice, and project planning.
Page Length: 5.
Paper Size: 8.5 × 11 in (portrait).
File Size: 12 KB.
File Type: PDF.
Color: Black & White.
License: Personal Use.
Image Gallery
At a Glance
Overview
This printable gives you four approachable leathercraft projects in one PDF. The designs use clean geometric shapes, so they are easy to trace onto leather, cork fabric, or another sturdy material that works with your tools.
The projects move from simple cutting and hardware placement to basic stitching and corner shaping. You can start with the key fob or cord wrap, then try the card sleeve or tray when you are ready for a few more construction steps.
The dimensions are practical starting points rather than rules for every material. Leather weight, hardware post length, edge finishing, and stitch spacing can affect the final fit, so test each pattern in paper or scrap material before cutting your best leather.
The set is also useful for planning projects before buying supplies. You can compare the printed pieces with leather scraps, estimate where hardware will sit, and decide which design fits your current skill level. This makes the PDF helpful for practice sessions, craft nights, and handmade gift ideas.
What’s Included
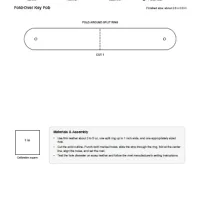
The first page contains a fold-over key fob pattern. It uses one long strip, two aligned punch holes, and a center fold line that wraps around a split ring.
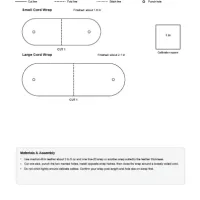
The second page provides small and large cord-wrap templates. Choose the size that suits your cable, install opposite snap halves, and close the wrap around a loosely coiled cord.
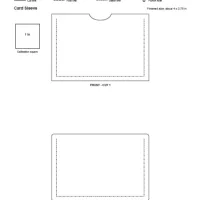
The third page contains front and back pieces for a minimal card sleeve. The front includes an optional thumb notch, while dotted guides mark the sides and bottom where the two pieces can be stitched.
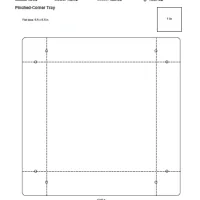
The fourth project is a small pinched-corner tray for coins, keys, jewelry, or desk items. Fold along the dashed lines, pinch each corner, align the marked holes, and secure each corner with suitable hardware.
How to Use the Leather Patterns
Download the PDF and print it on US Letter paper at 100% or Actual Size. Turn off Fit to Page or any automatic scaling option, then measure the calibration square. It should be exactly 1 by 1 inch.
Cut out the paper template or trace it onto cardstock for a sturdier reusable pattern. Position the pattern on your leather, mark the outline and construction points, and confirm that every piece fits within the available material.
Make a paper test version before using leather. This quick step helps you check the fold direction, finished dimensions, hardware placement, and assembly order without wasting craft material.
Tips for Better Results
Choose leather that suits the project and the hardware you plan to use. A supplier or hardware manufacturer can help you match leather thickness with the correct rivet posts, snap posts, needles, thread, and punches.
For cleaner edges, use a sharp tool appropriate for leather and make controlled passes on a stable cutting mat. Keep your free hand outside the cutting path and cut away from your body.
Mark lightly before cutting. When a pattern includes punch or stitch marks, test their spacing on scrap first because your preferred tools may require small adjustments.